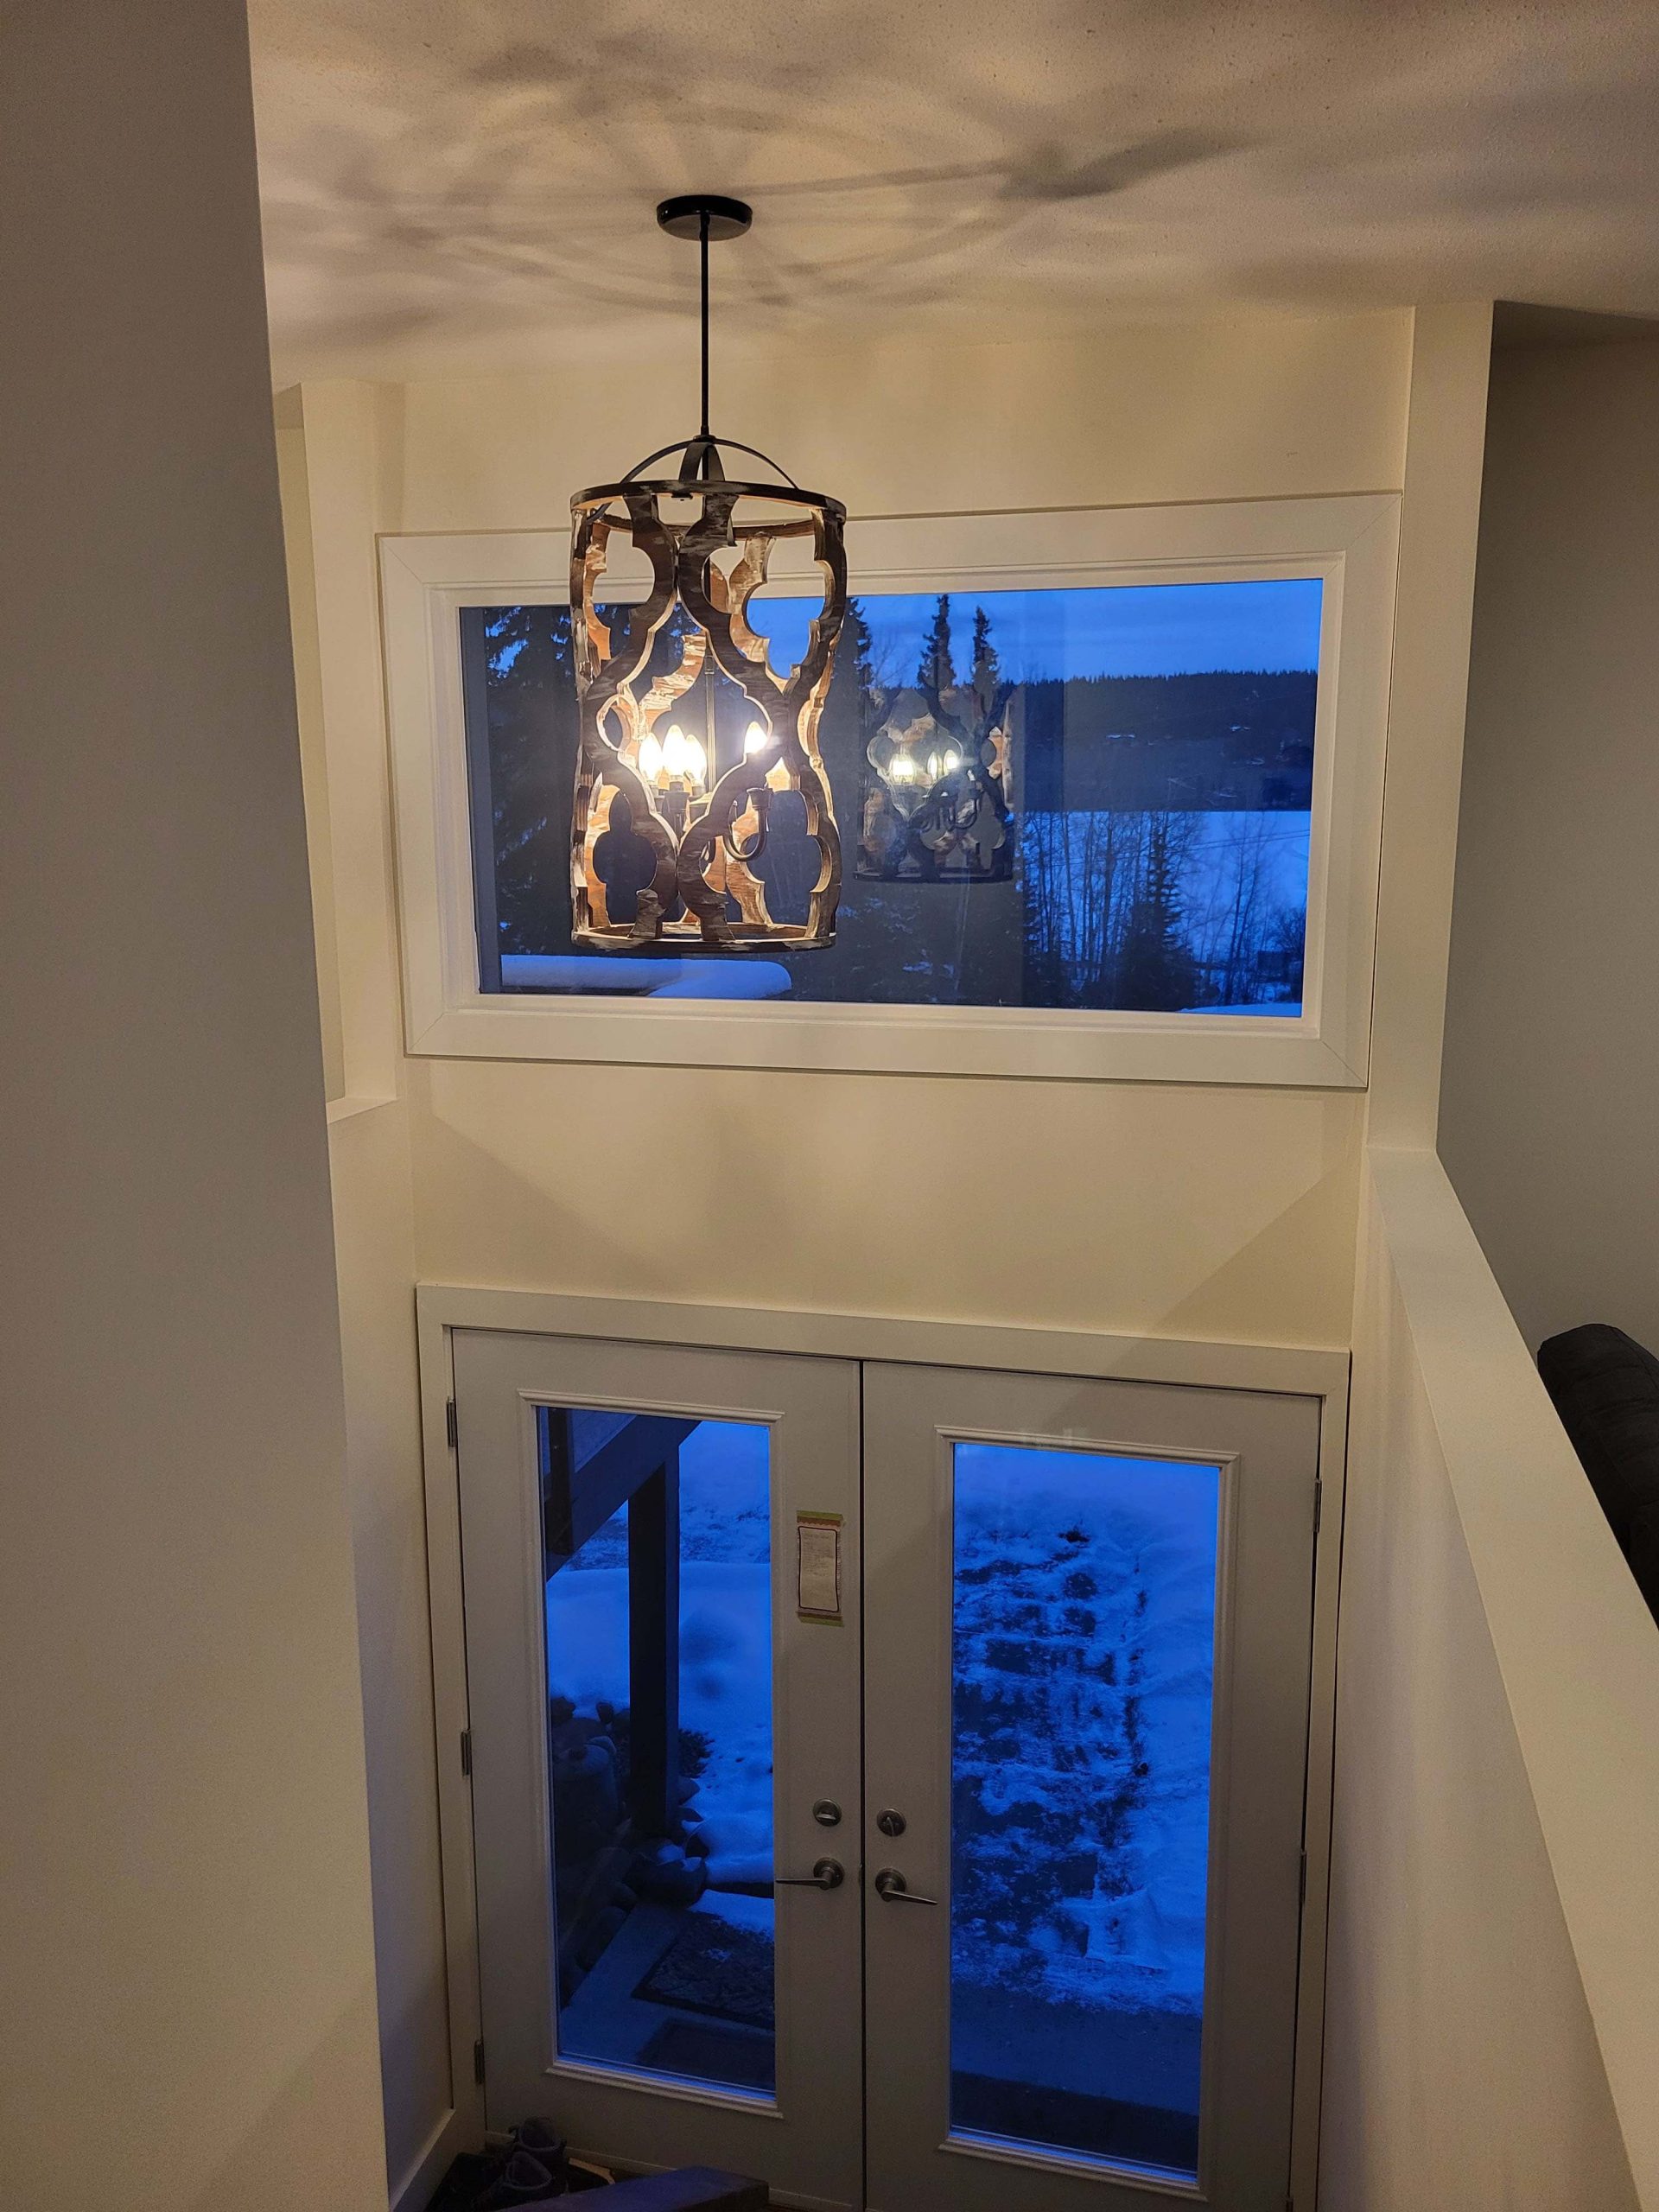
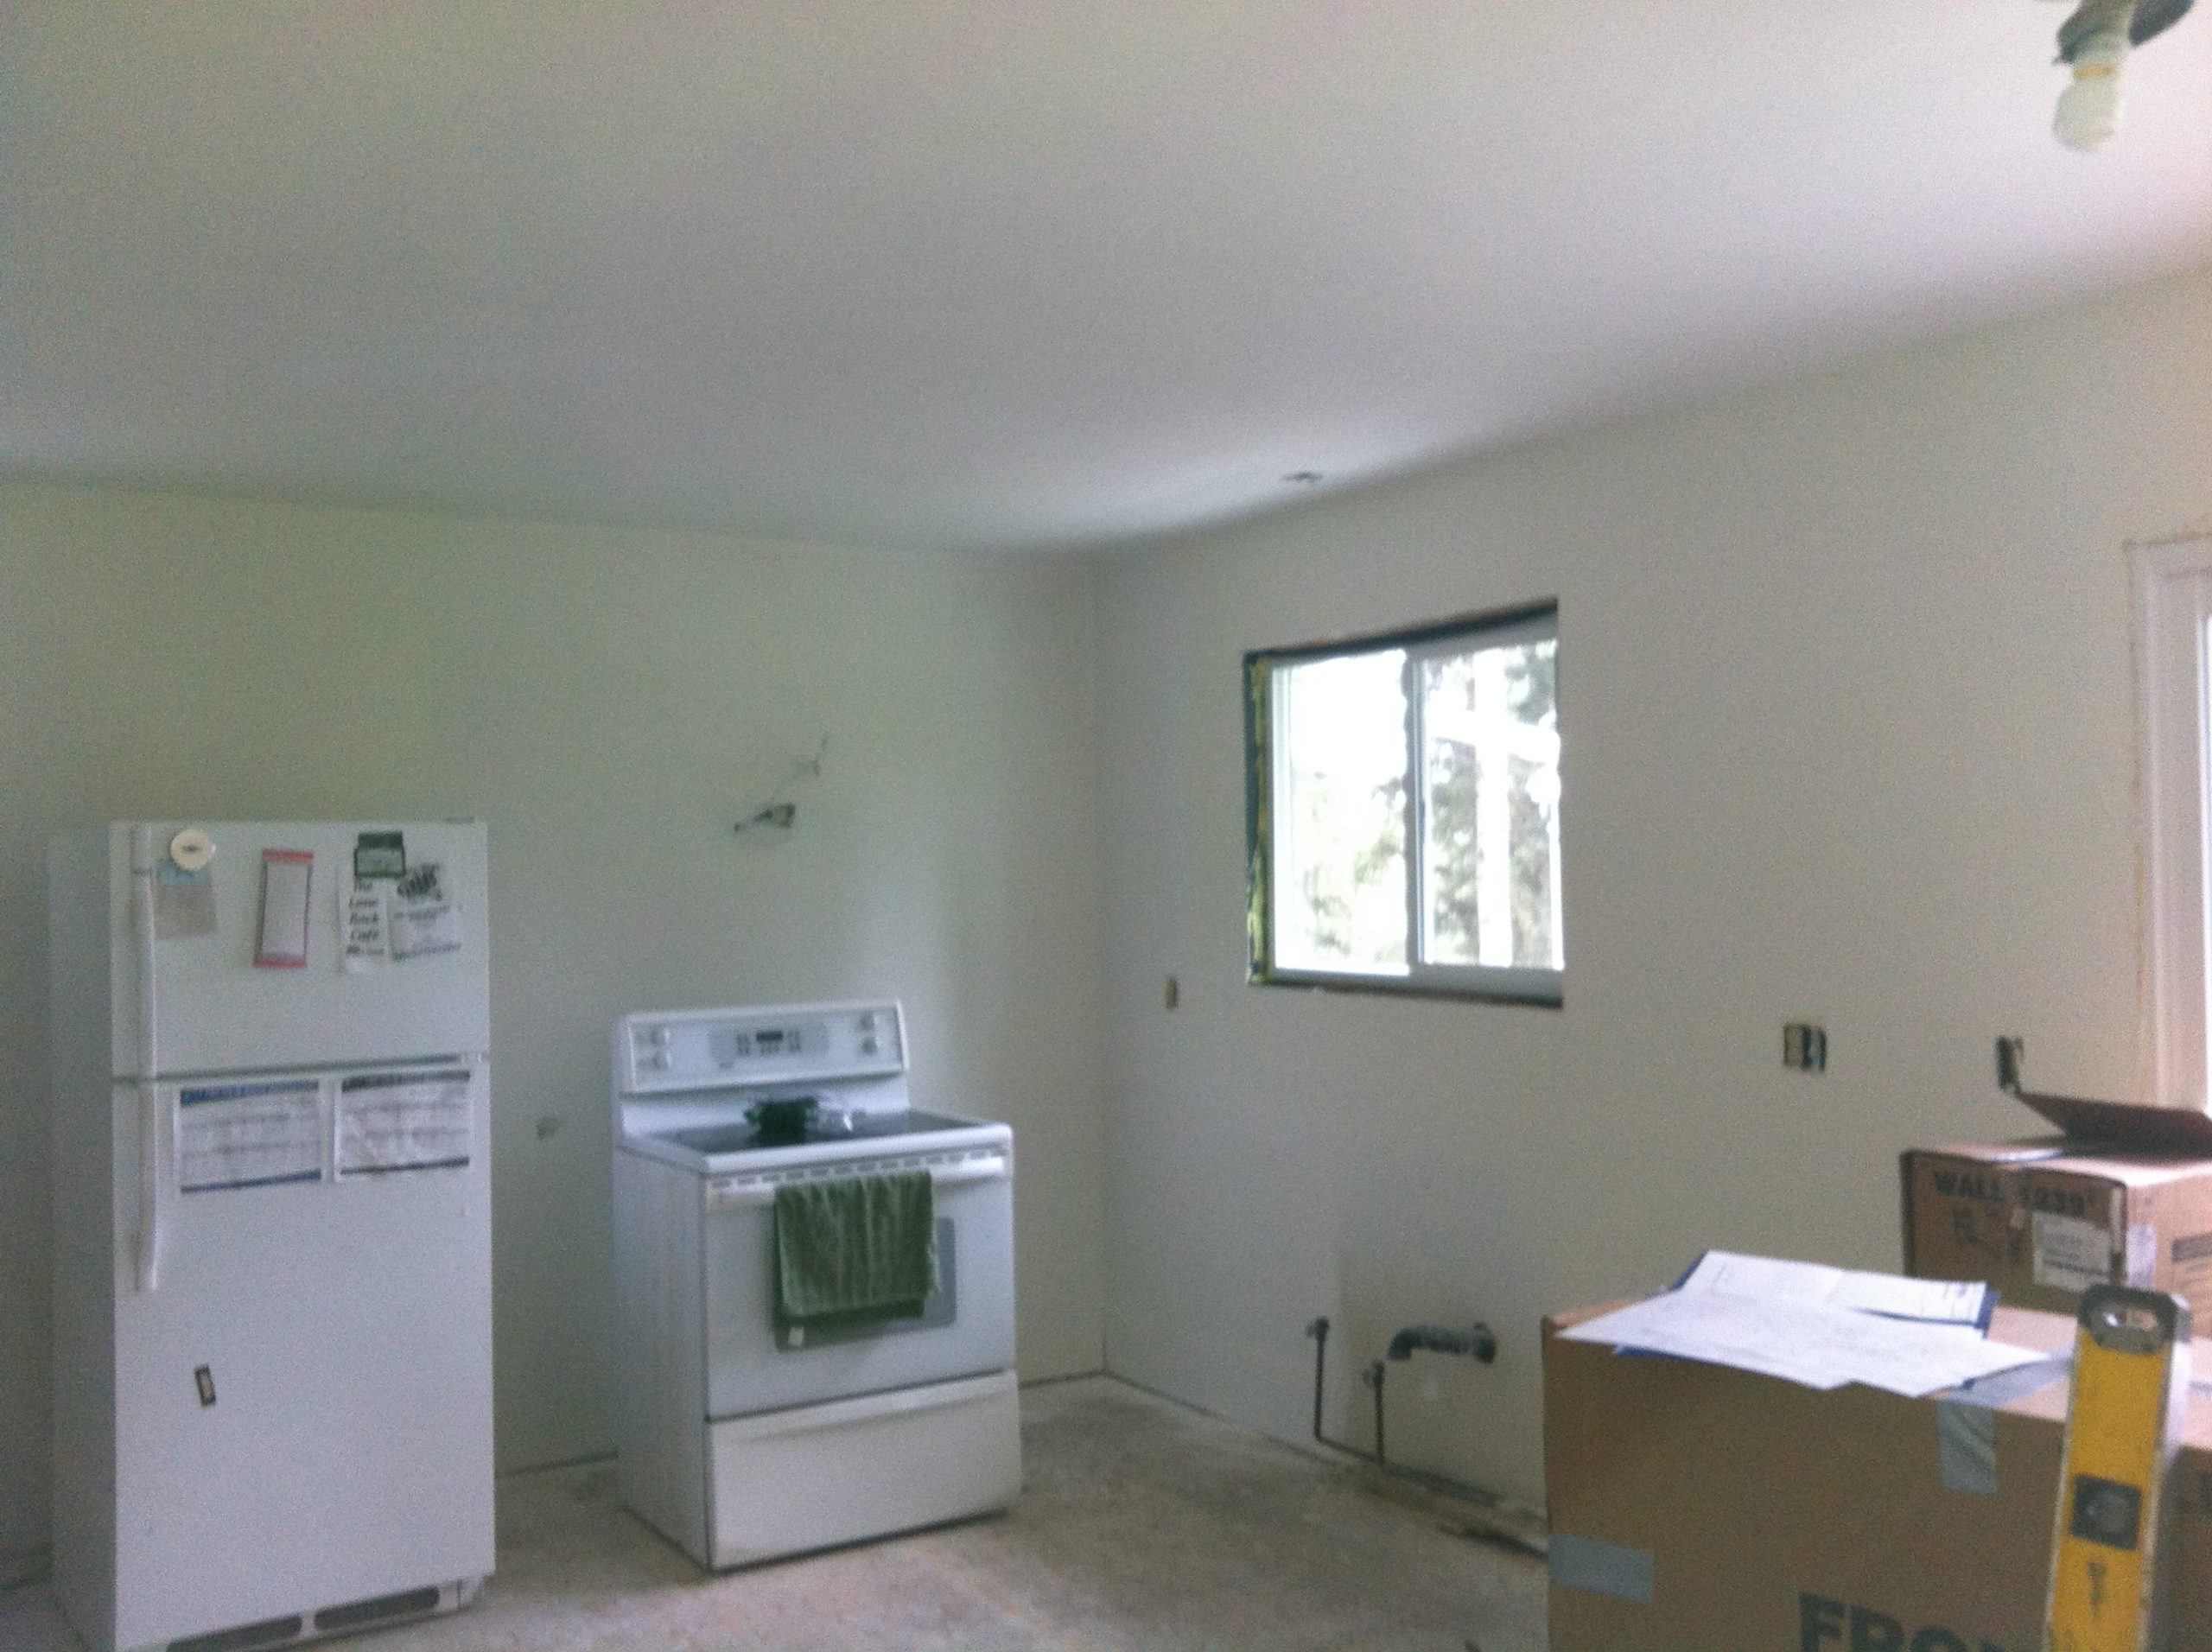
In addition to all of the drywall replacement & patching we had to do, the entire house had to be painted. (We made the chandelier in the picture above, and I’ve put together a DIY tutorial on how I did it here.)
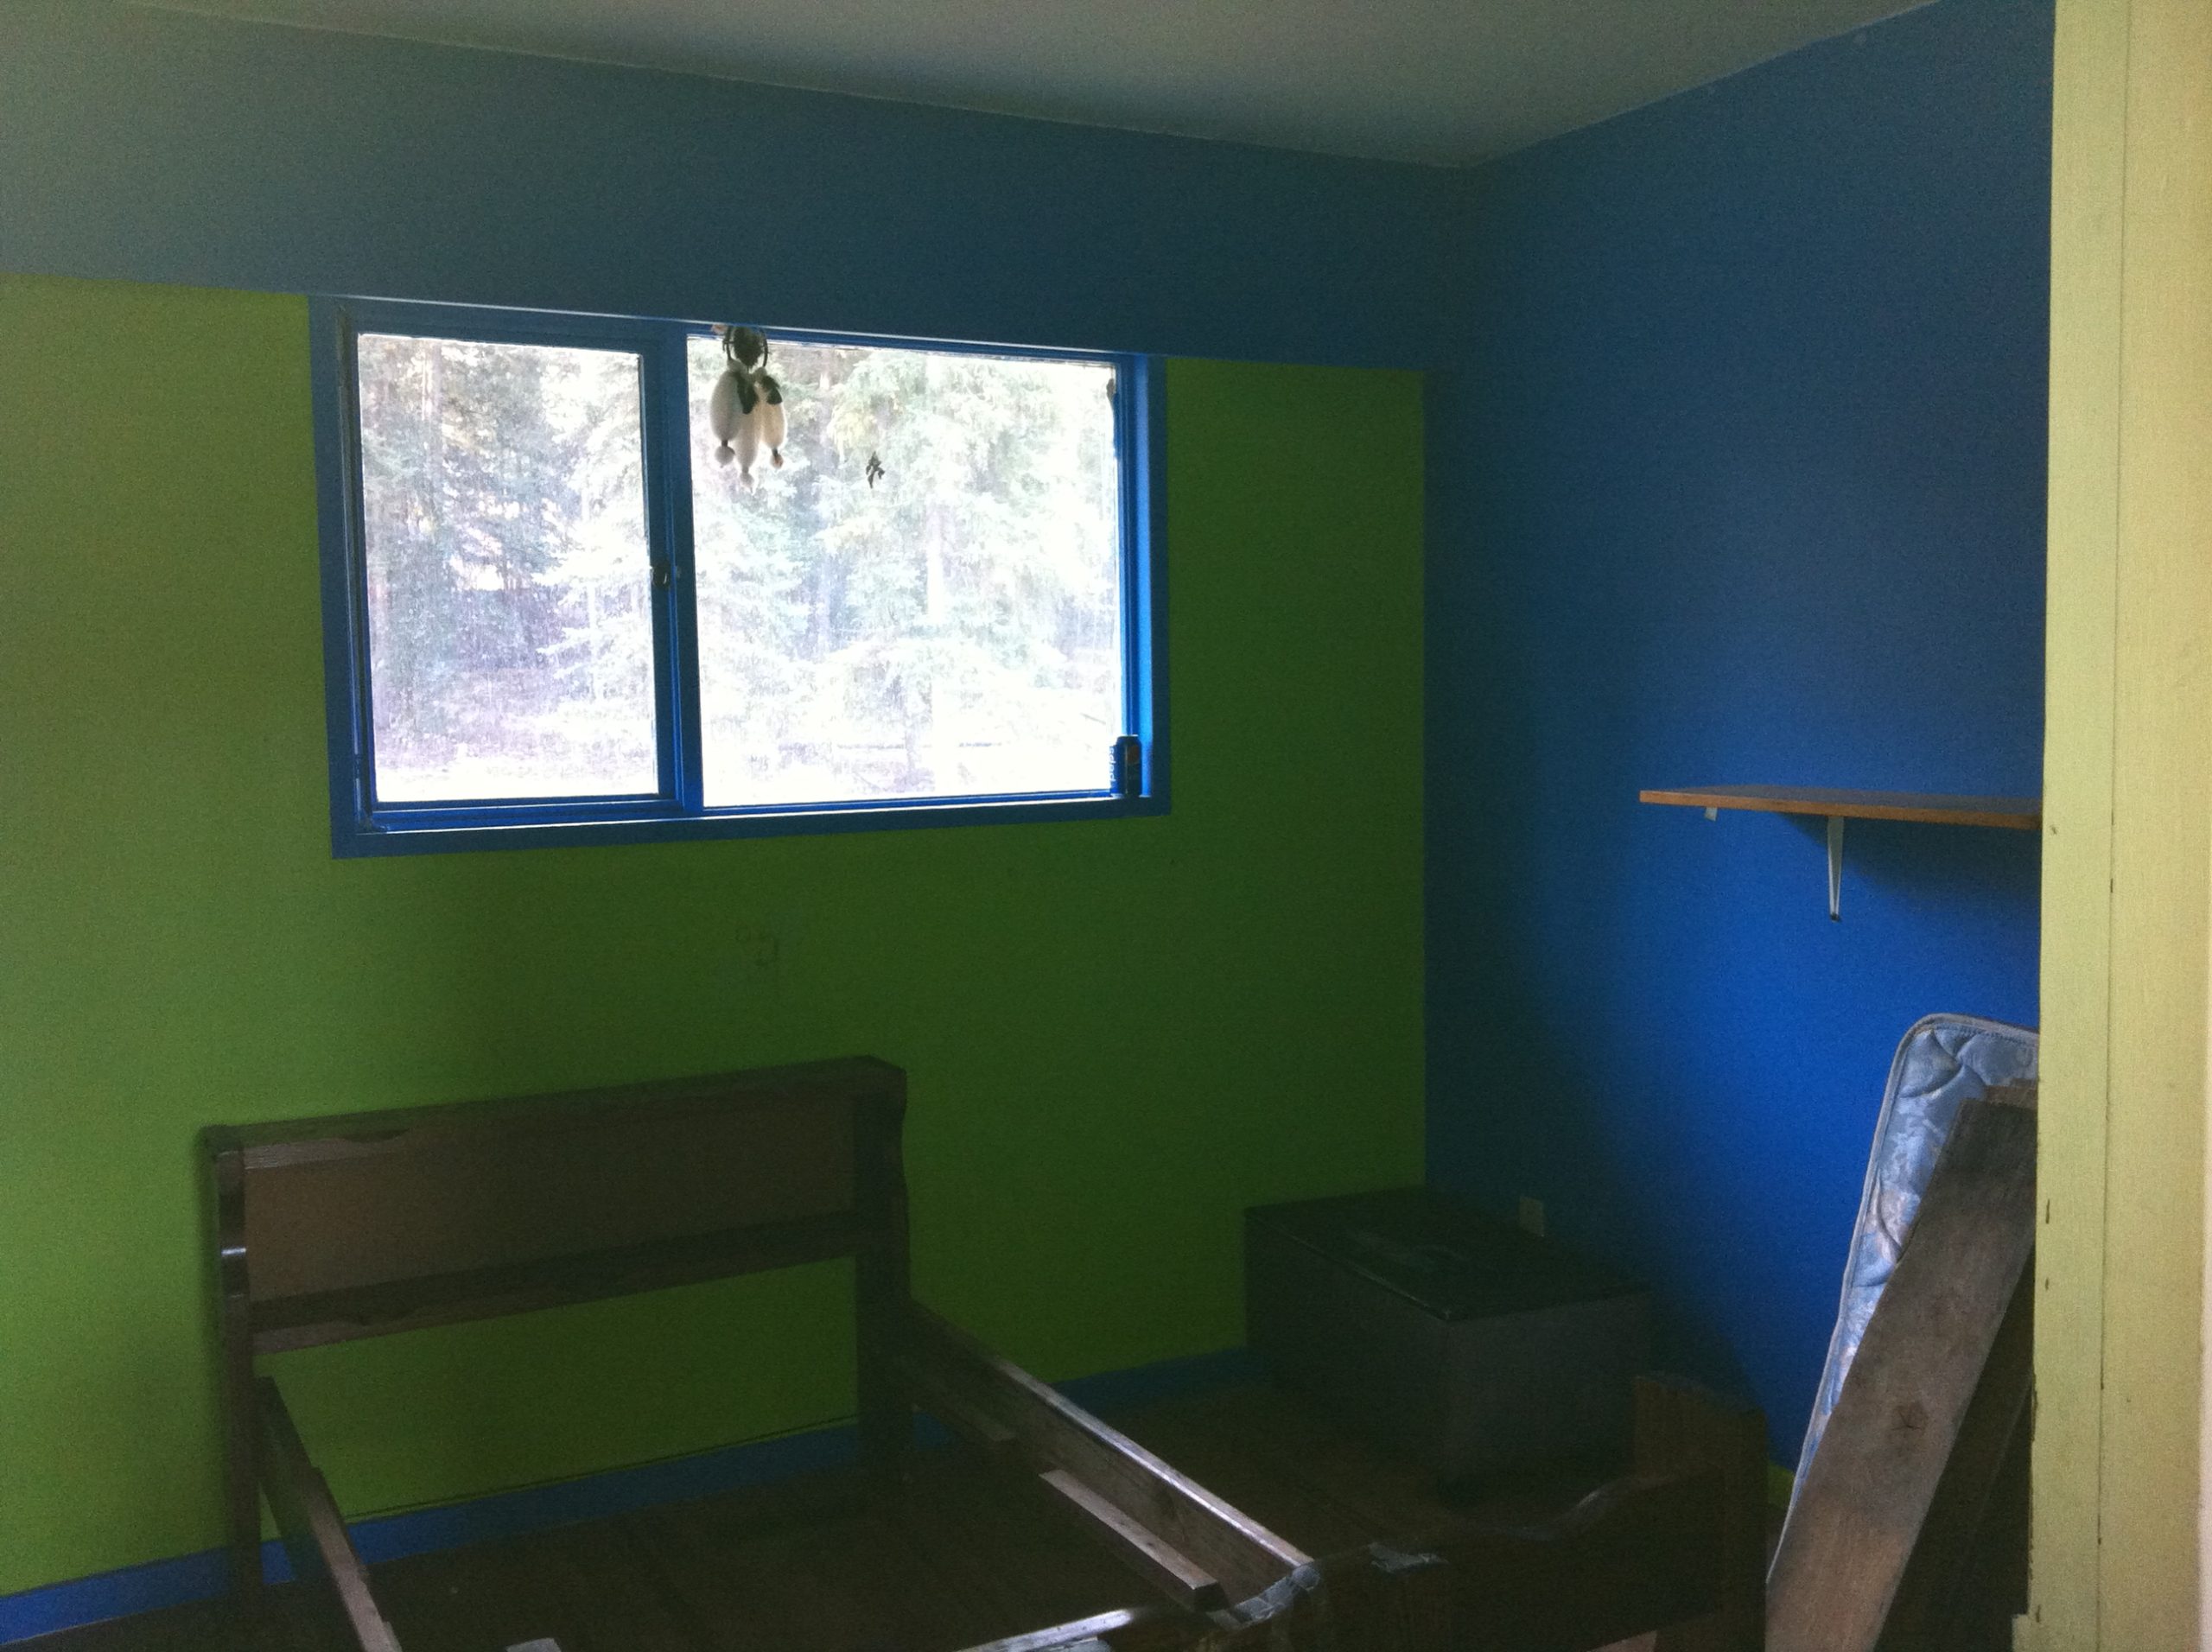
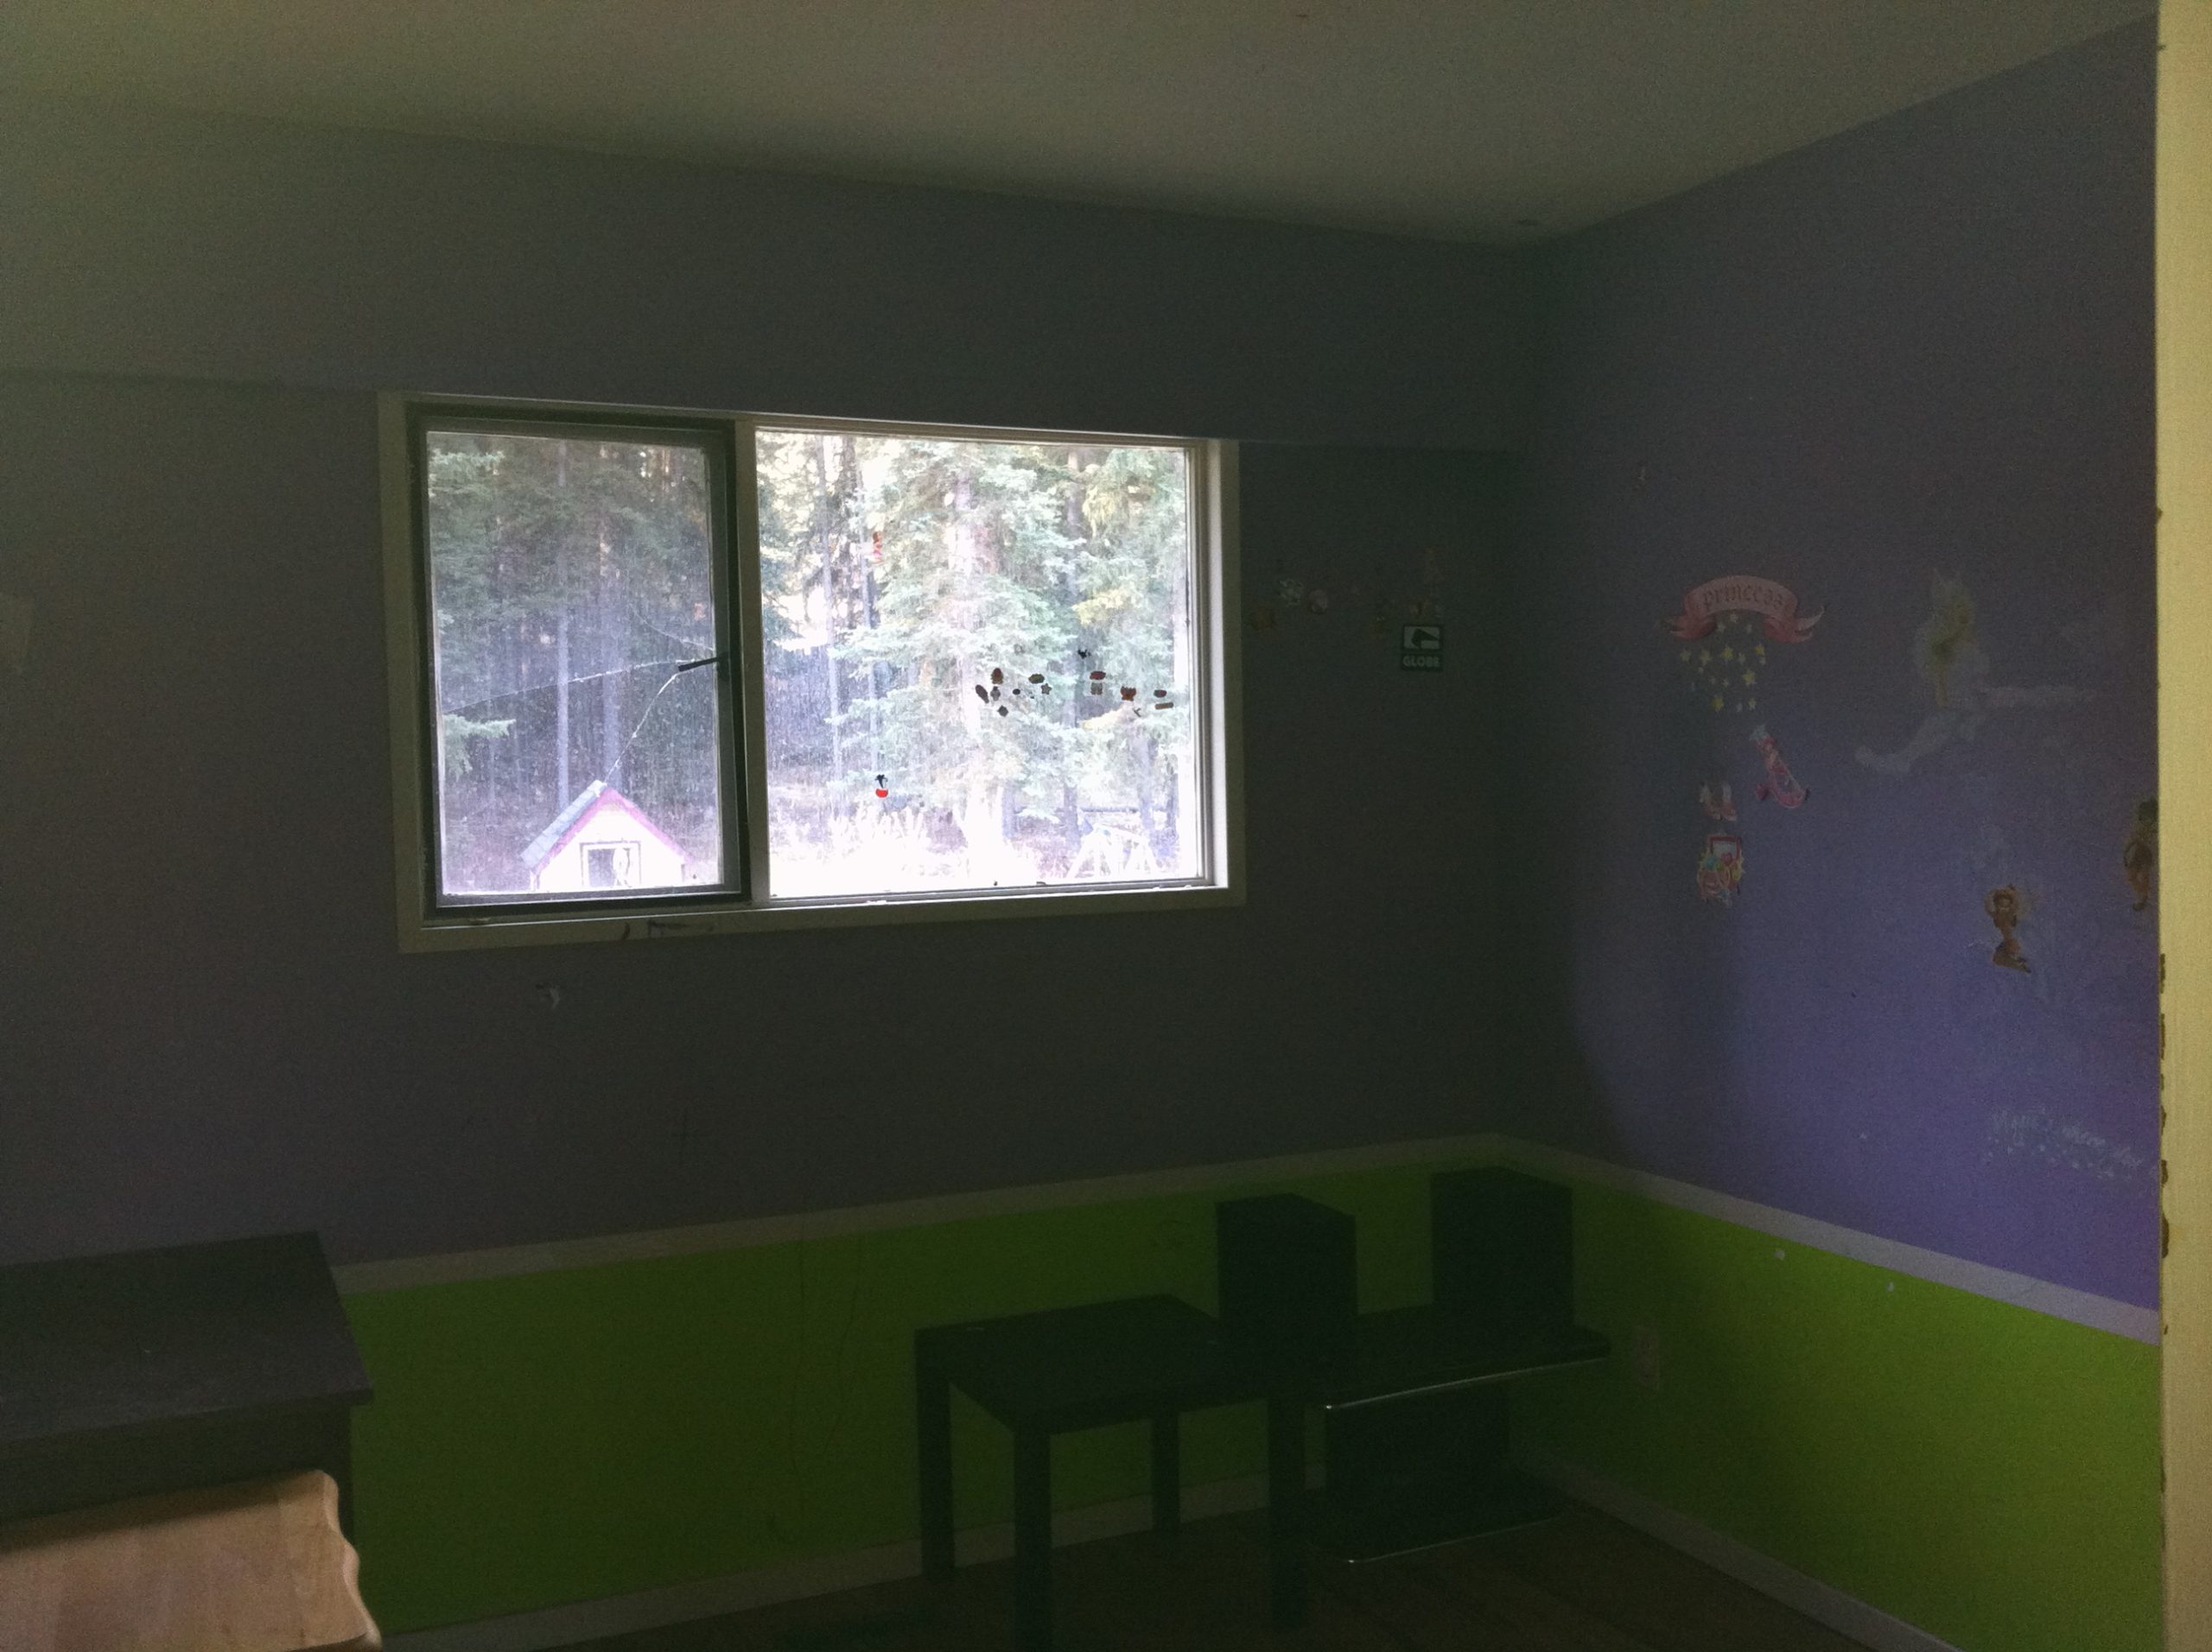
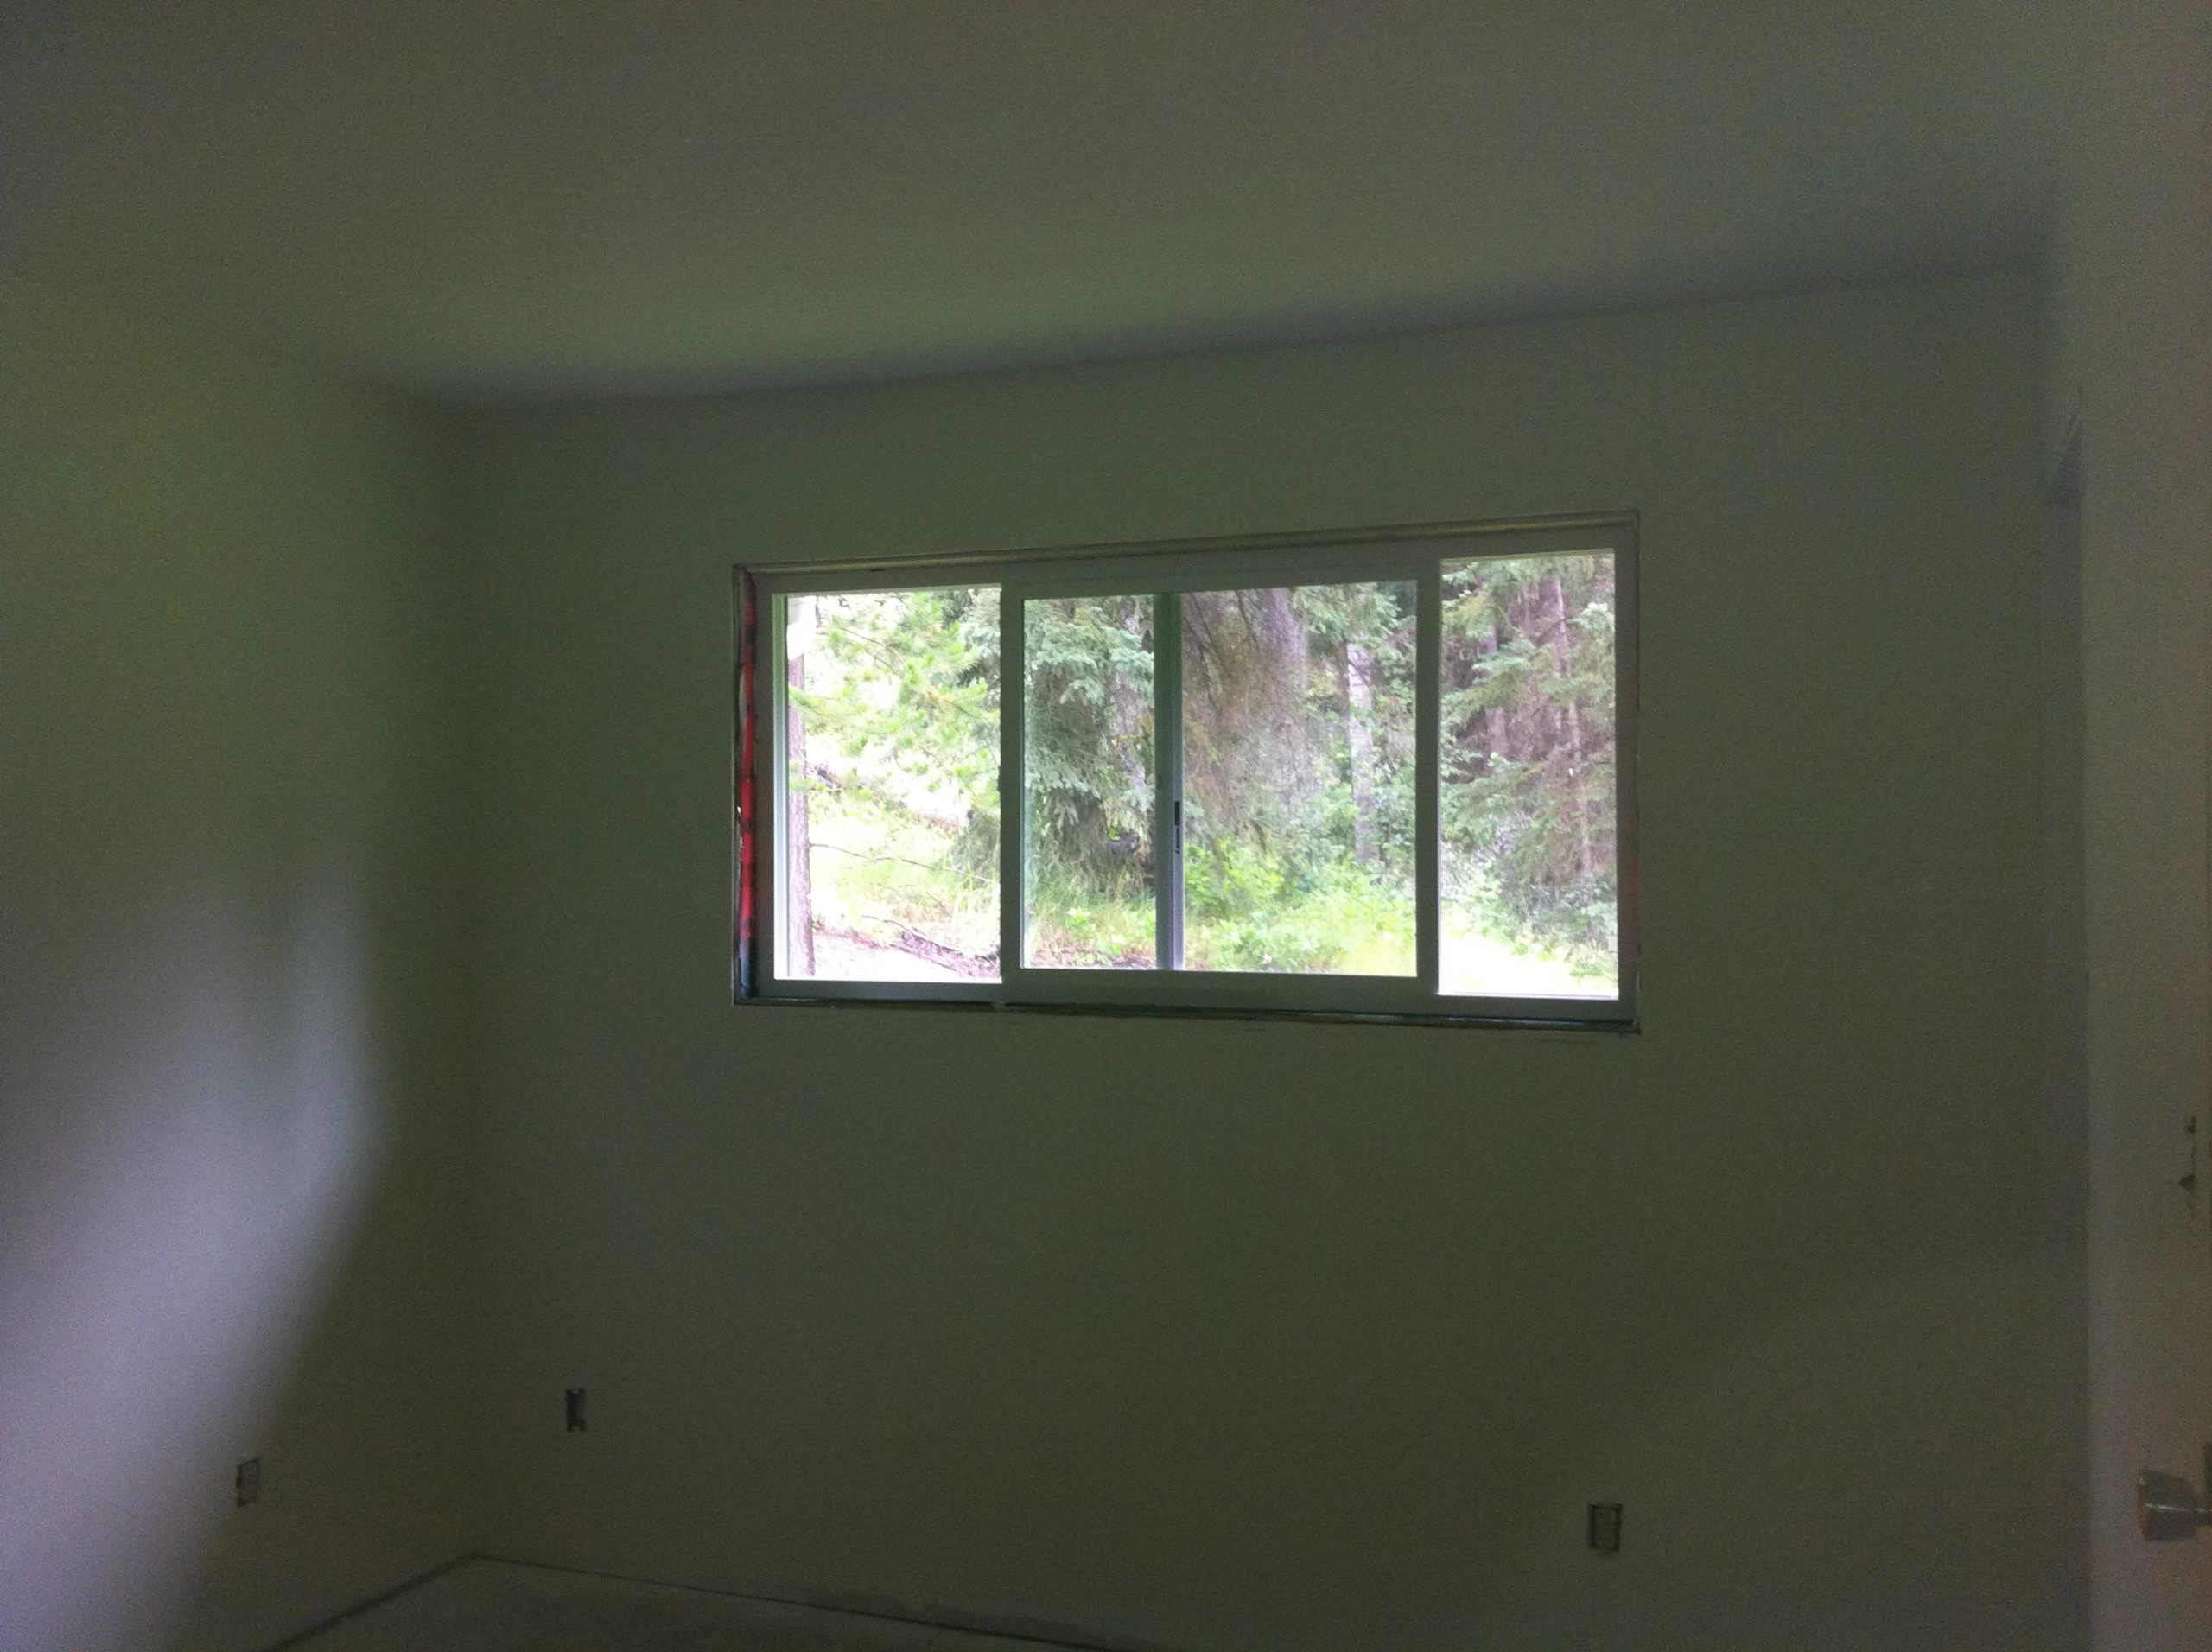
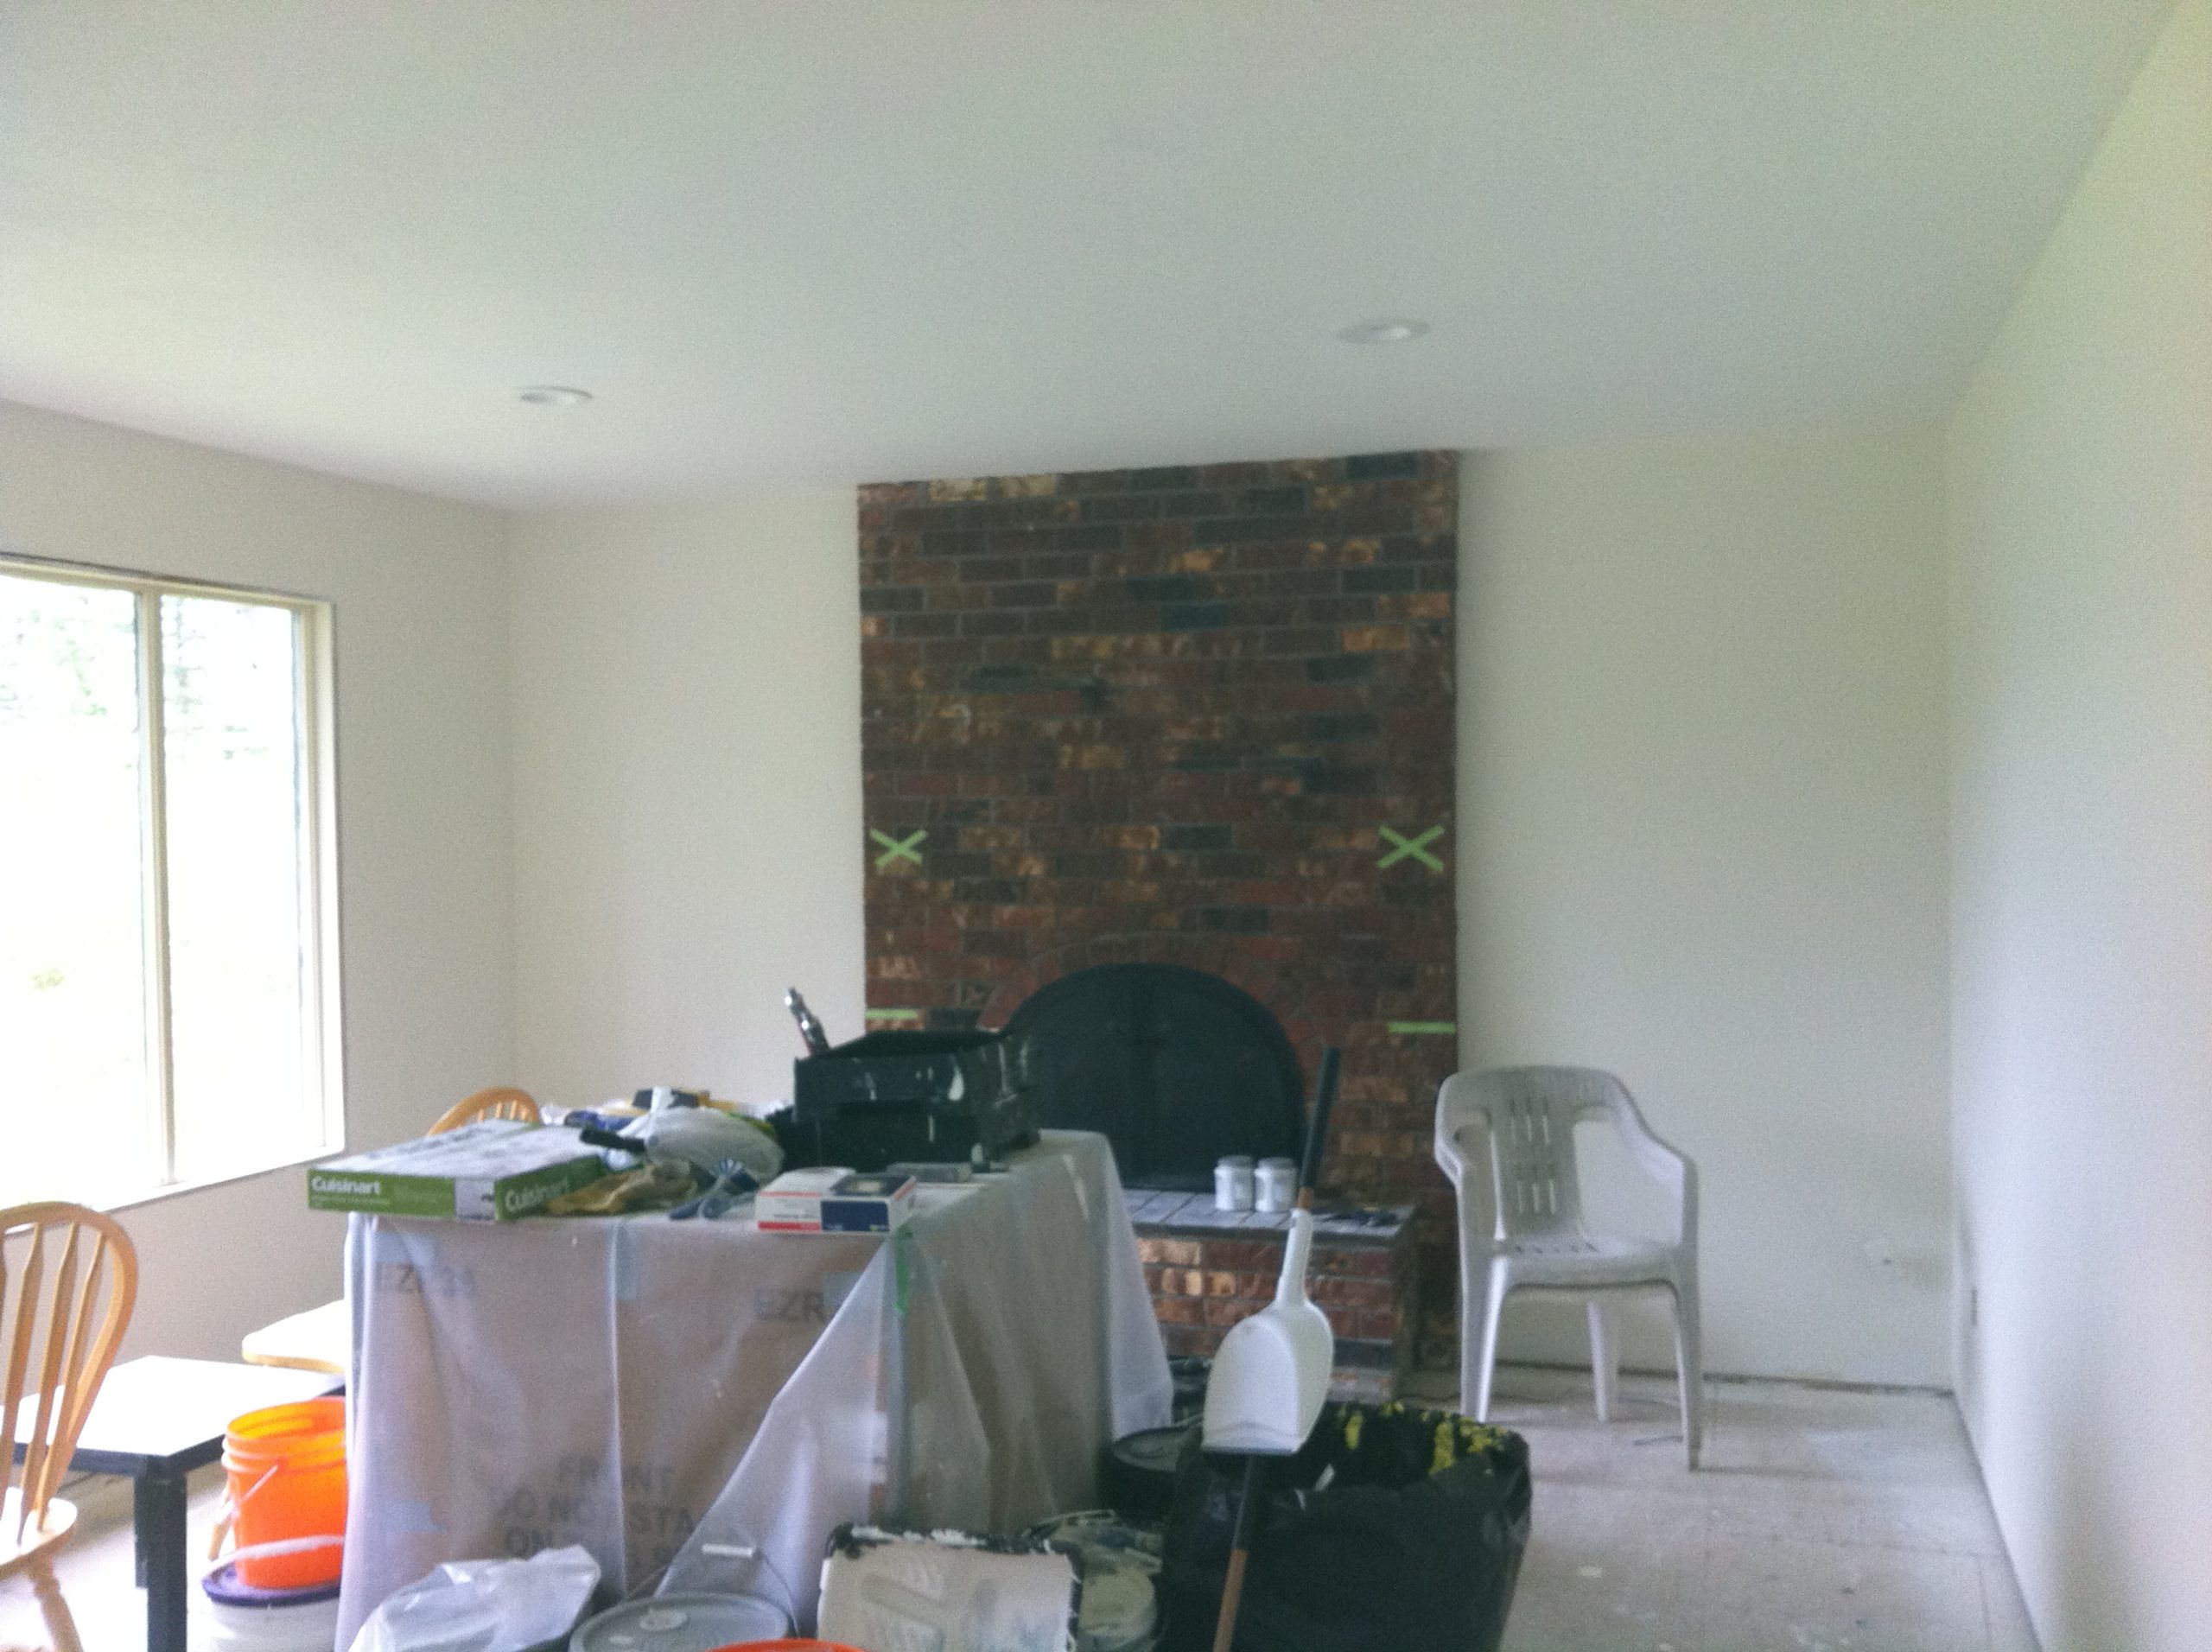
There were a lot of stickers in the bedrooms that had to be removed, and there were brown streaks along the top of the walls in the living room that looked like cooking grease.
It talking to our neighbors later on, we found out that it was likely nicotine from the previous owners’ smoking and – in fact – not cooking grease at all.
Judging by the little BB’s we found embedded in some of the walls, my guess was that when it was too cold to go outside and play the previous owners’ kids may have had BB gun fights inside – which added a few more sections we had to fill with drywall mud and sand flat.
So there was quite a bit of prep that had to be done before we could get to painting.
In addition to all of the drywall work, we also had to scrape the ceilings as they had a really heavy popcorn texture on them that we wanted to replace.
This meant that we had to scrape the entire upstairs ceiling (through all of the rooms and living areas) to first remove the popcorn.
After that, I had to skim coat the entire ceiling with drywall mud and sand it flat.
It took forever.
I phoned a local company to see if they would be interested in doing the work, but after the woman heard that I scraped the ceiling and mudded it myself, she proceeded to tell me what a horrible job had done (even though she hadn’t come to see it!) and that what I’d done would cause the process to take that much longer.
I felt we should keep looking for someone else.
Eventually we managed to find someone who could Spackle the ceilings once we were done. And when he came out and saw what we’d done he thought we’d done a good enough job mudding the ceiling that we could just leave it flat and not bother adding the texture.
But we decided to go with the texture anyways.
Painting turned out to be quite an adventure.
In an effort to save some time, I bought a paint sprayer but I couldn’t get it to work properly.
I was quite pleased with the brilliance of my idea.
But even though the primer was mixed properly, the spray line, nozzle and spray tip were cleared and cleaned repeatedly, the sprayer just didn’t want to work.
It kept spitting and laying down the primer unevenly so that it ran in spots.
Even with my wife backrolling as I was spraying, it just wasn’t working.
To make matters worse, we were using the Kilz primer to help seal in the interesting smells that the house had accumulated over the past years (the last people living in it were heavy smokers) which made our eyes burn even though we had windows open for ventilation.
After hours of fighting with the sprayer and not getting the results we wanted, there was a power outage.
Thankfully, with no power to run the sprayer we had to stop working.
We had sprayed maybe half of the upper floor with one coat of primer.
To add insult to injury, because we were painting the upper floor the shower was out of commission.
So to get cleaned up we had to go to my in laws’ place and use an outdoor shower (they were away at the time and renovating the inside of their place too).
I was fed up and decided we should just rent a room at a local hotel and call it a night.
But the damage was already done and I gave up on the paint sprayer.
This meant we had to paint the entire house by hand with rollers.
We were lucky enough to have my parents come and help us out with that – which was a pretty big help & a huge boost to morale.
But I have decided that paint sprayers are of the devil and that I don’t like painting.