This project involved quite a few steps and individual projects before it all came together and was finally done.
Before we started with the fireplace, I made the custom built ins on either side of the fireplace.
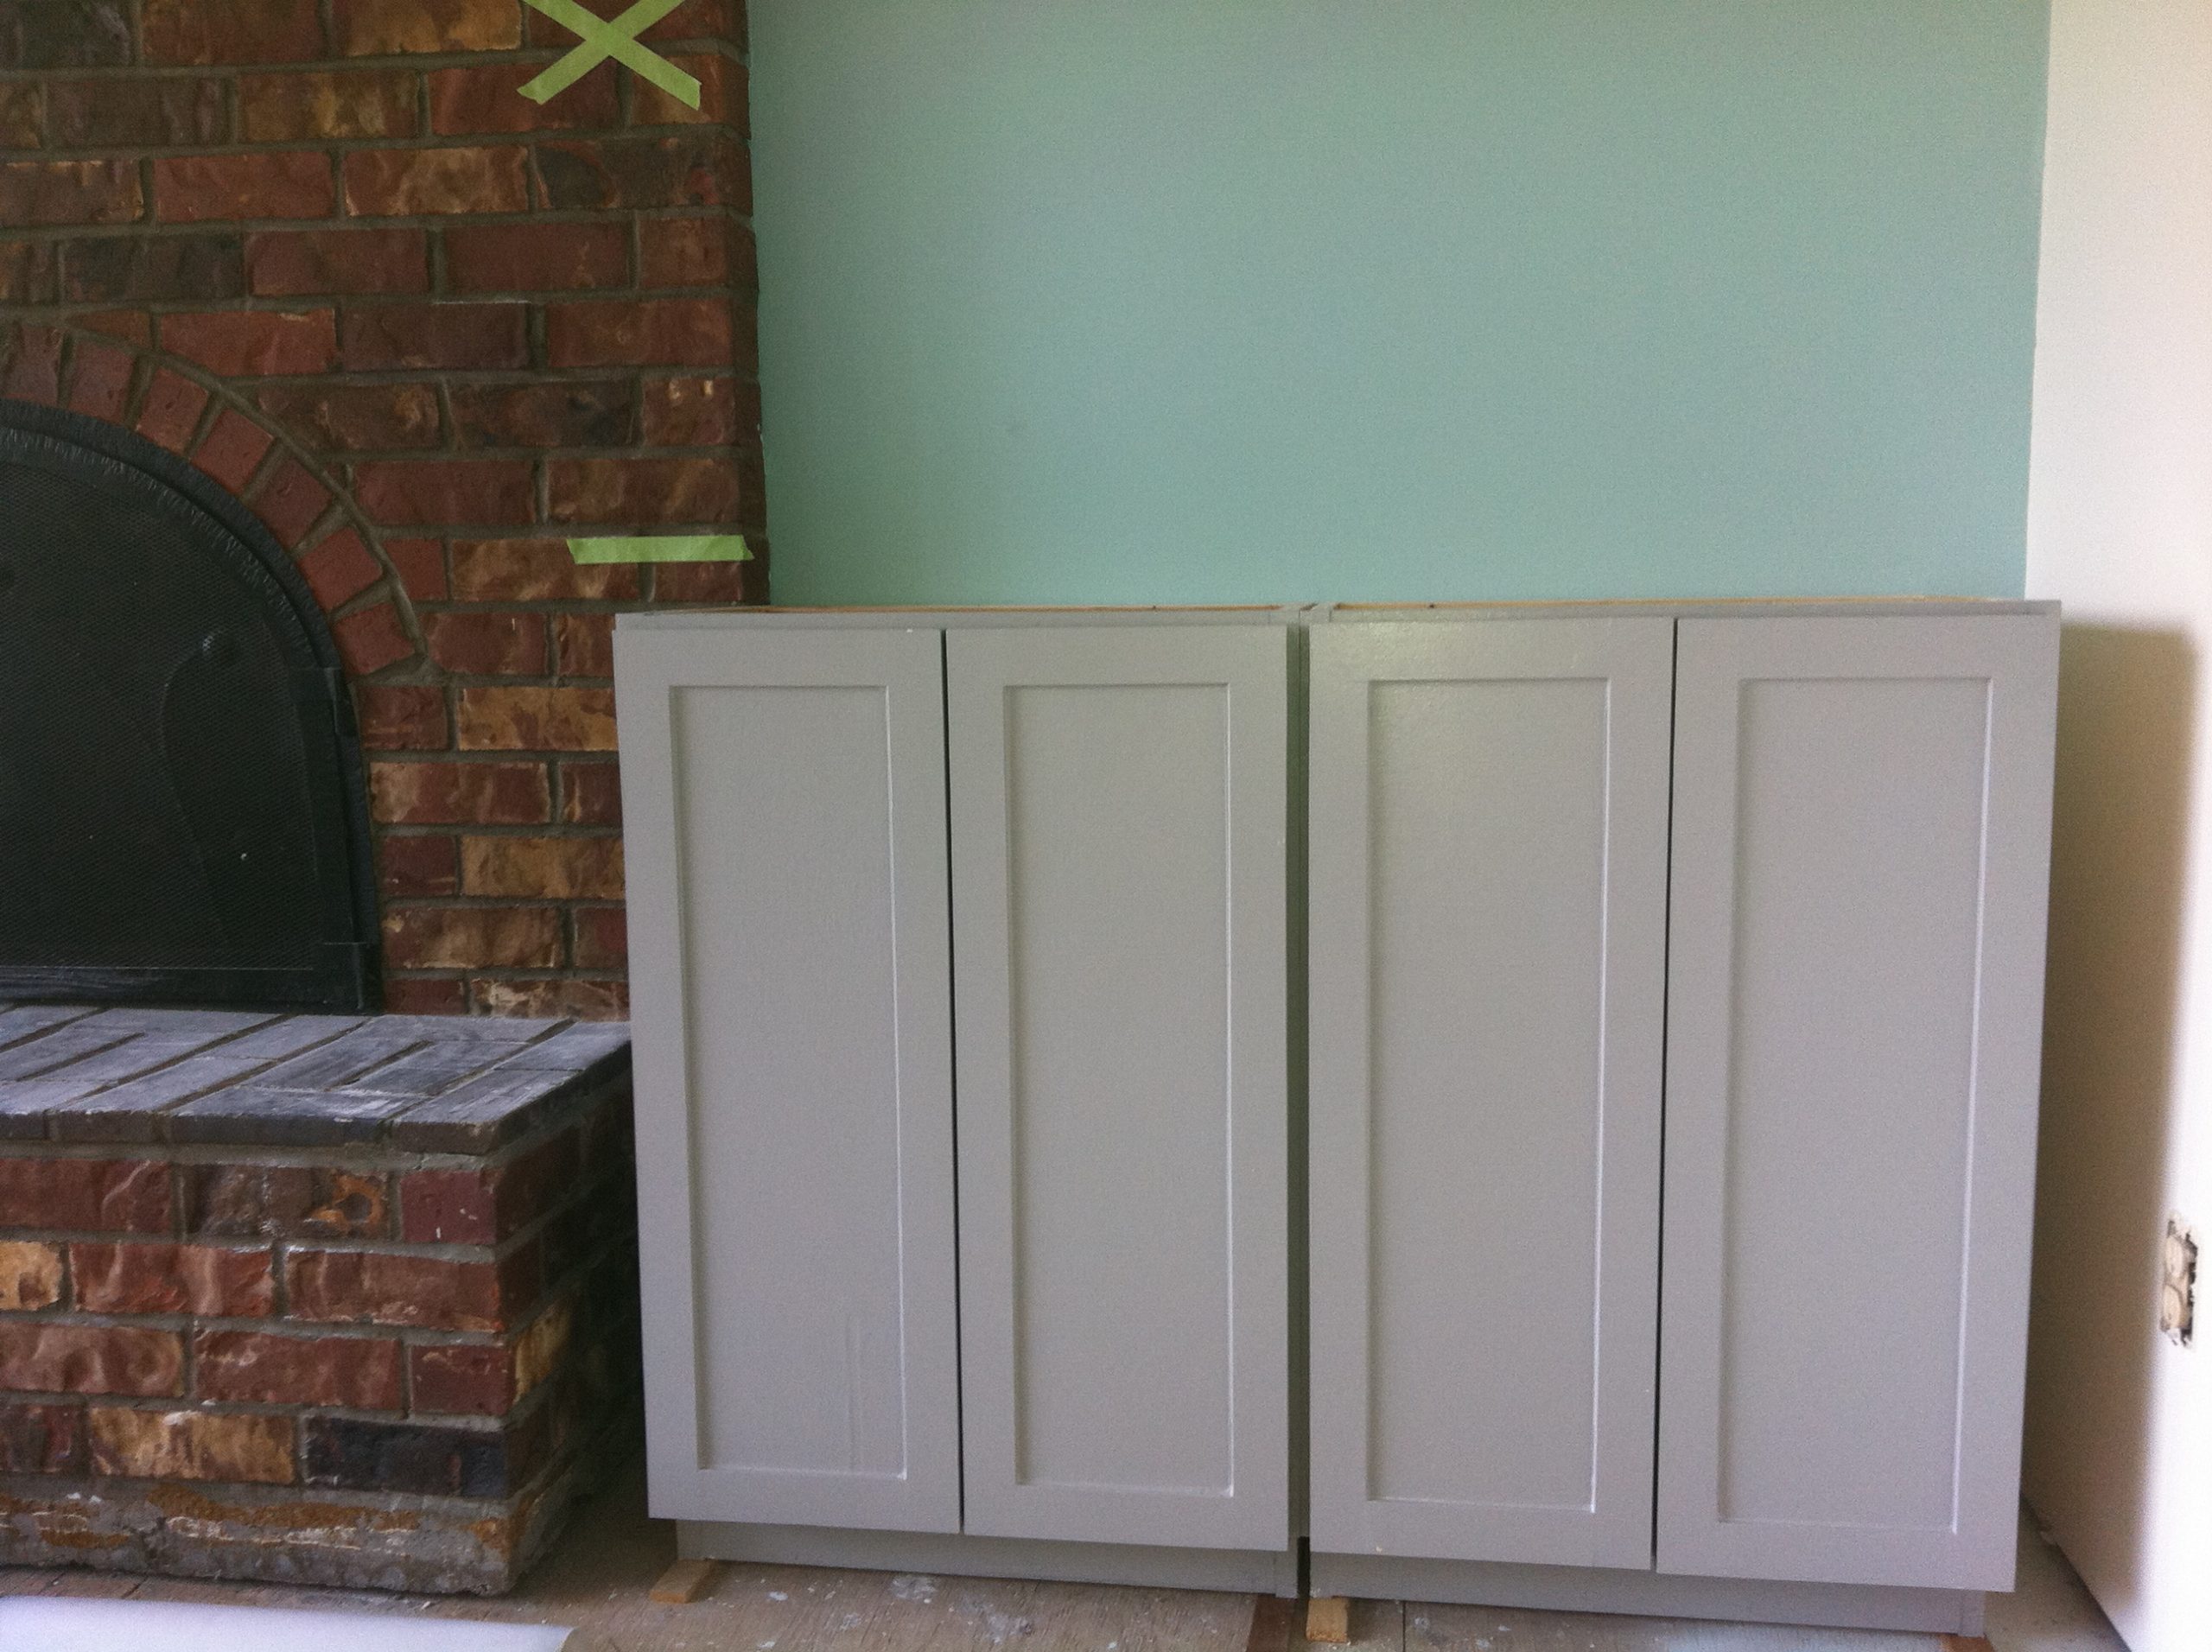
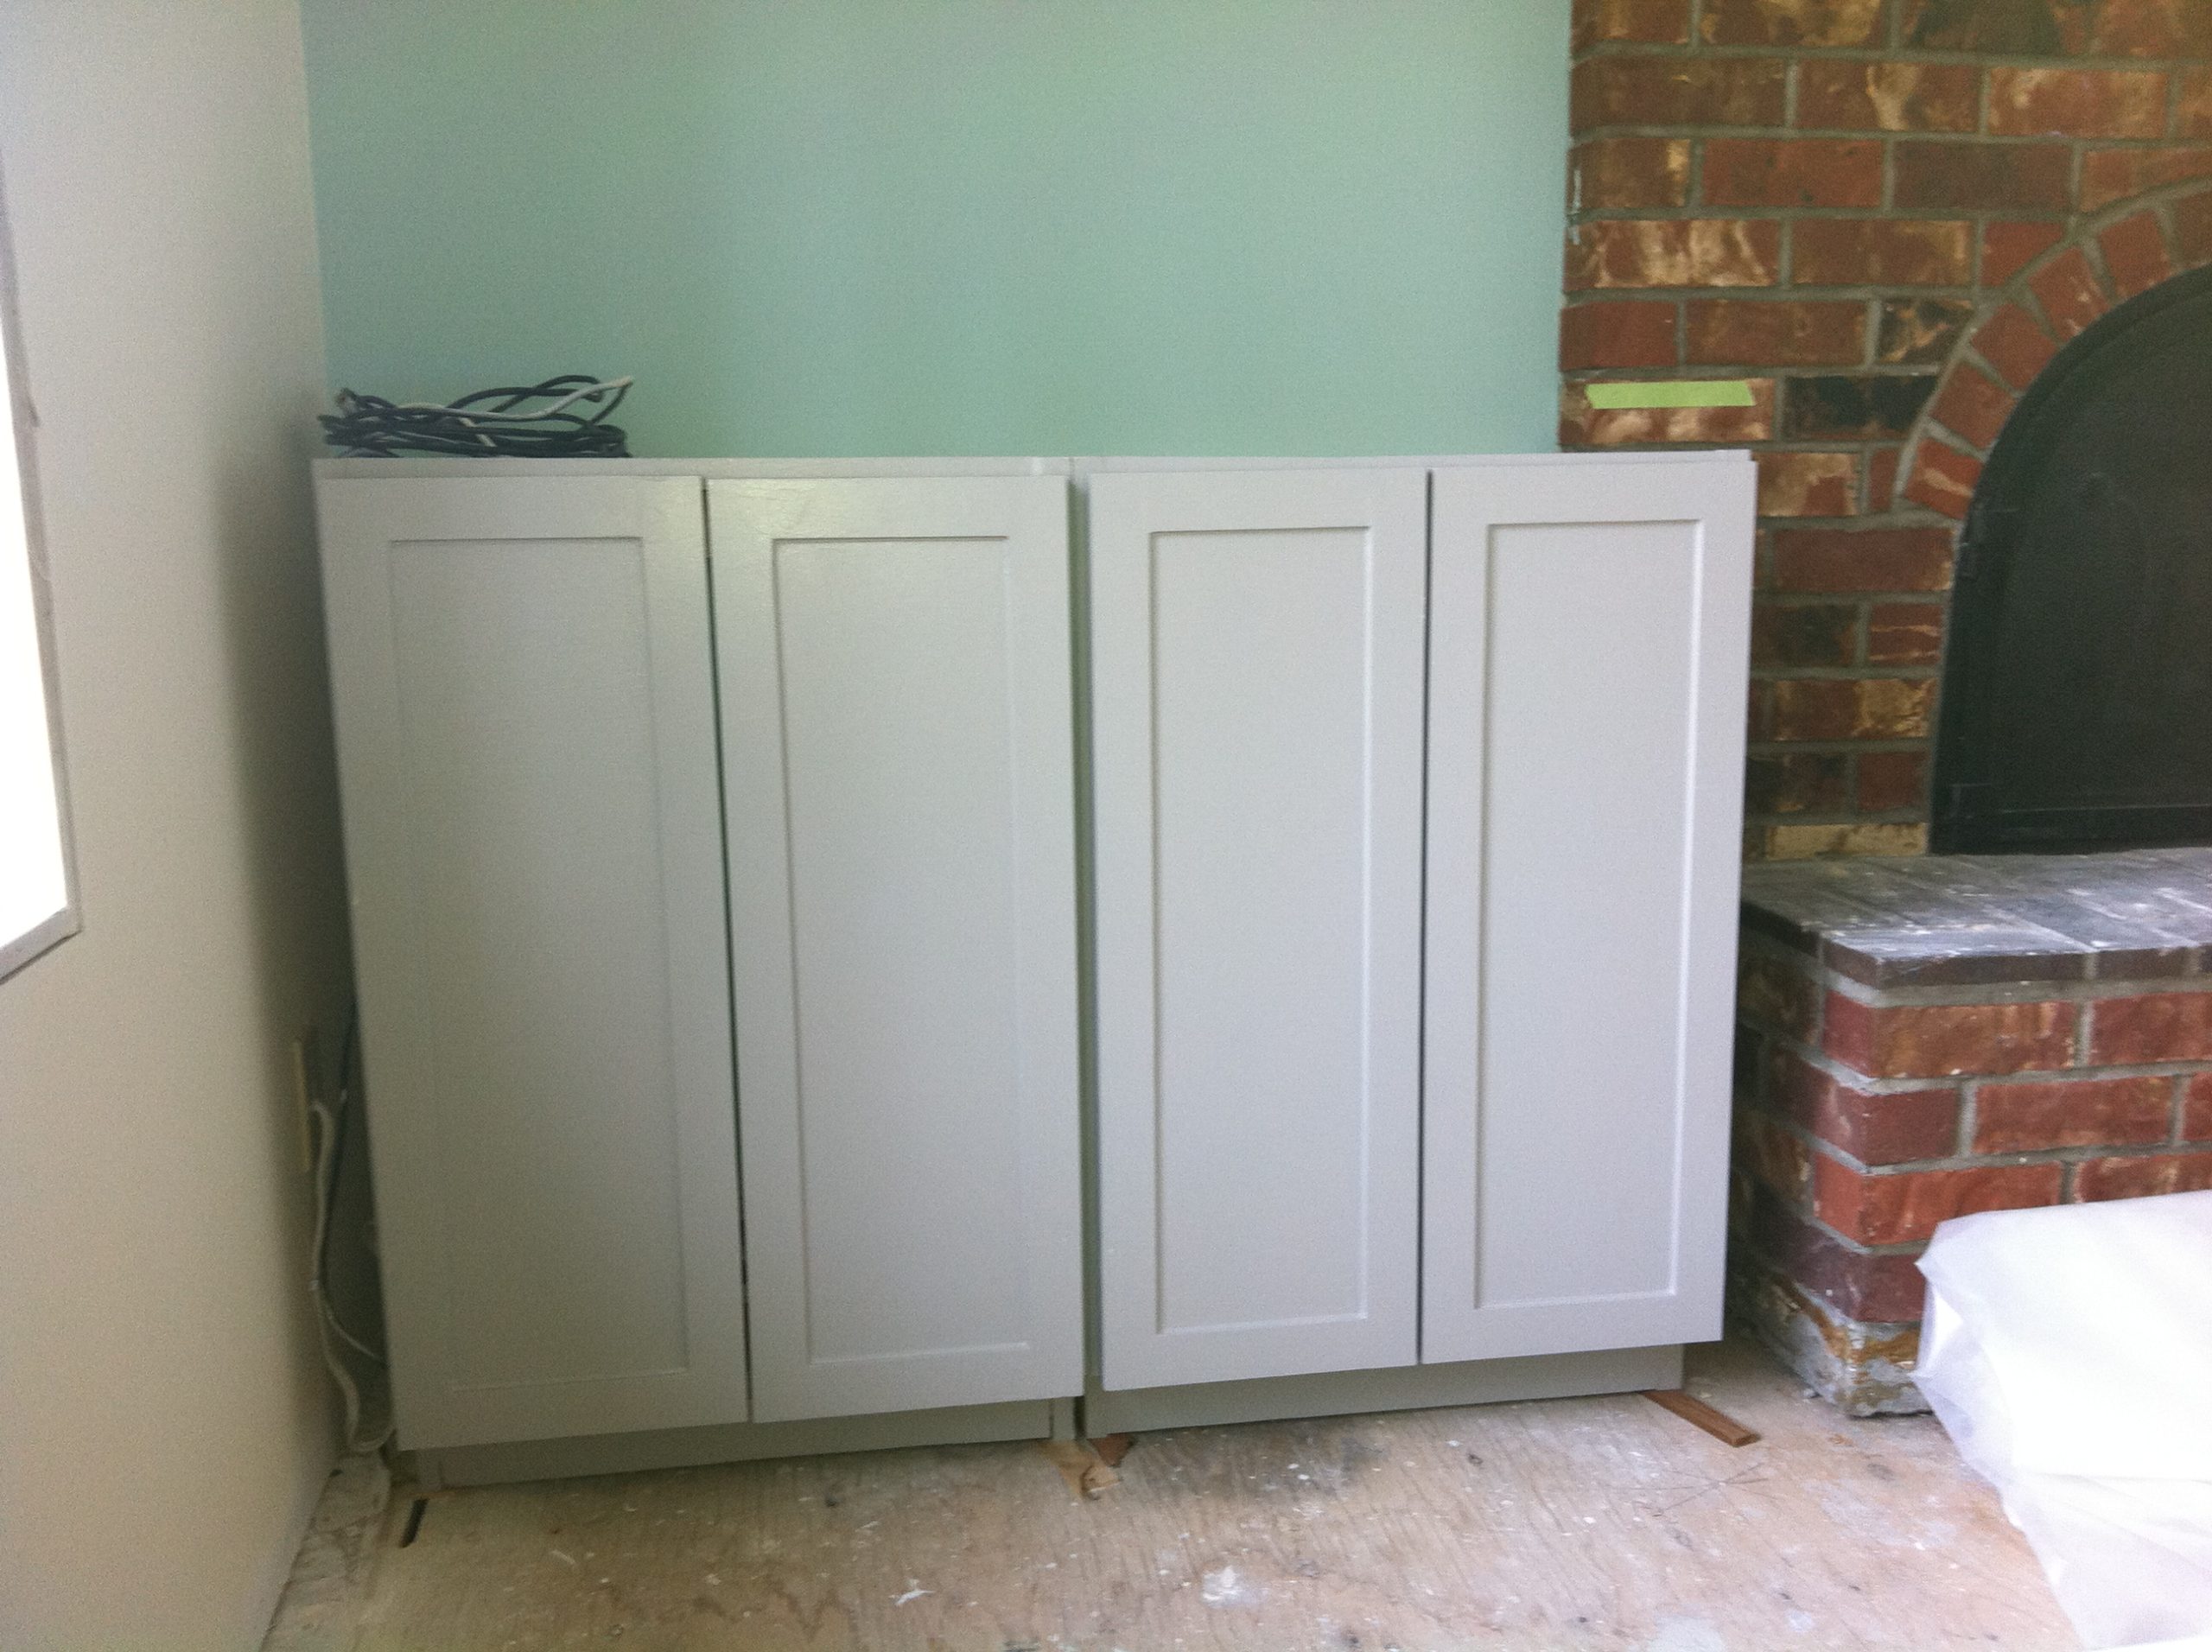
I built them out of plywood and used soft close hardware and my wife painted them all.
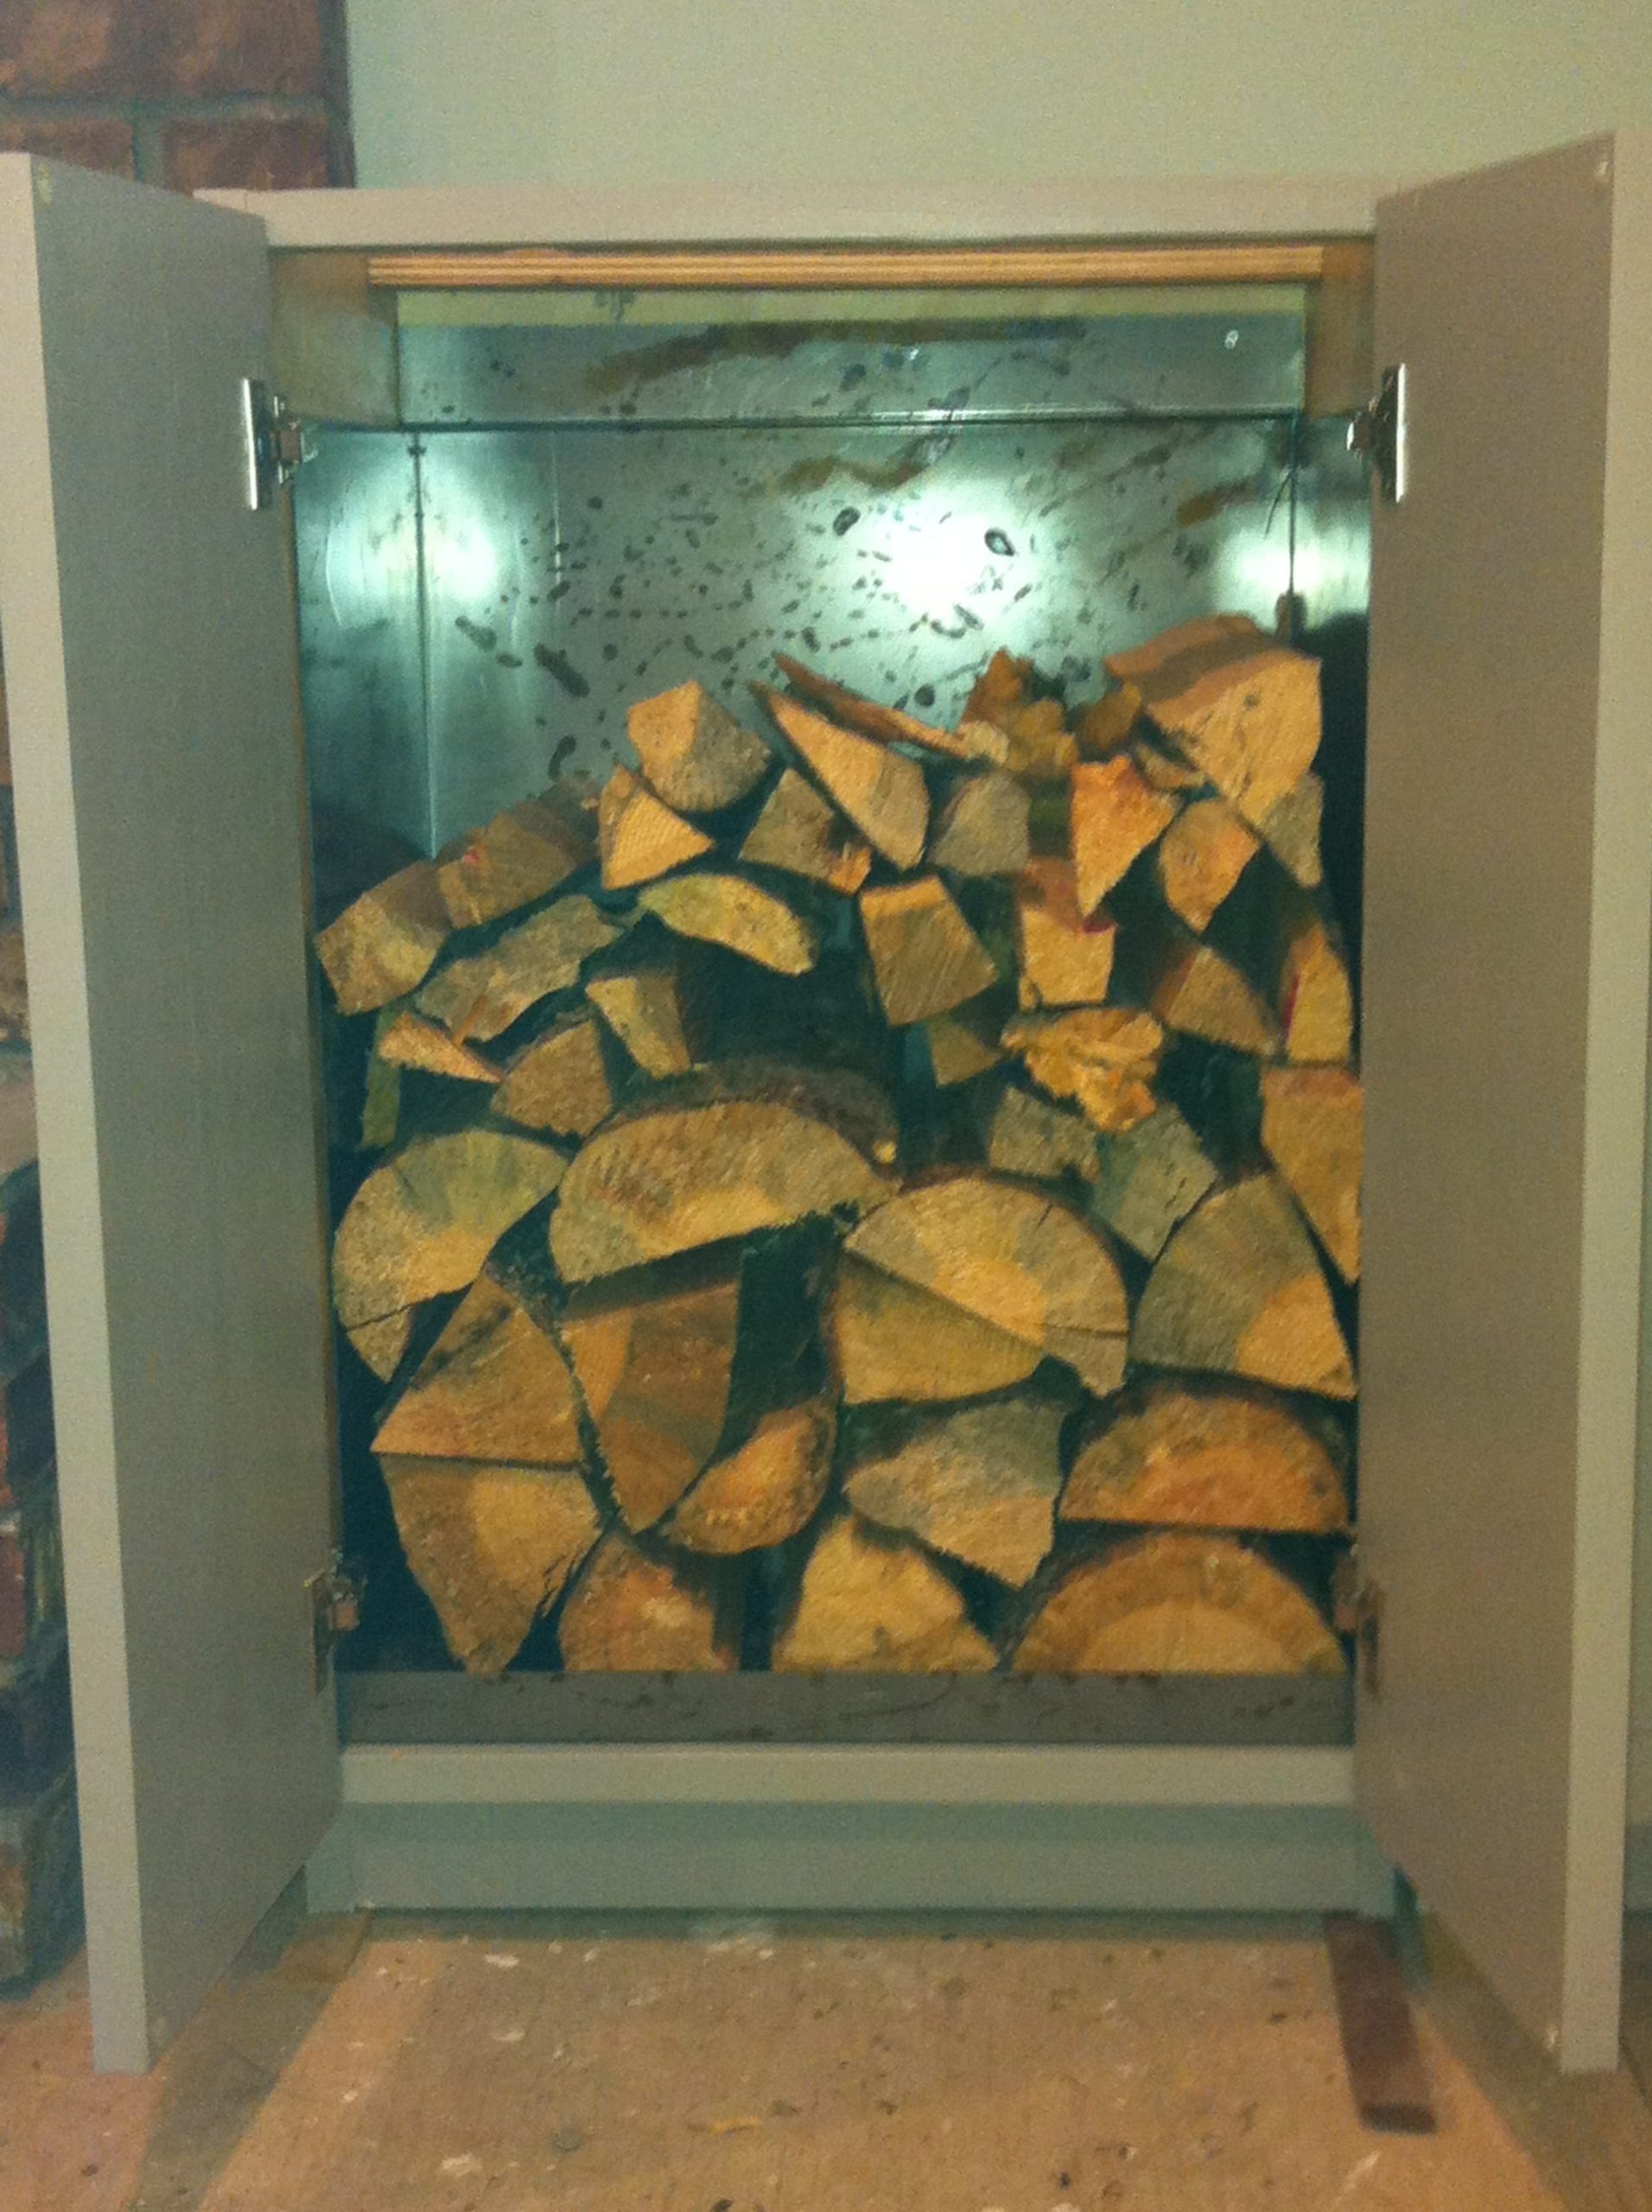
I lined one of the built in cabinets with metal and used it as wood storage for the fireplace.
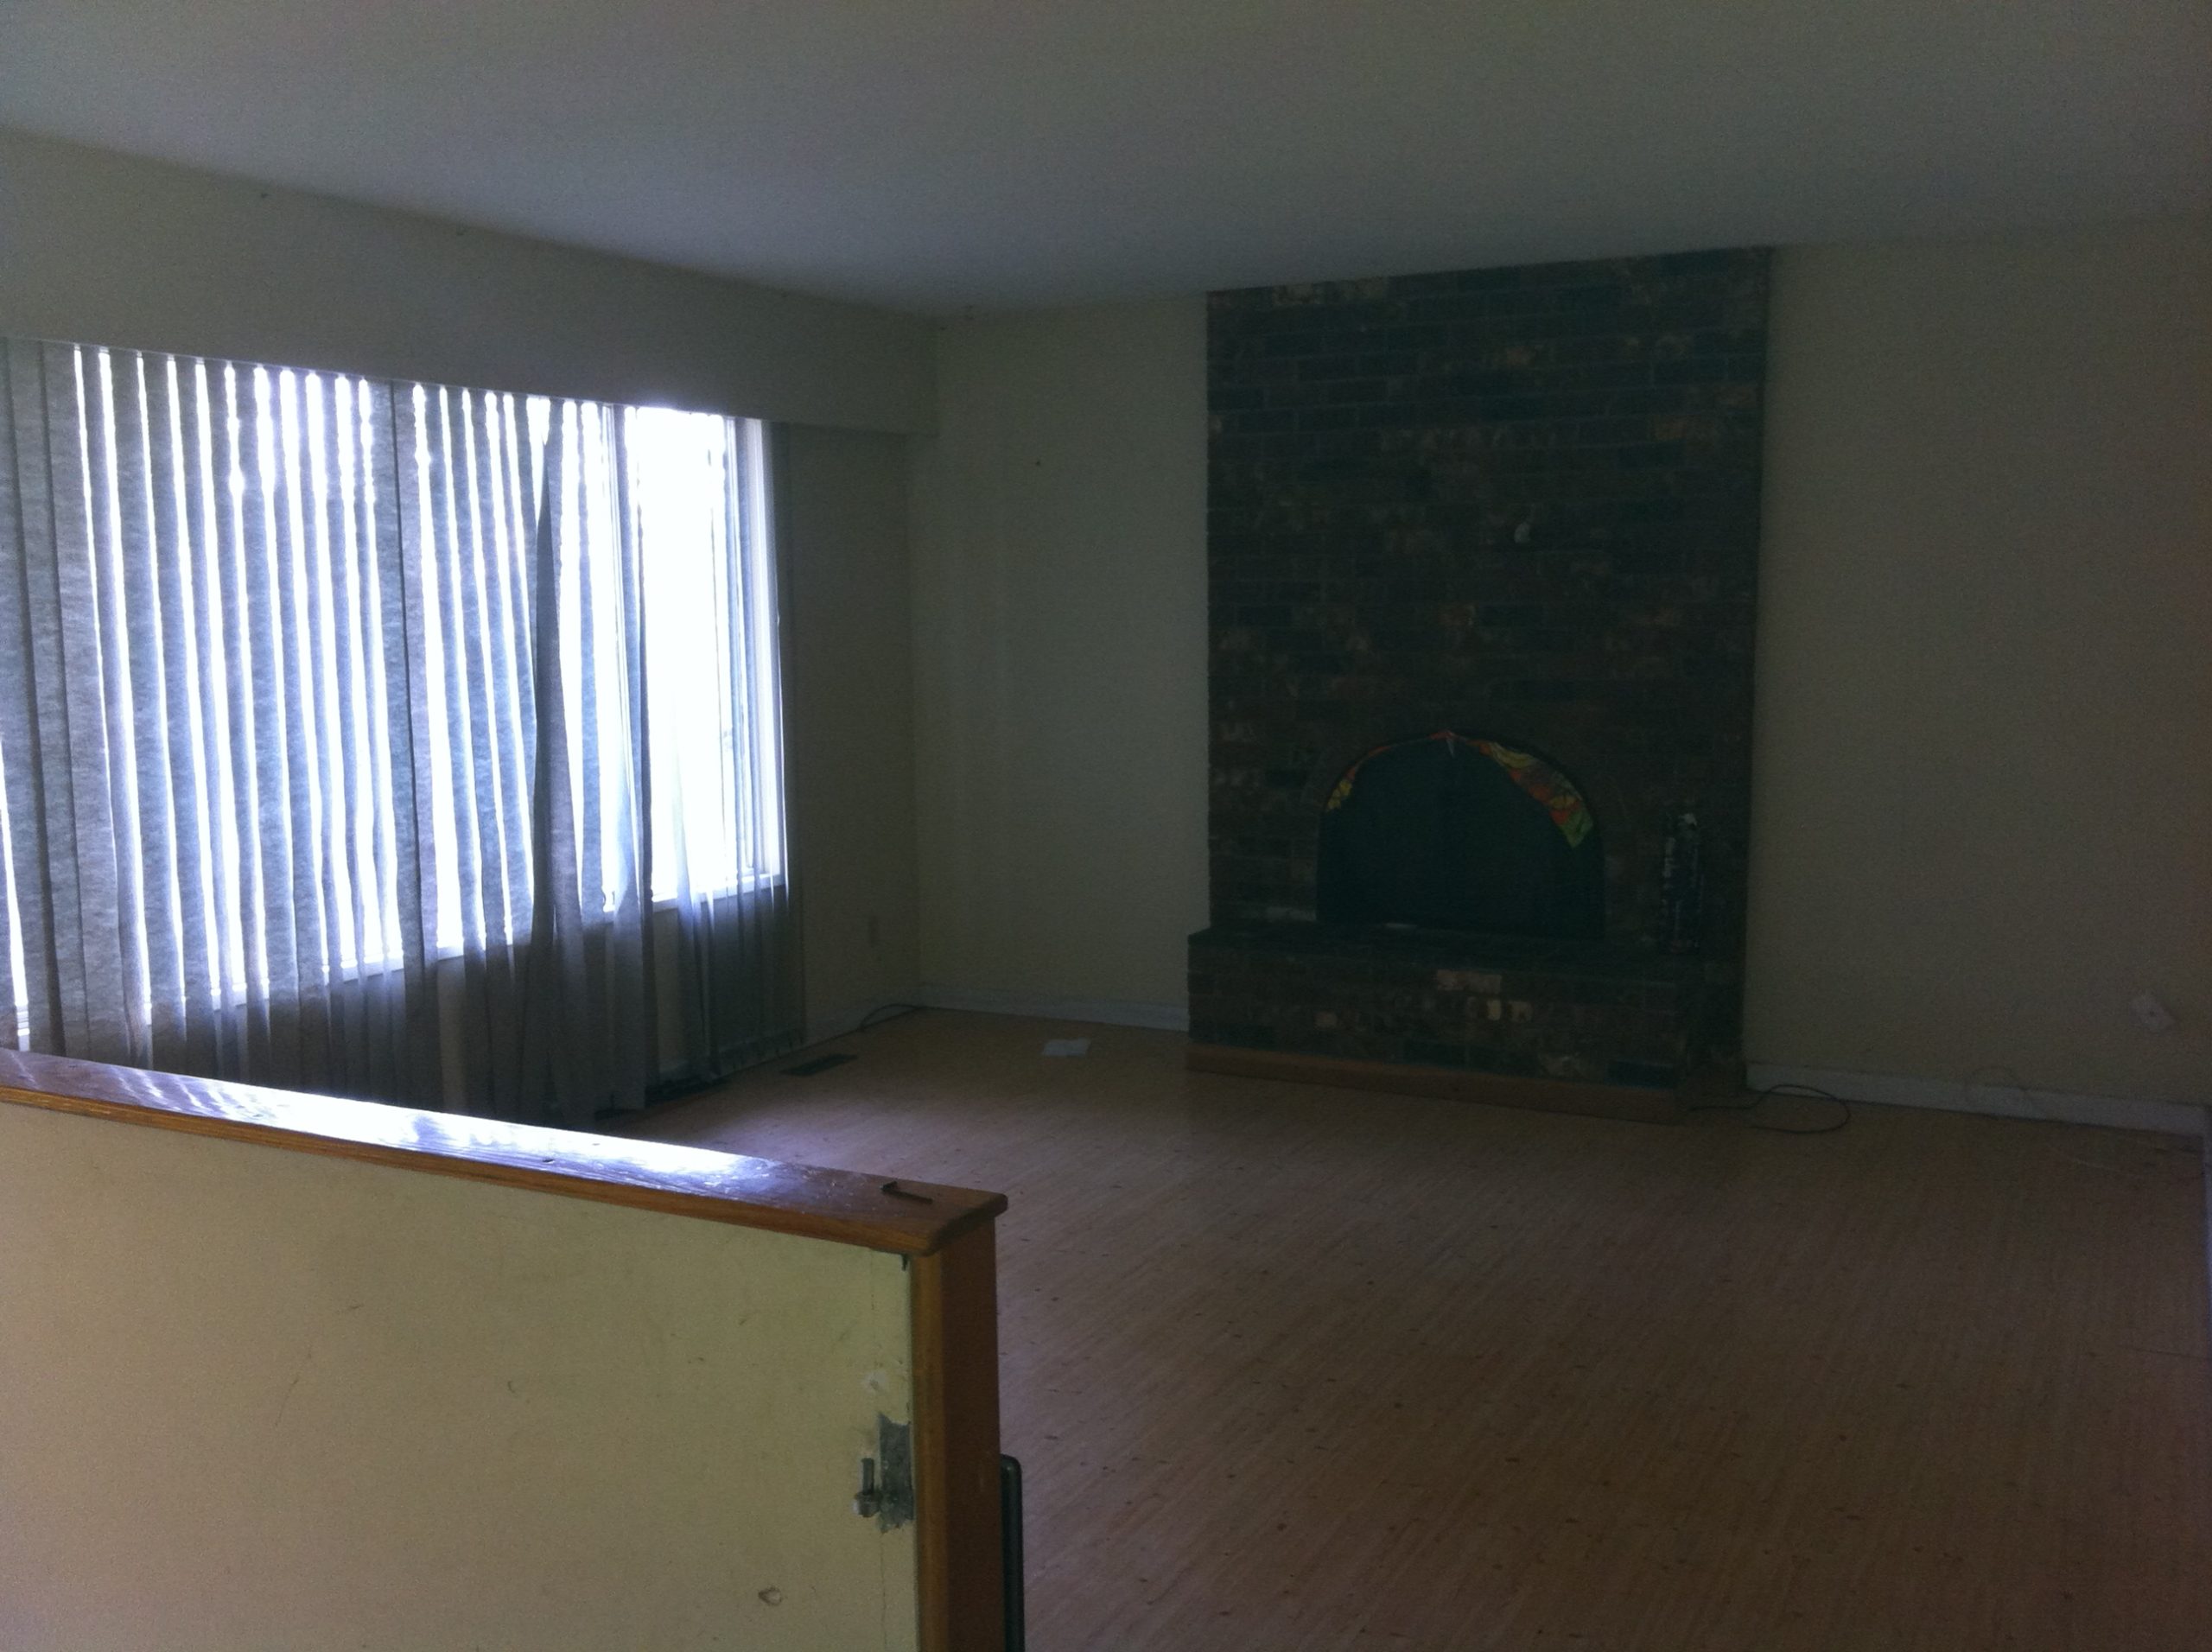
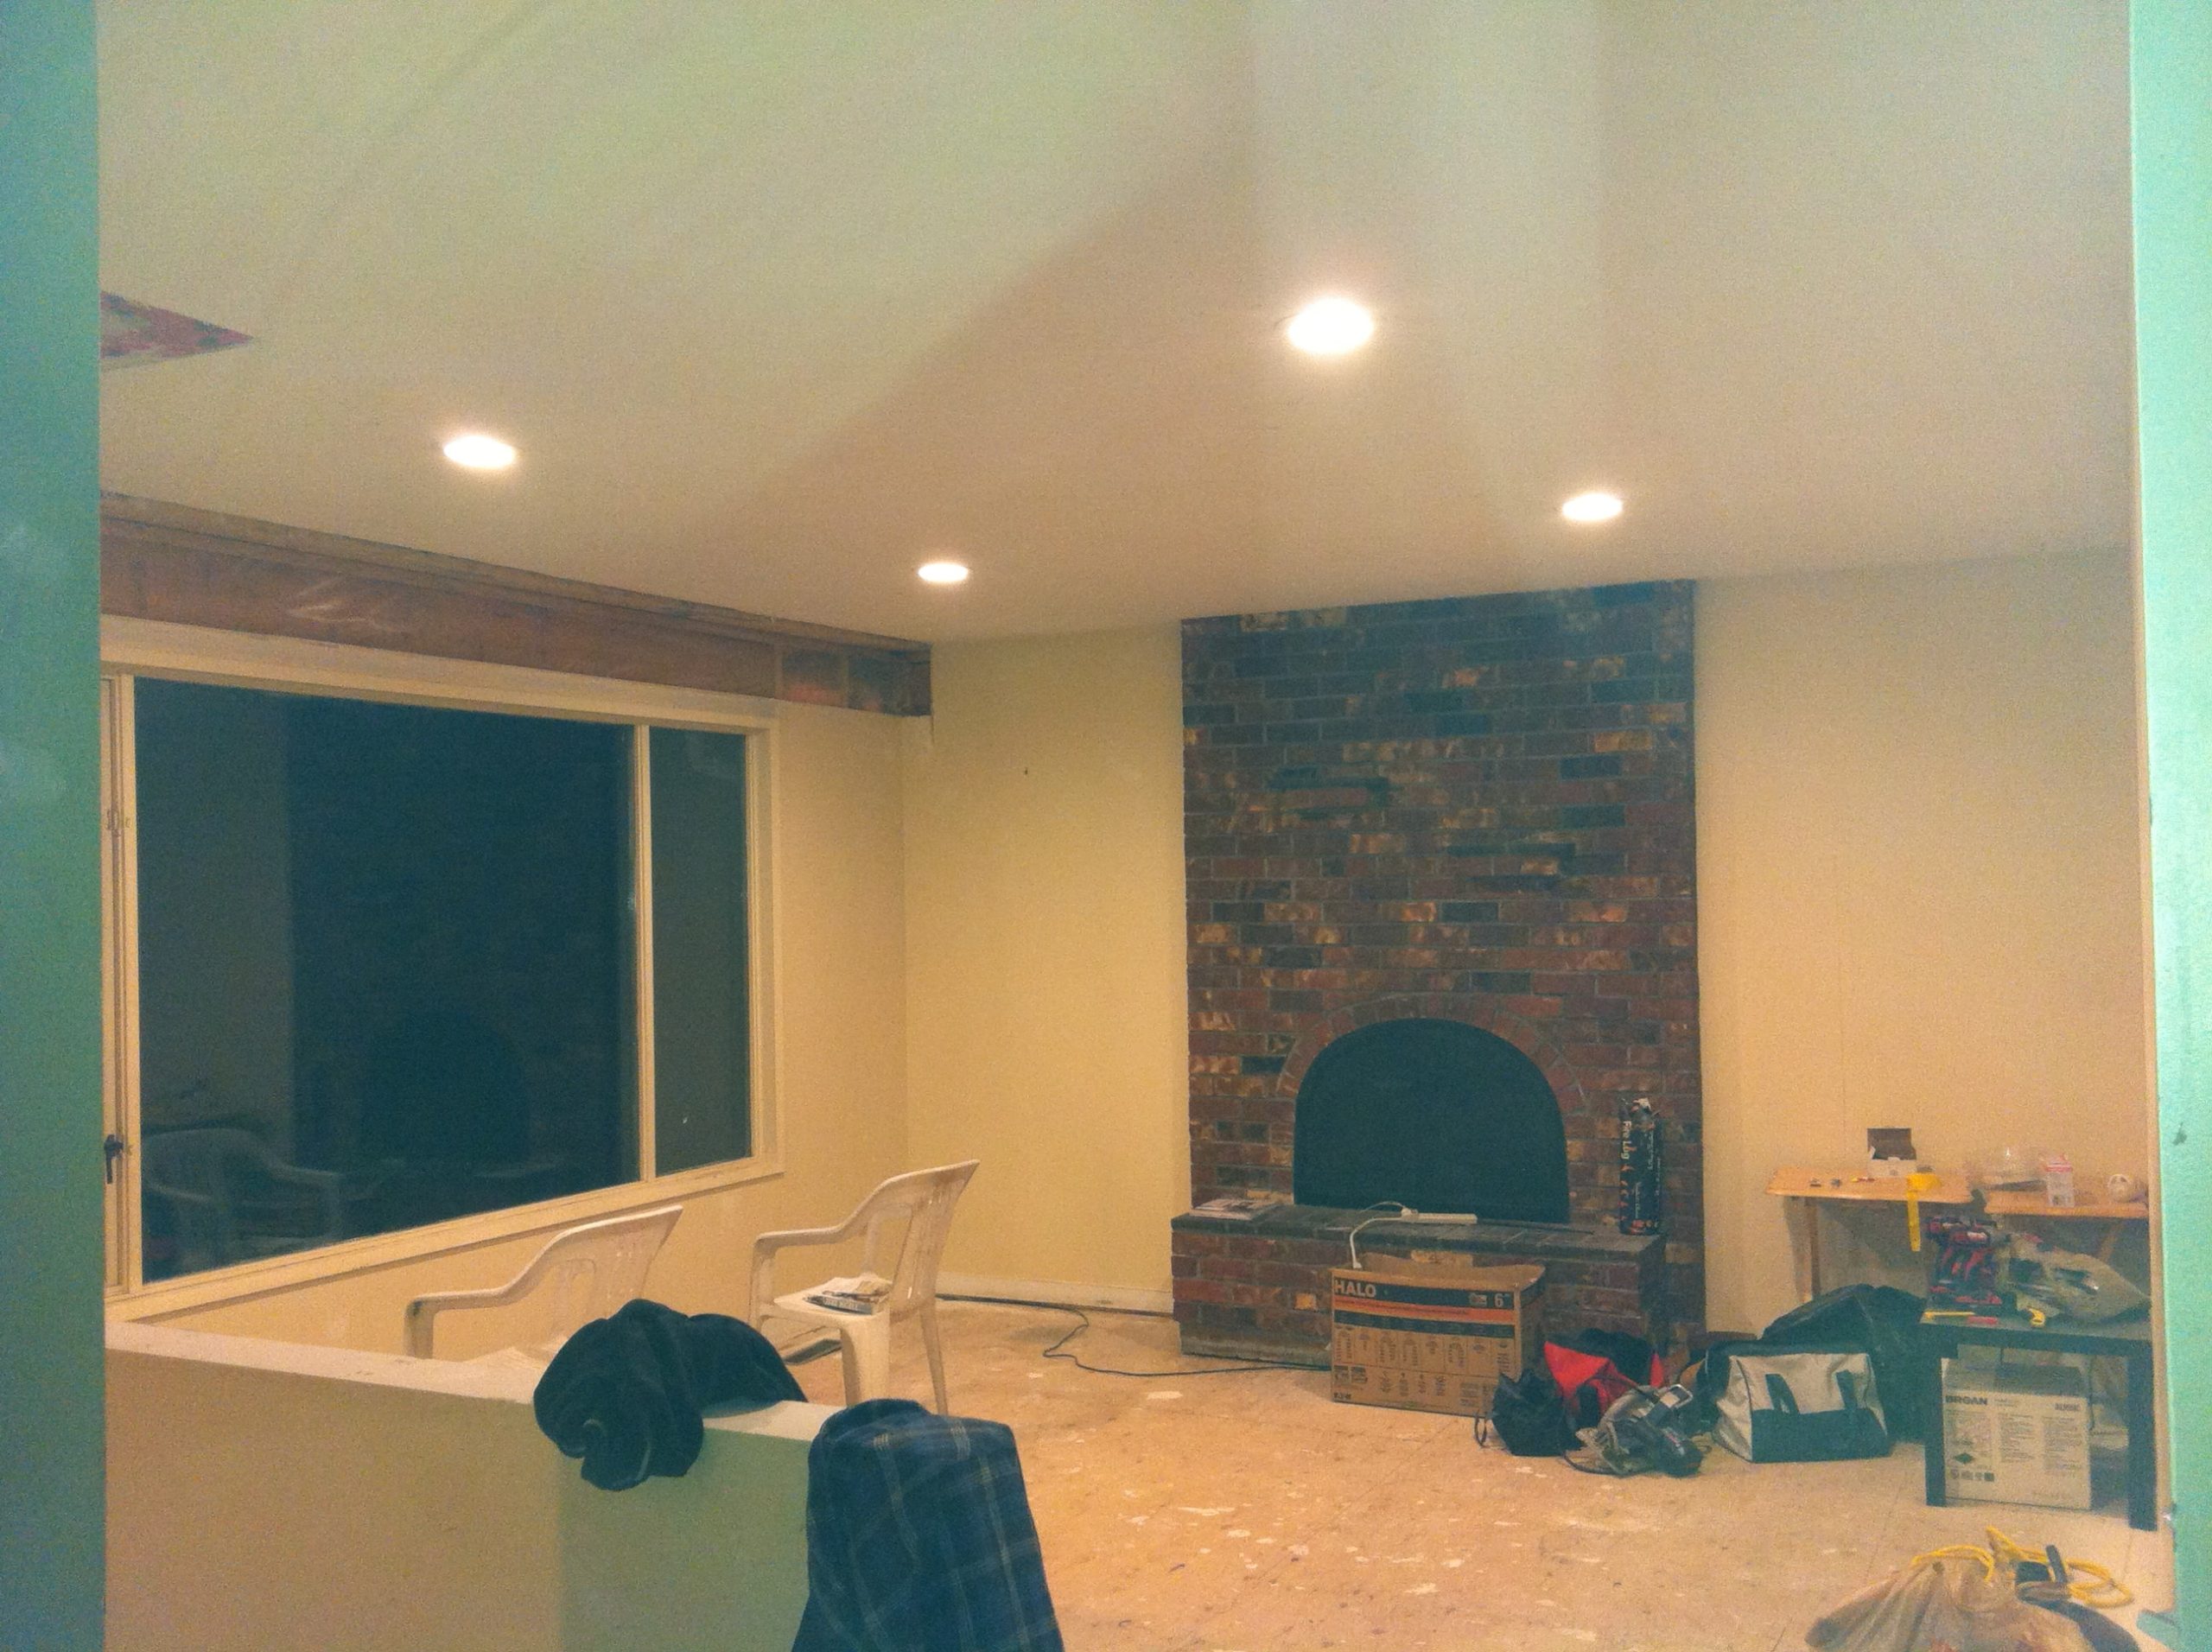
Once the built-ins were installed, I turned my focus to the fireplace itself.
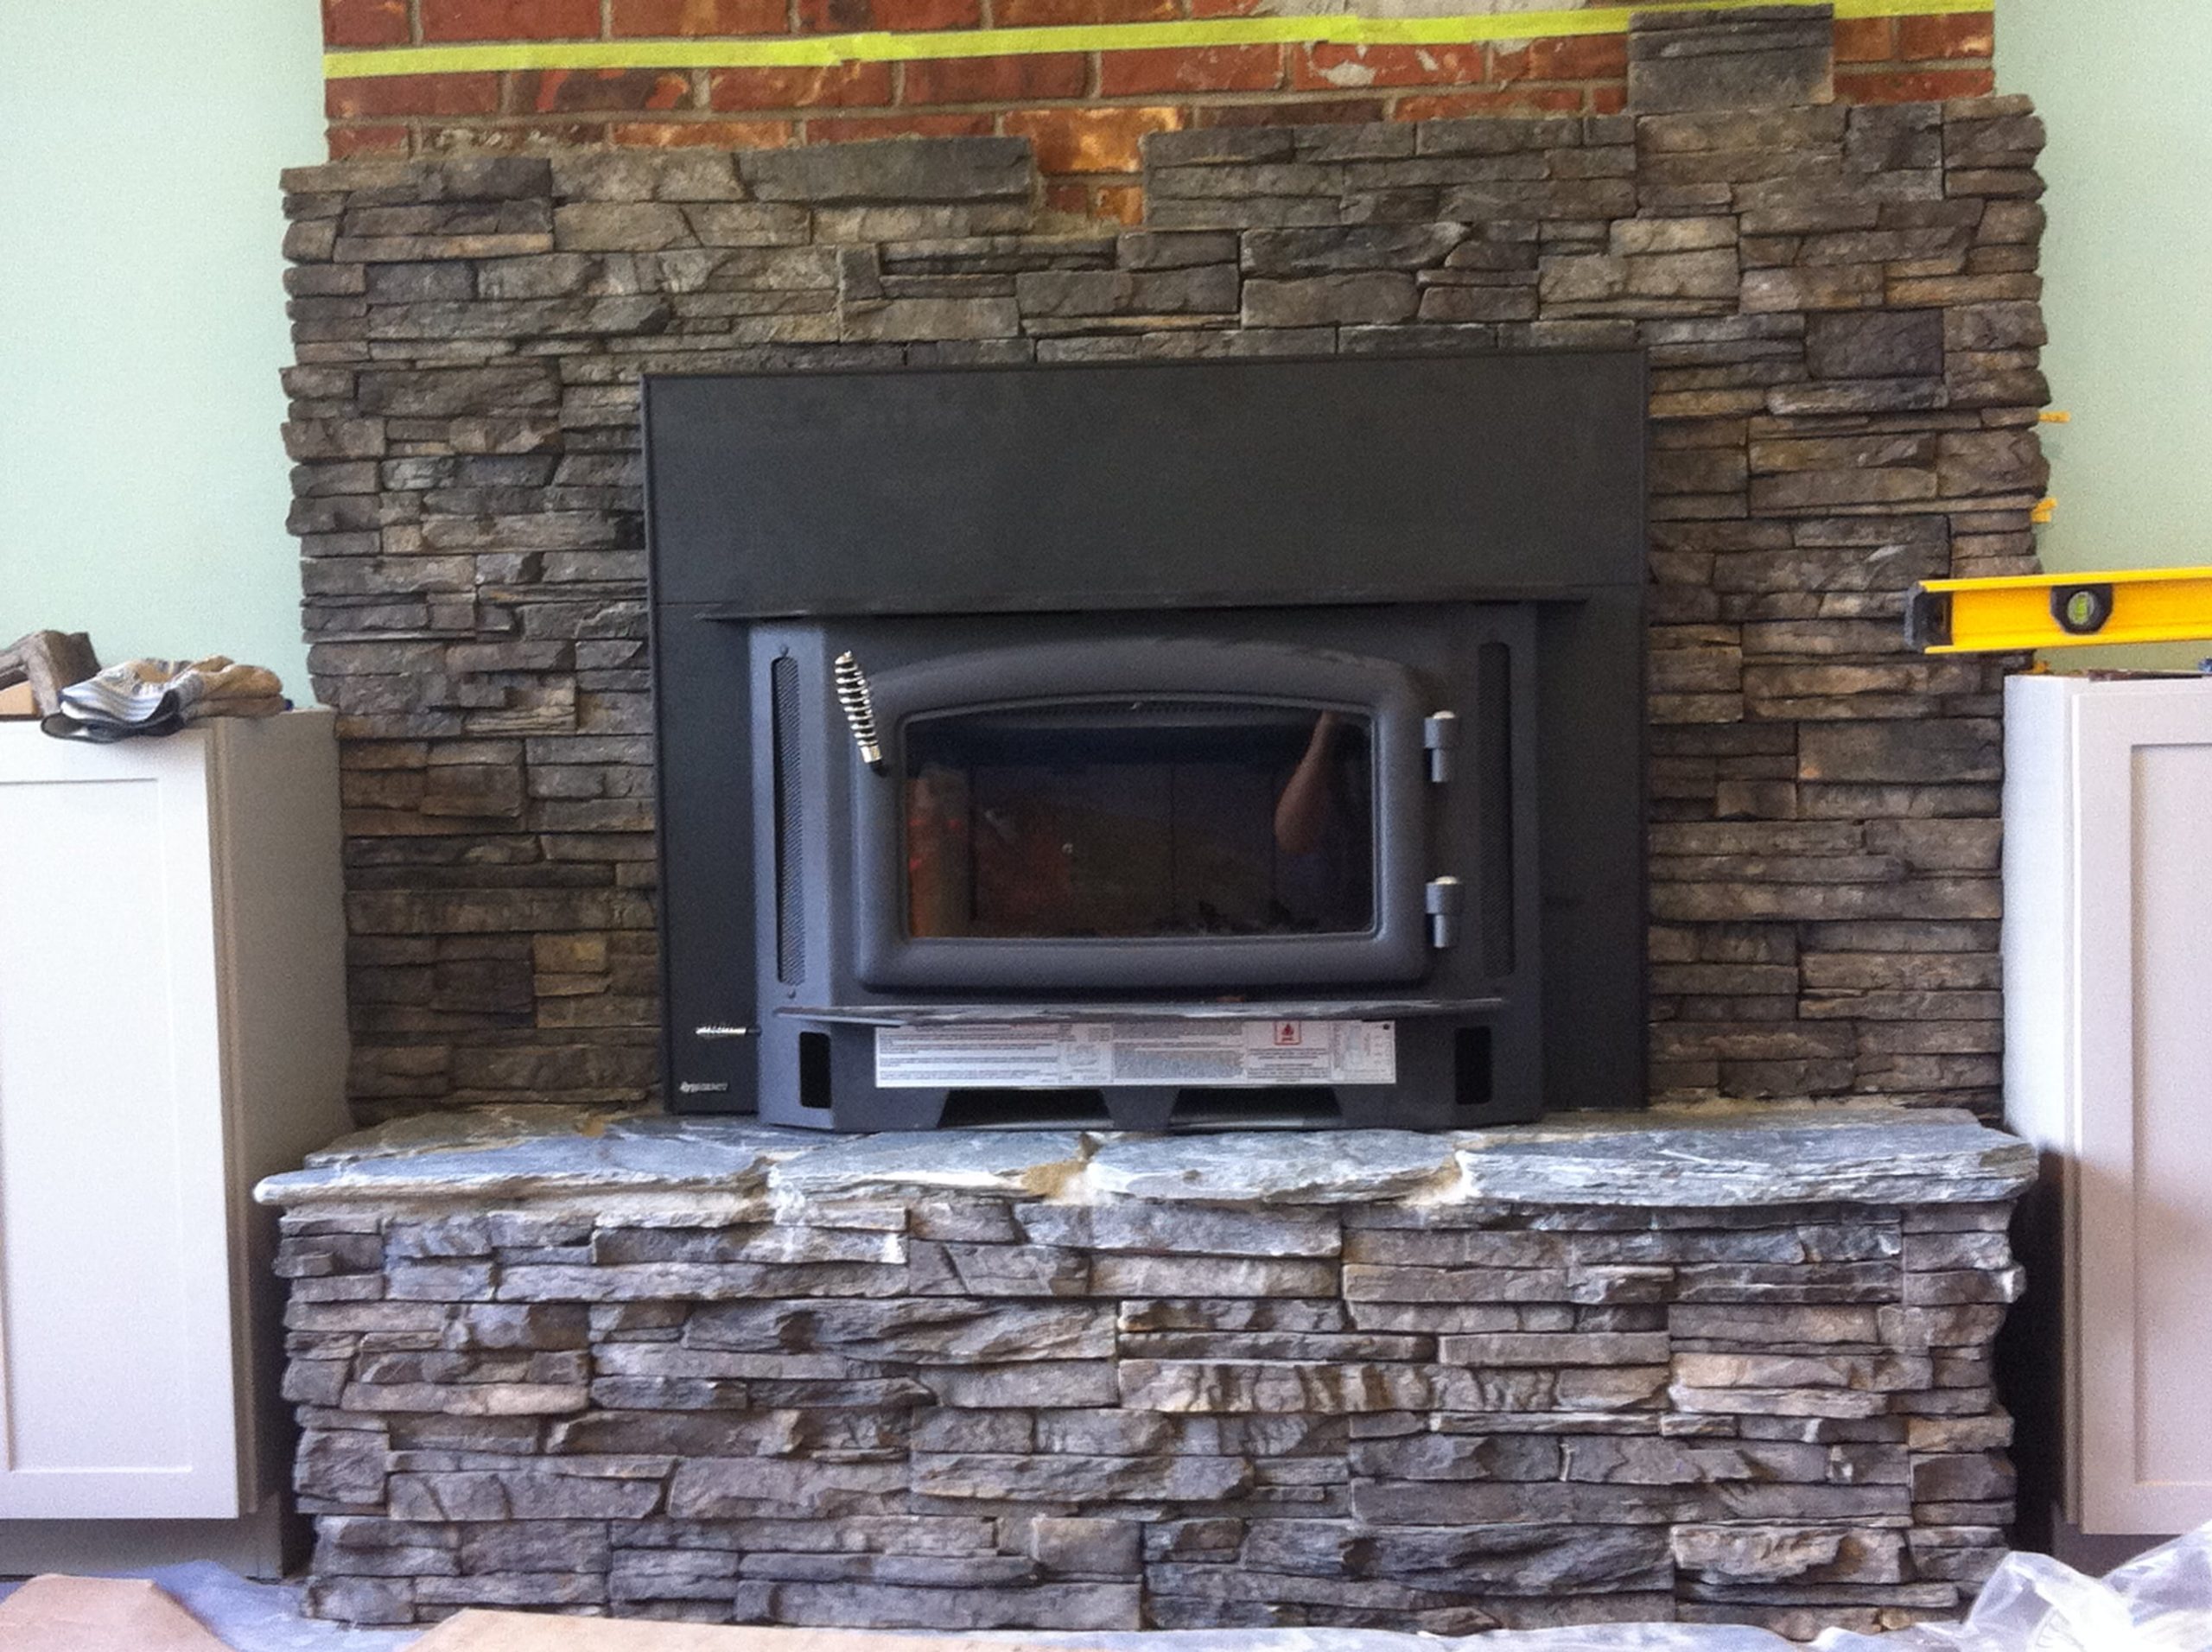
It had an open air fireplace that we wanted to change by adding a more energy efficient wood insert.
We thought about adding a gas stove, but the gas supply was on the far side of the house by the garage so we would’ve had to open up the drywall from one end of the house to the other to run the gas supply lines.
With the extra work that would be involved, I decided to go with the wood burning fireplace instead.
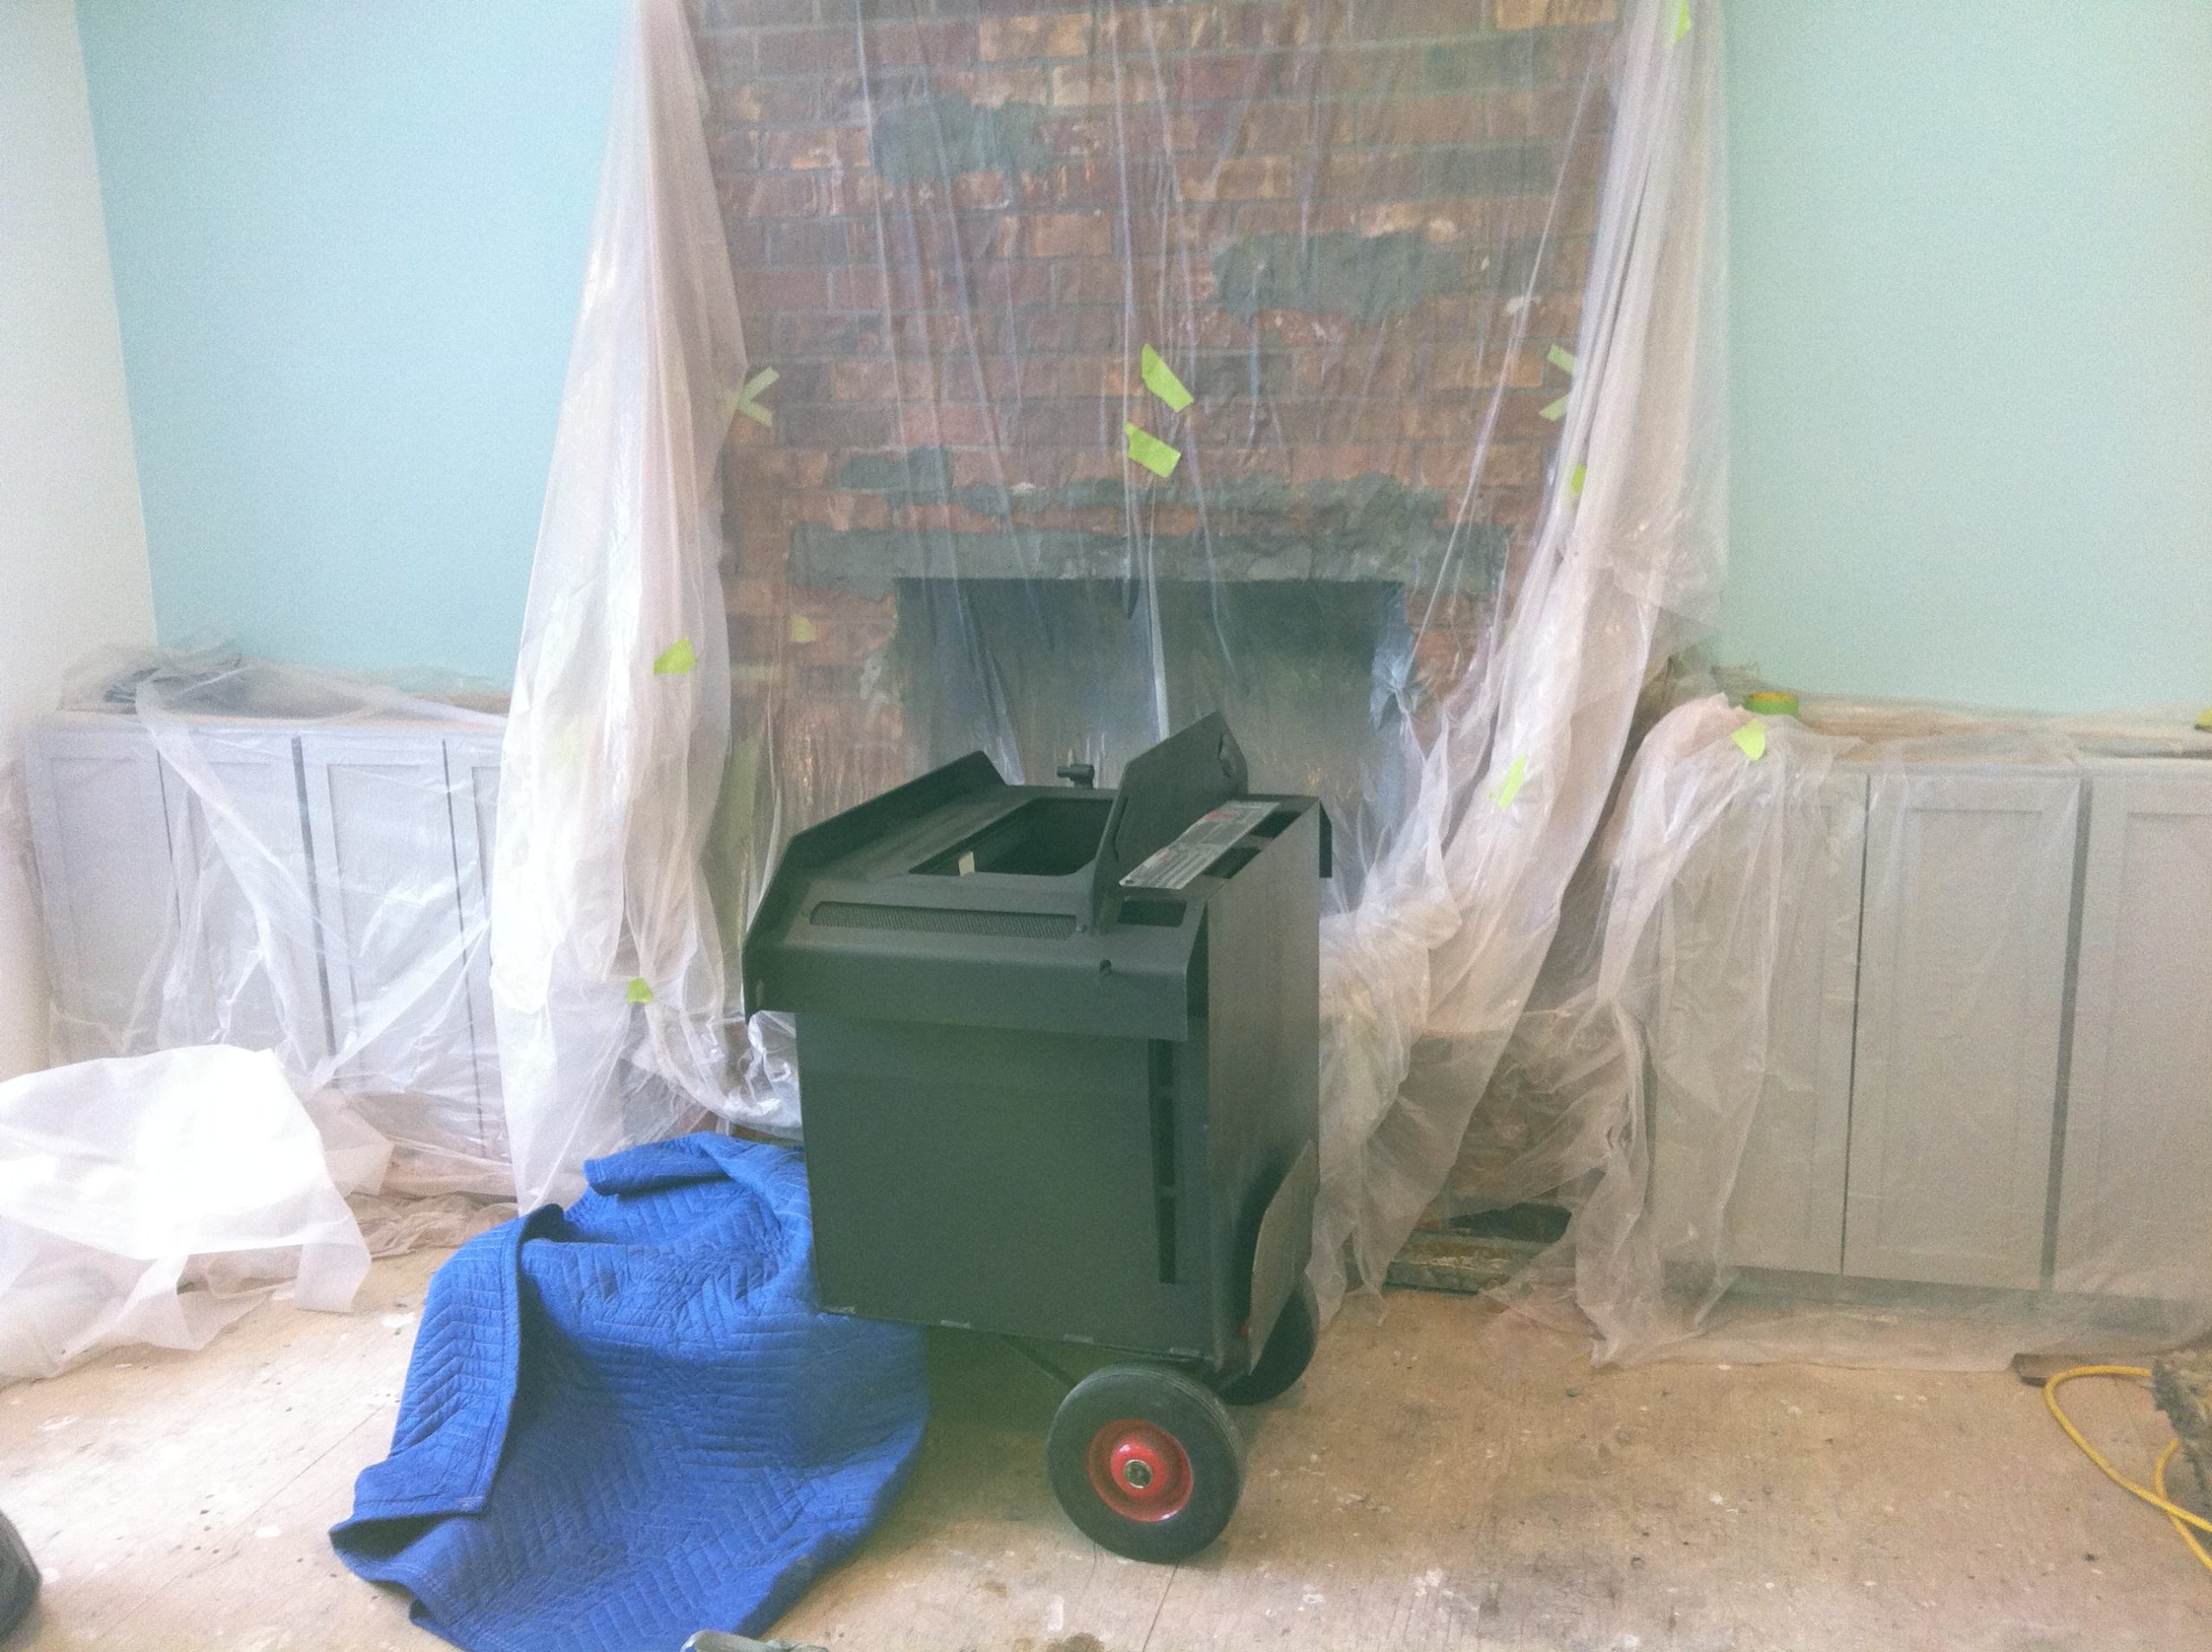
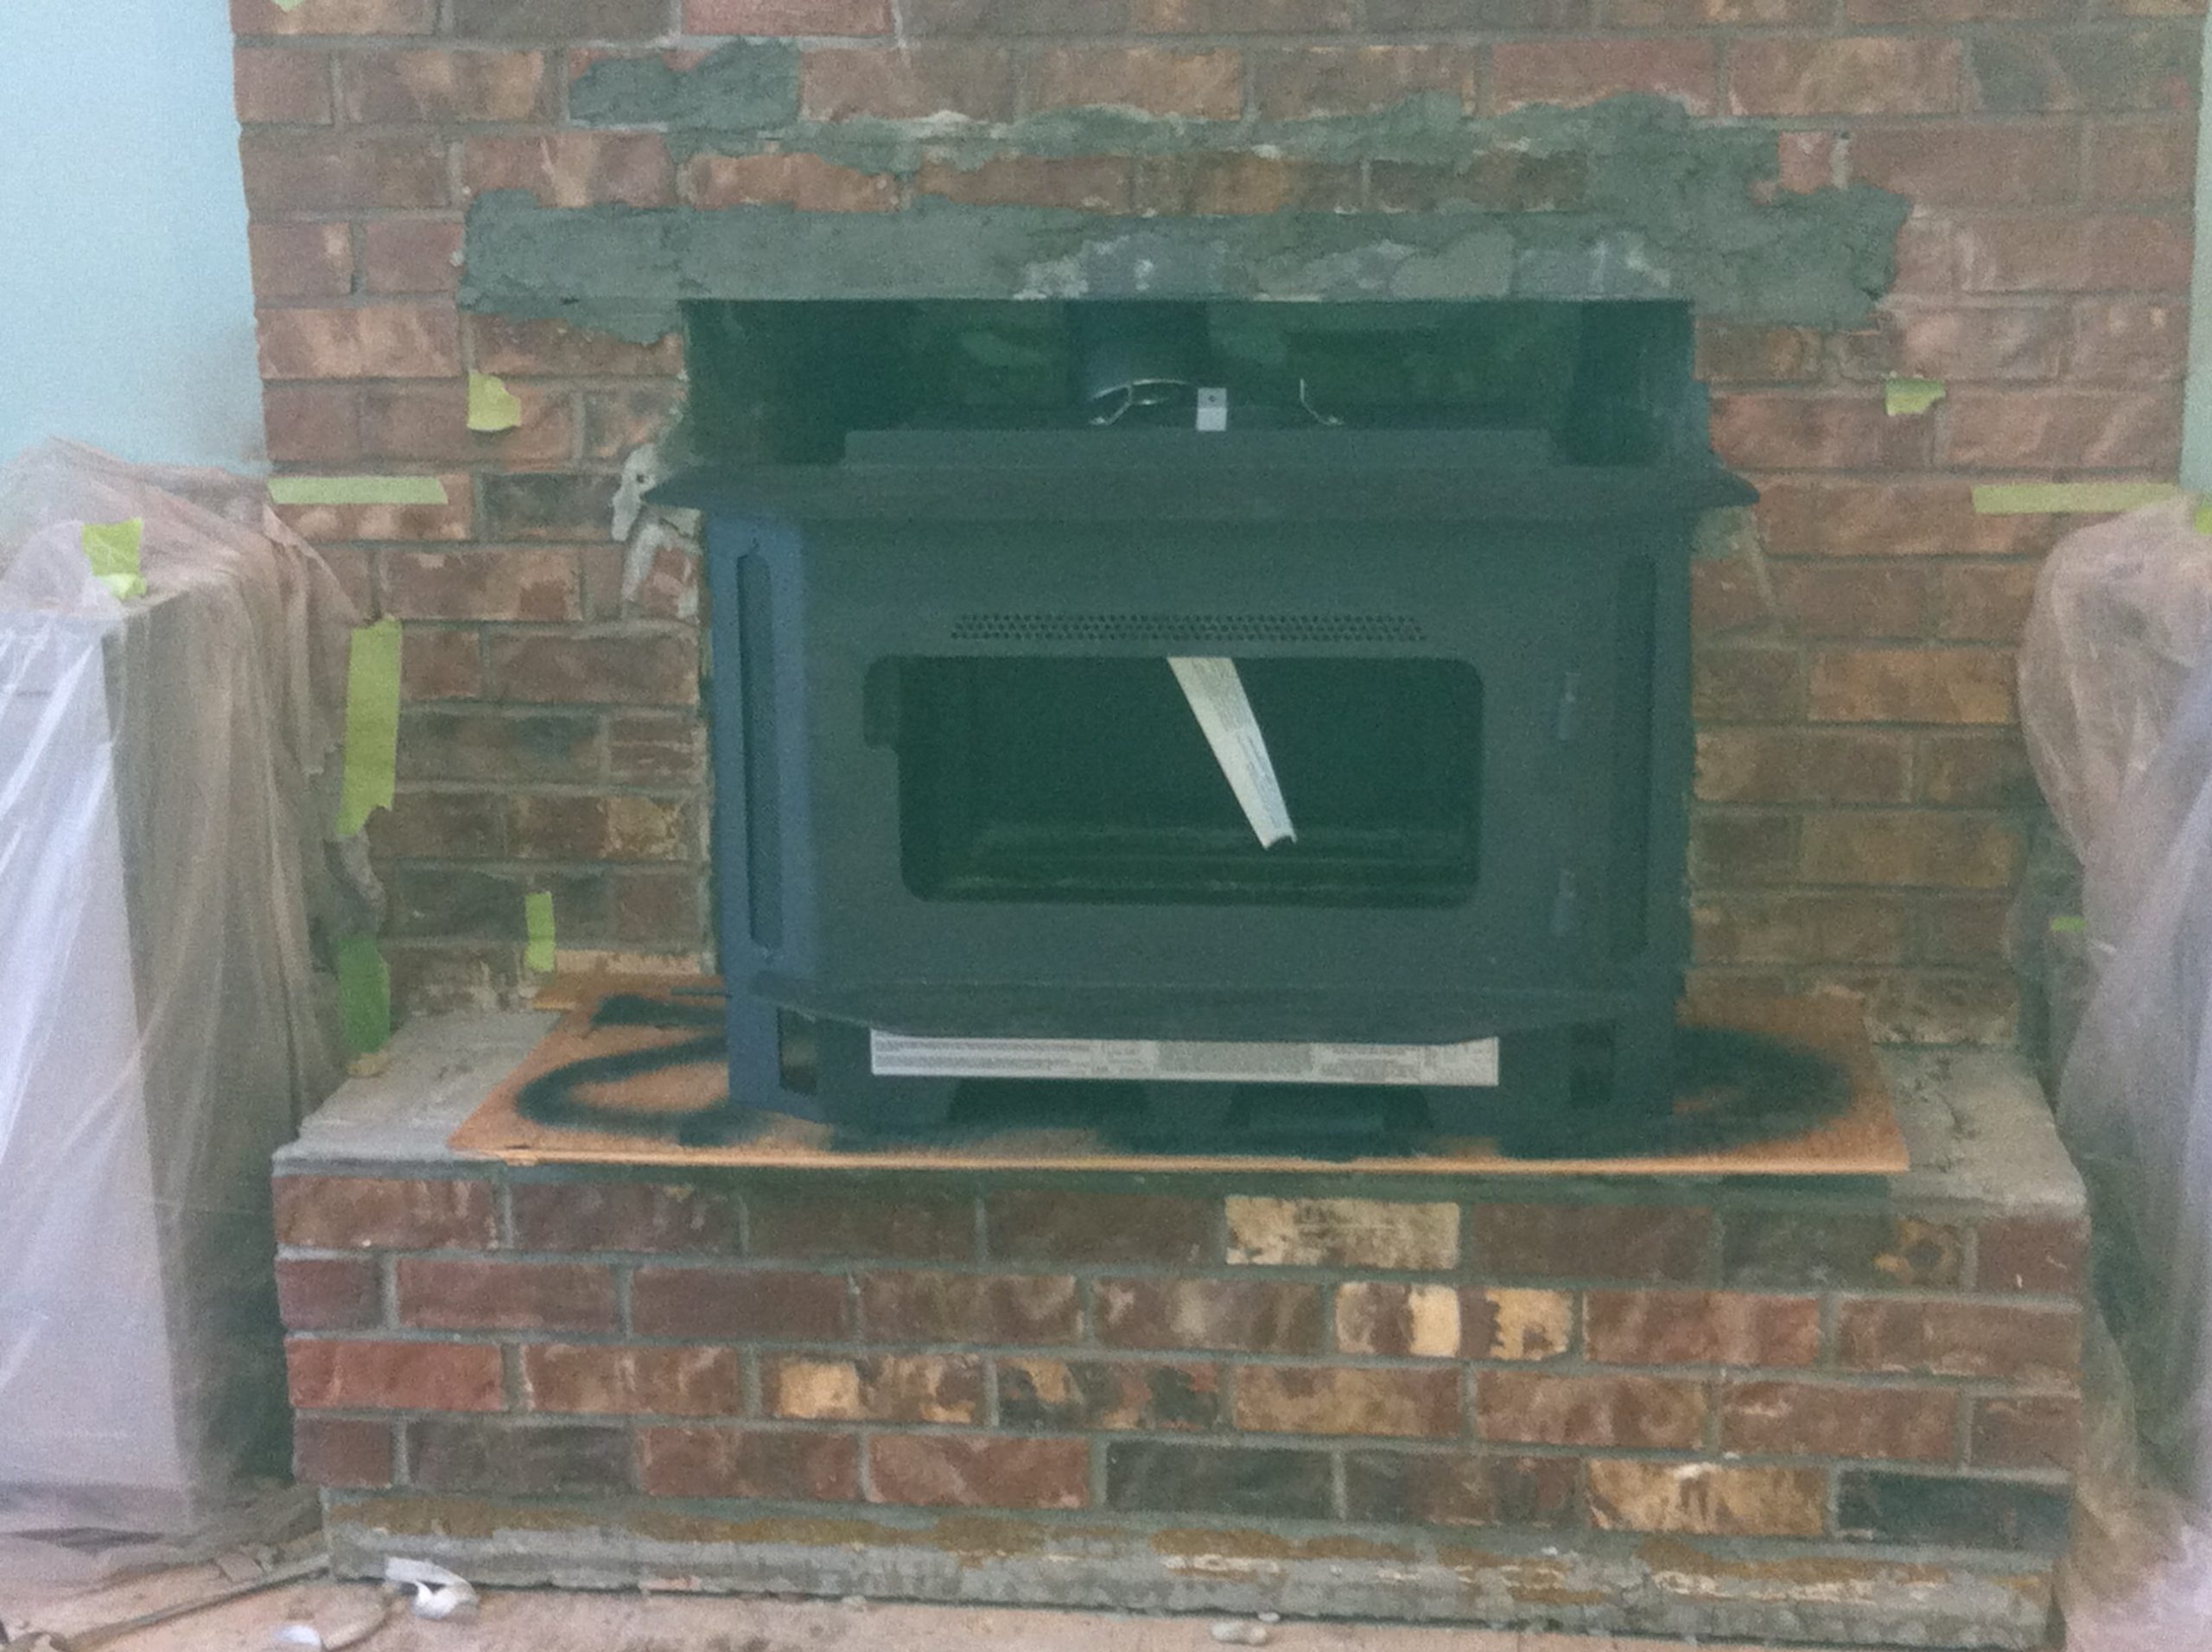
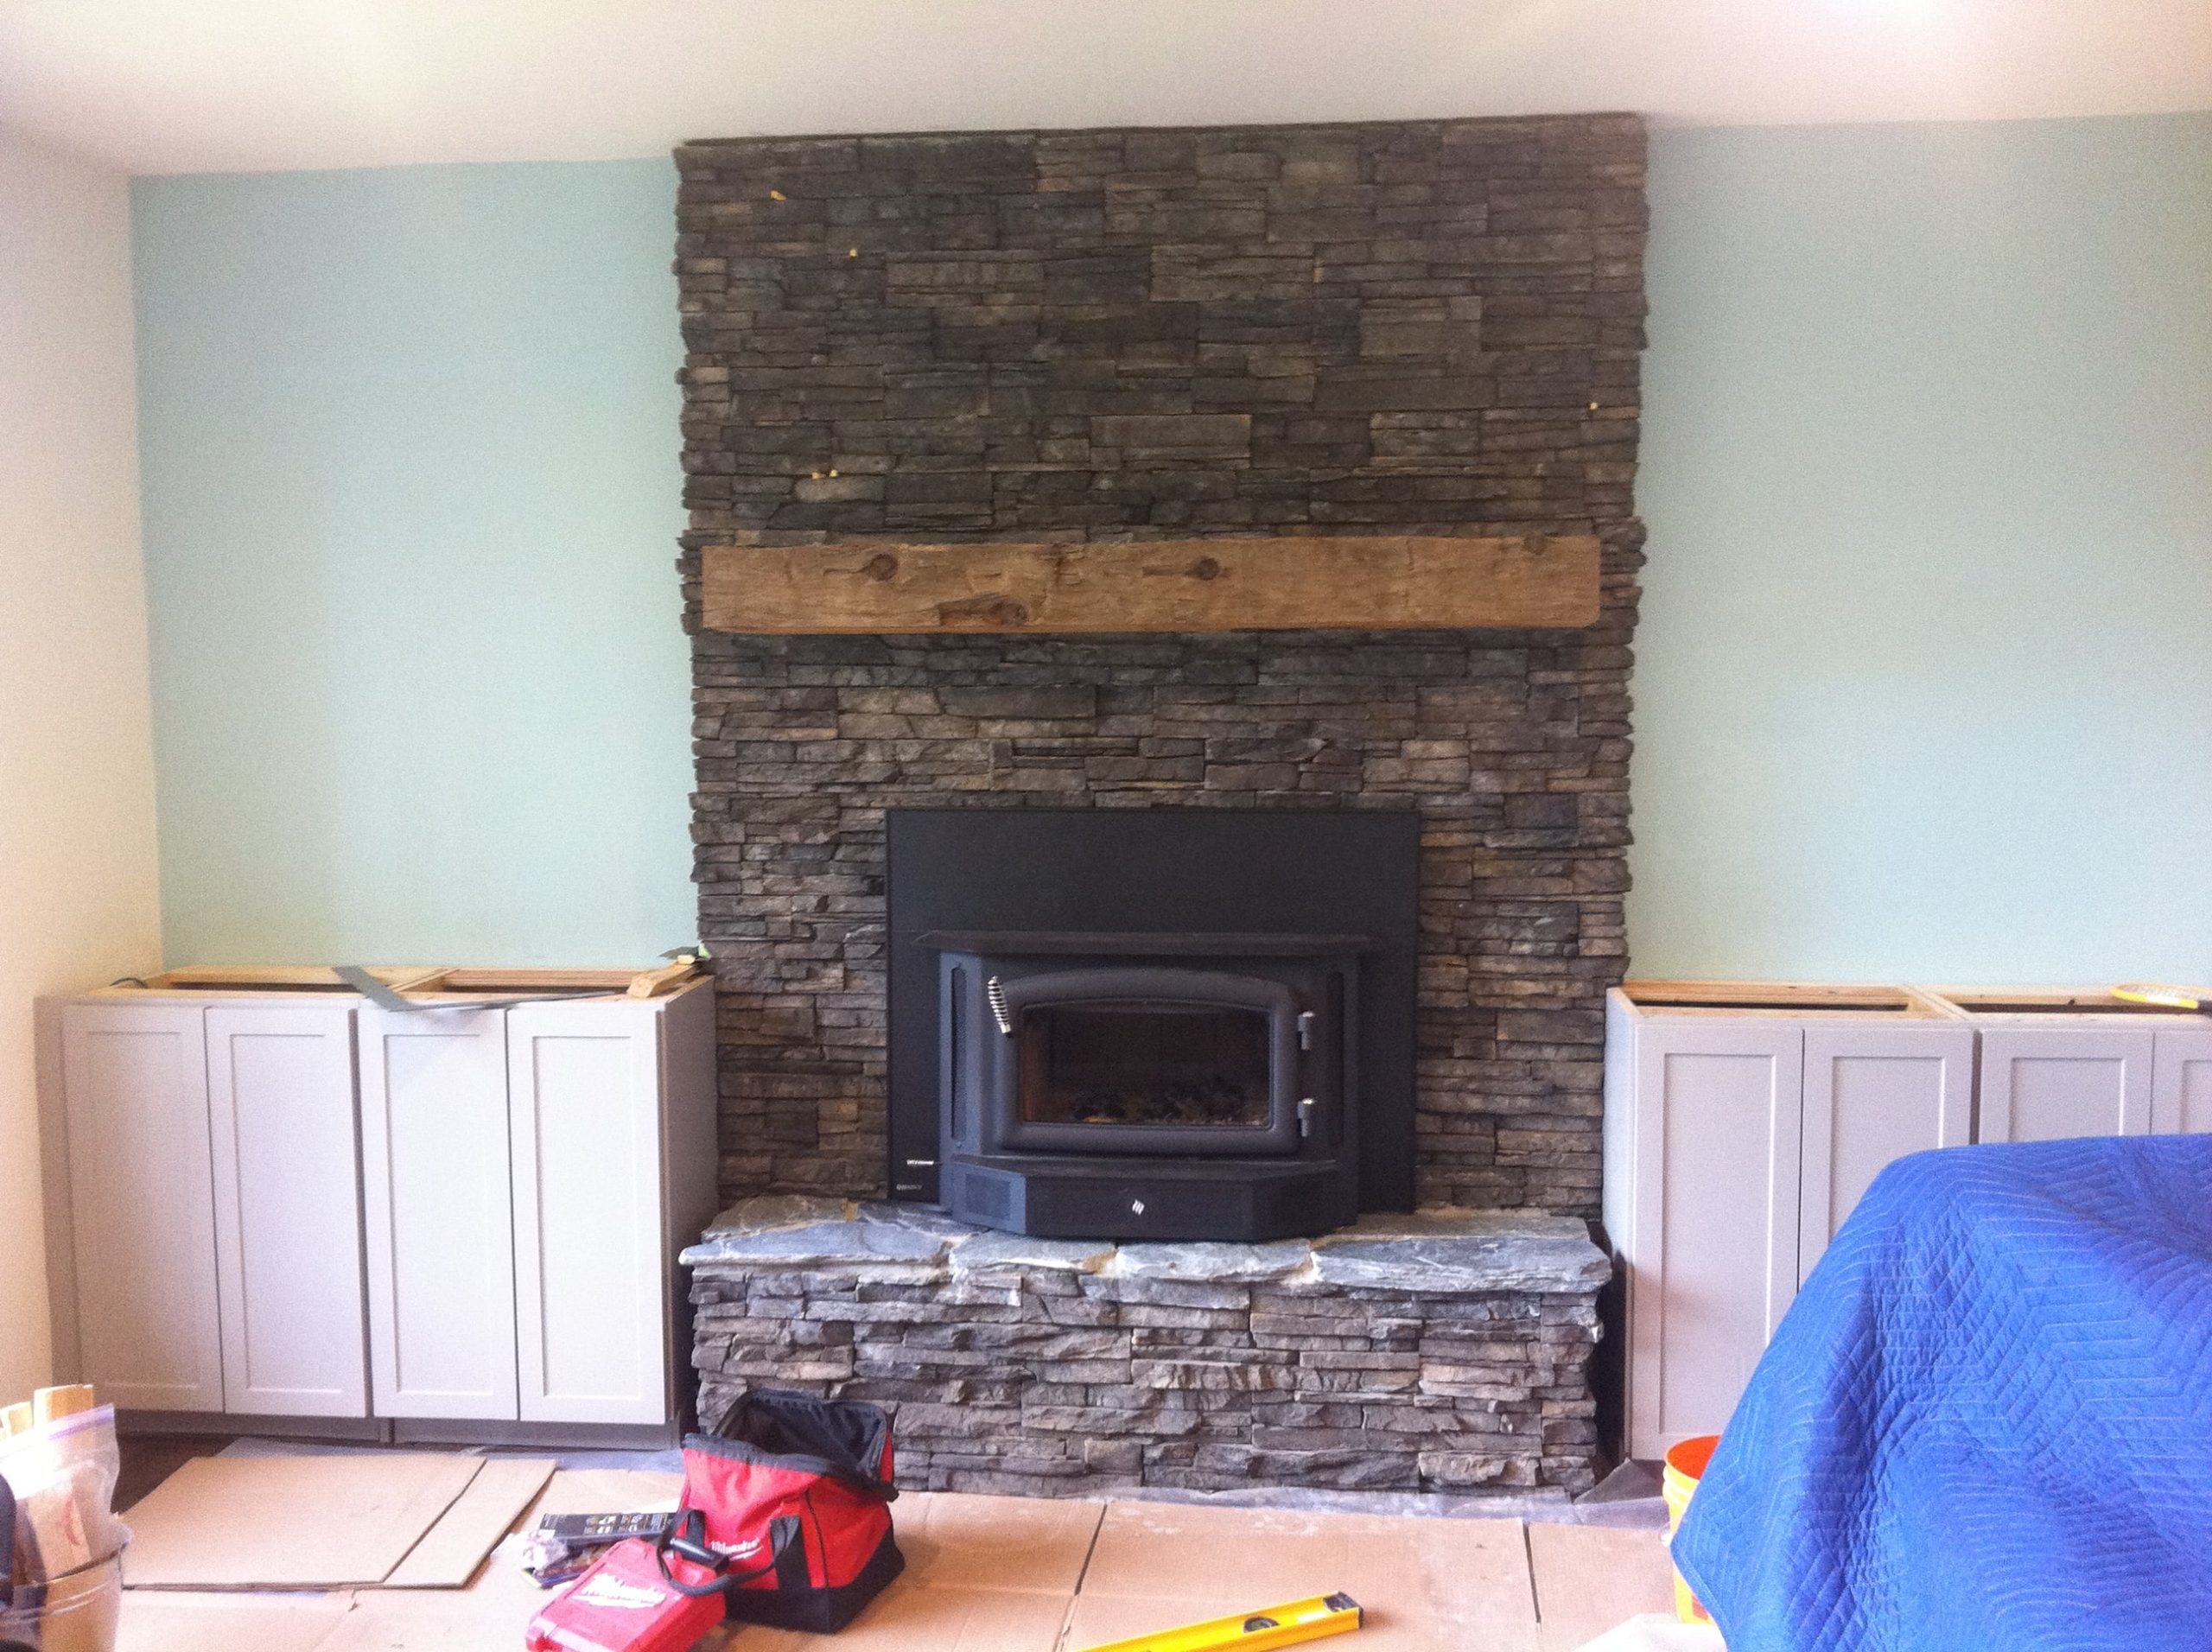
Unfortunately the fireplace we wanted didn’t fit inside the existing rounded hole, so I had to remove the brick and make the opening big enough to fit the wood insert.
This meant that I had to chip out enough brick so that I could install a metal lentil to carry the weight of the brick.
Once I had done that and the mortar had dried, I could install the fireplace.
But first, I had to get the fireplace up to the house itself.
This involved putting it in the back of our truck and driving it 4.5 hours up to the house in the middle of winter.
Of course, on the day when I went to pick the fireplace up the store I bought it from didn’t have a forklift to load it.
And the only person there who could have helped me “had a bad back.”
So I was left to load the 300-odd pound beast into the back of the truck on my own.
(For the record, I removed all the firebricks and took the door off to make it lighter.)
Luckily, I’d brought a ramp and a dolly with me.
I must’ve had a premonition that something like this might happen.
To get the fireplace into the truck I got two ratchet straps and hooked them to the front of the truck box and then to the dolly.
I put my shoulder against the dolly and pushed it up the ramp a few inches at a time, and as I did that I’d quickly ratchet one strap and then the other to take up the slack on the straps.
Eventually I got it in the truck.
Sure, I looked like a bit of a cowboy doing it as it was such a haywire operation …but it worked and the fireplace ended up safely in the back of the truck.
Luckily on the other end at the house, it was pretty much a straight shot to the front door as I could back the truck up to a retaining wall and offload it directly onto the front lawn.
From there, it was just a matter of getting it up the stairs.
So my wife held the top of the dolly and I put my shoulder under the bottom of the dolly and pushed it up one stair at a time.
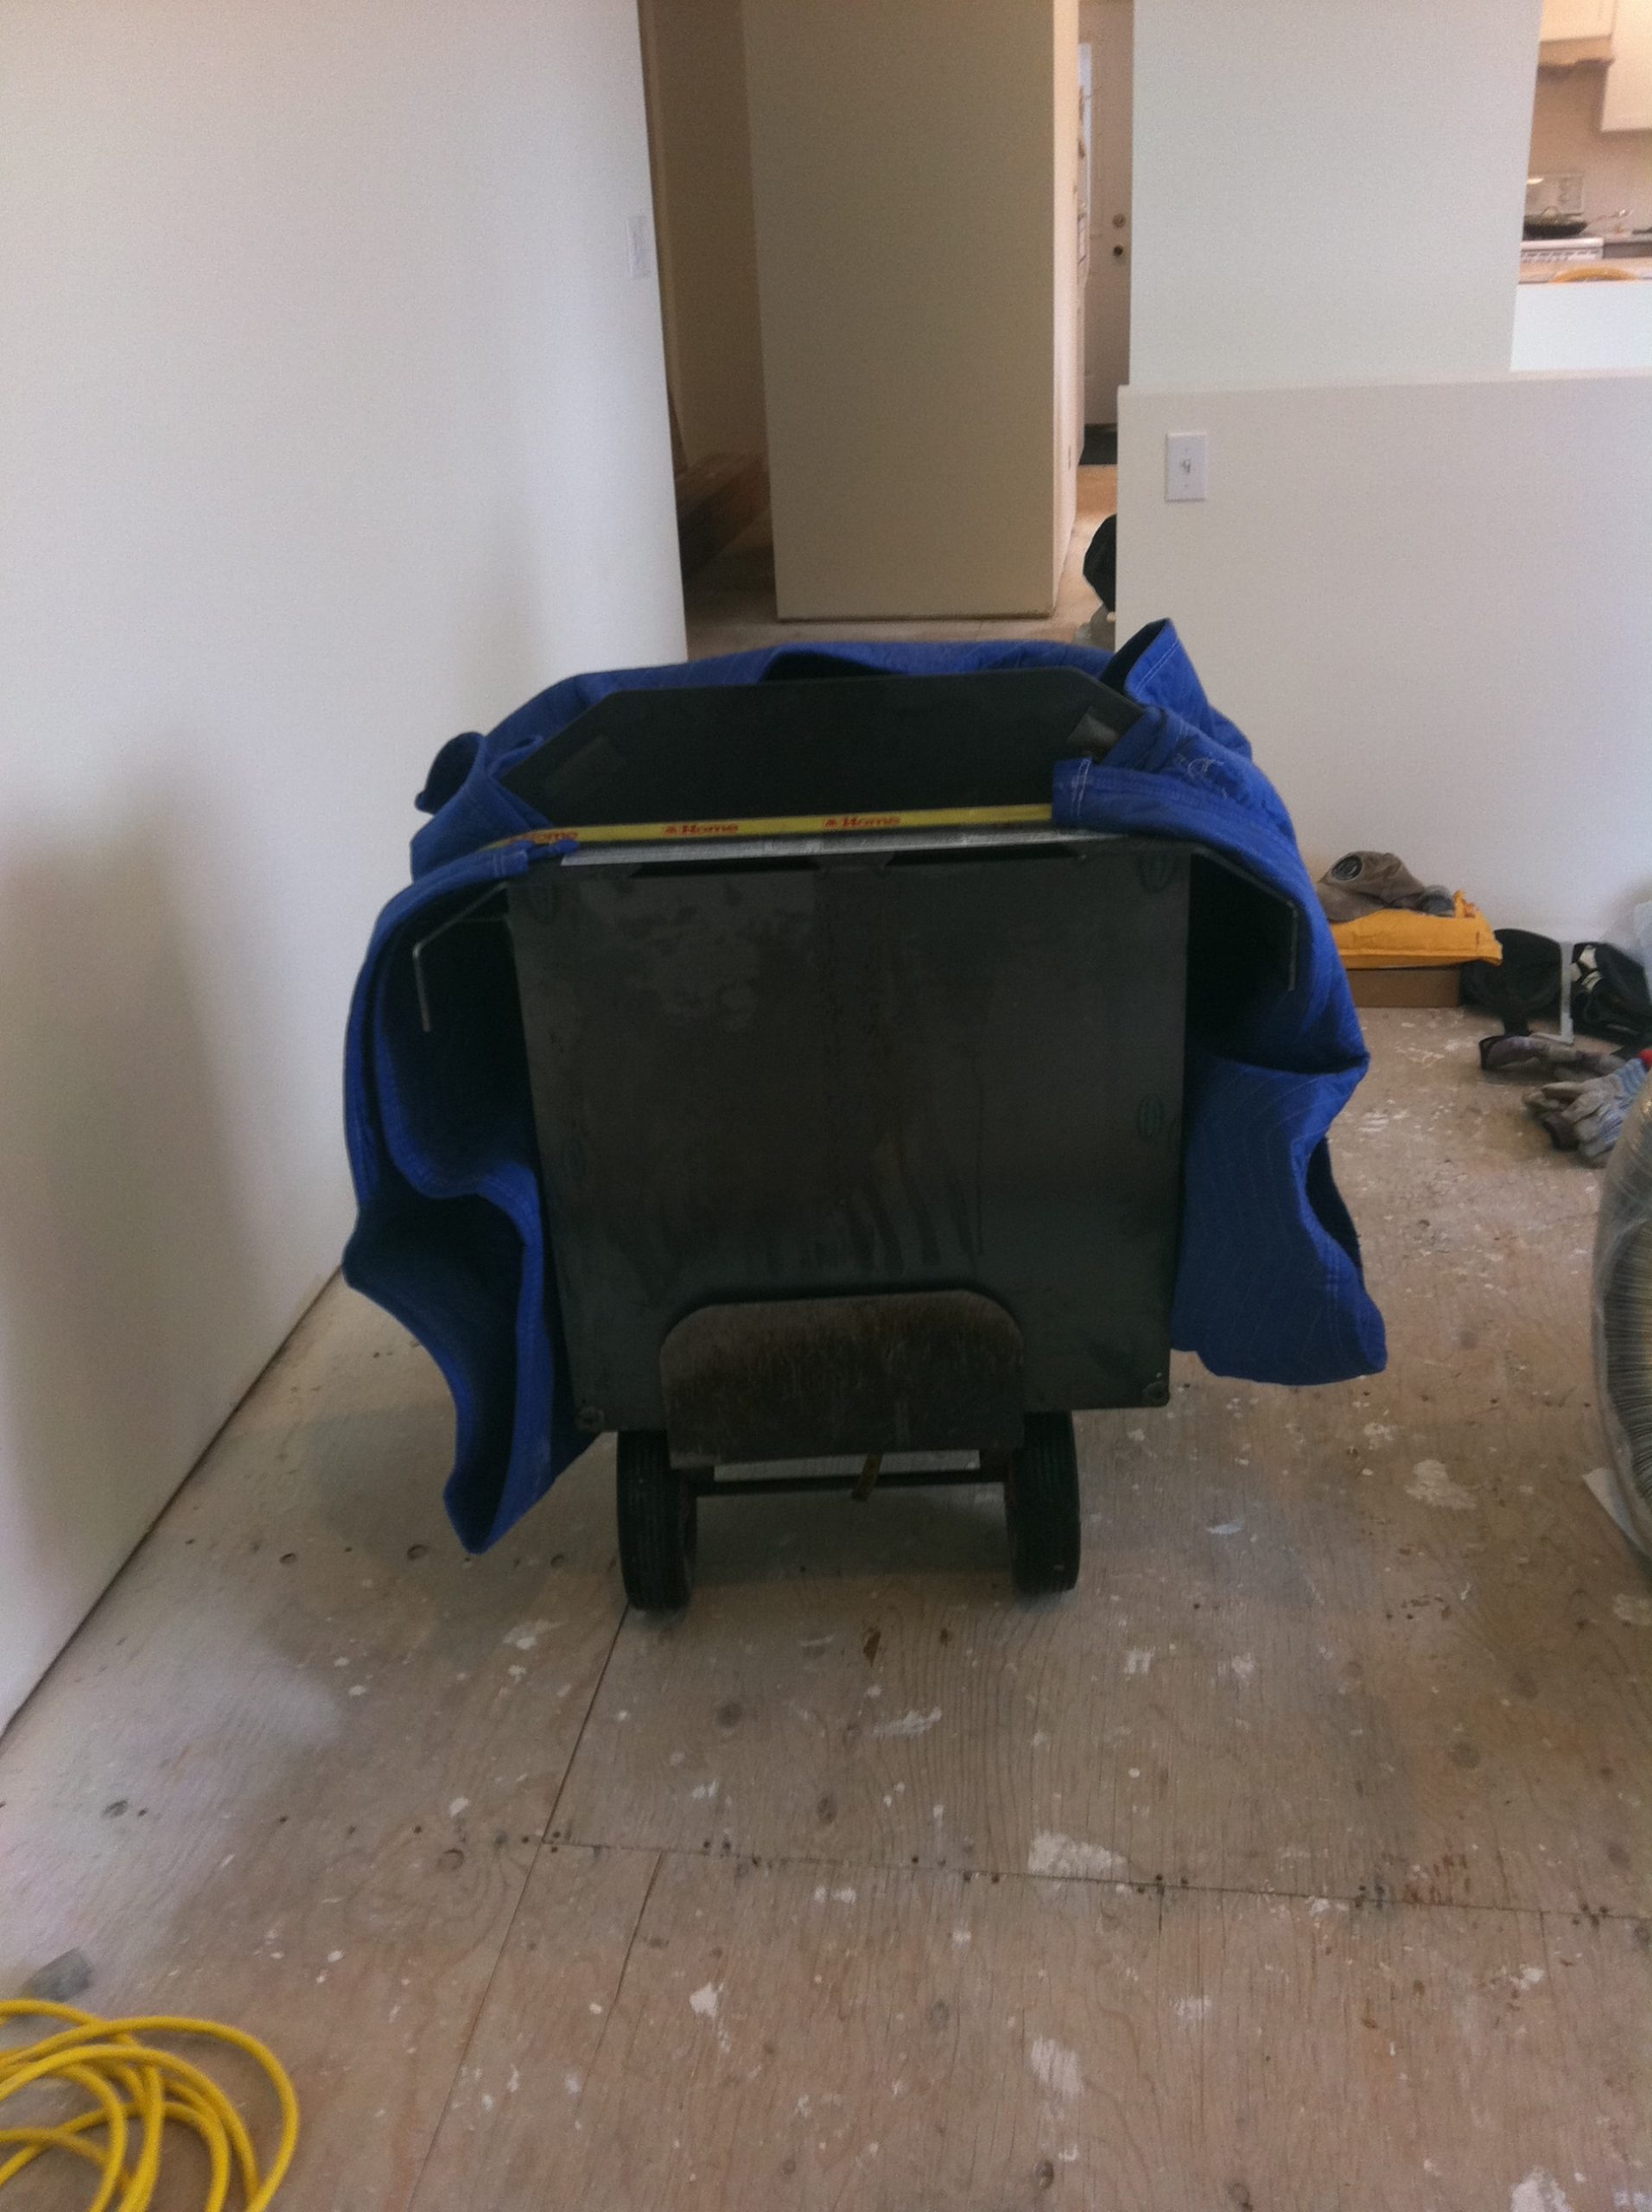
After that, it was easy enough to roll the dolly into place beside the fireplace and then I lifted it onto the hearth.
The next step found me up on the roof installing the chimney vent.
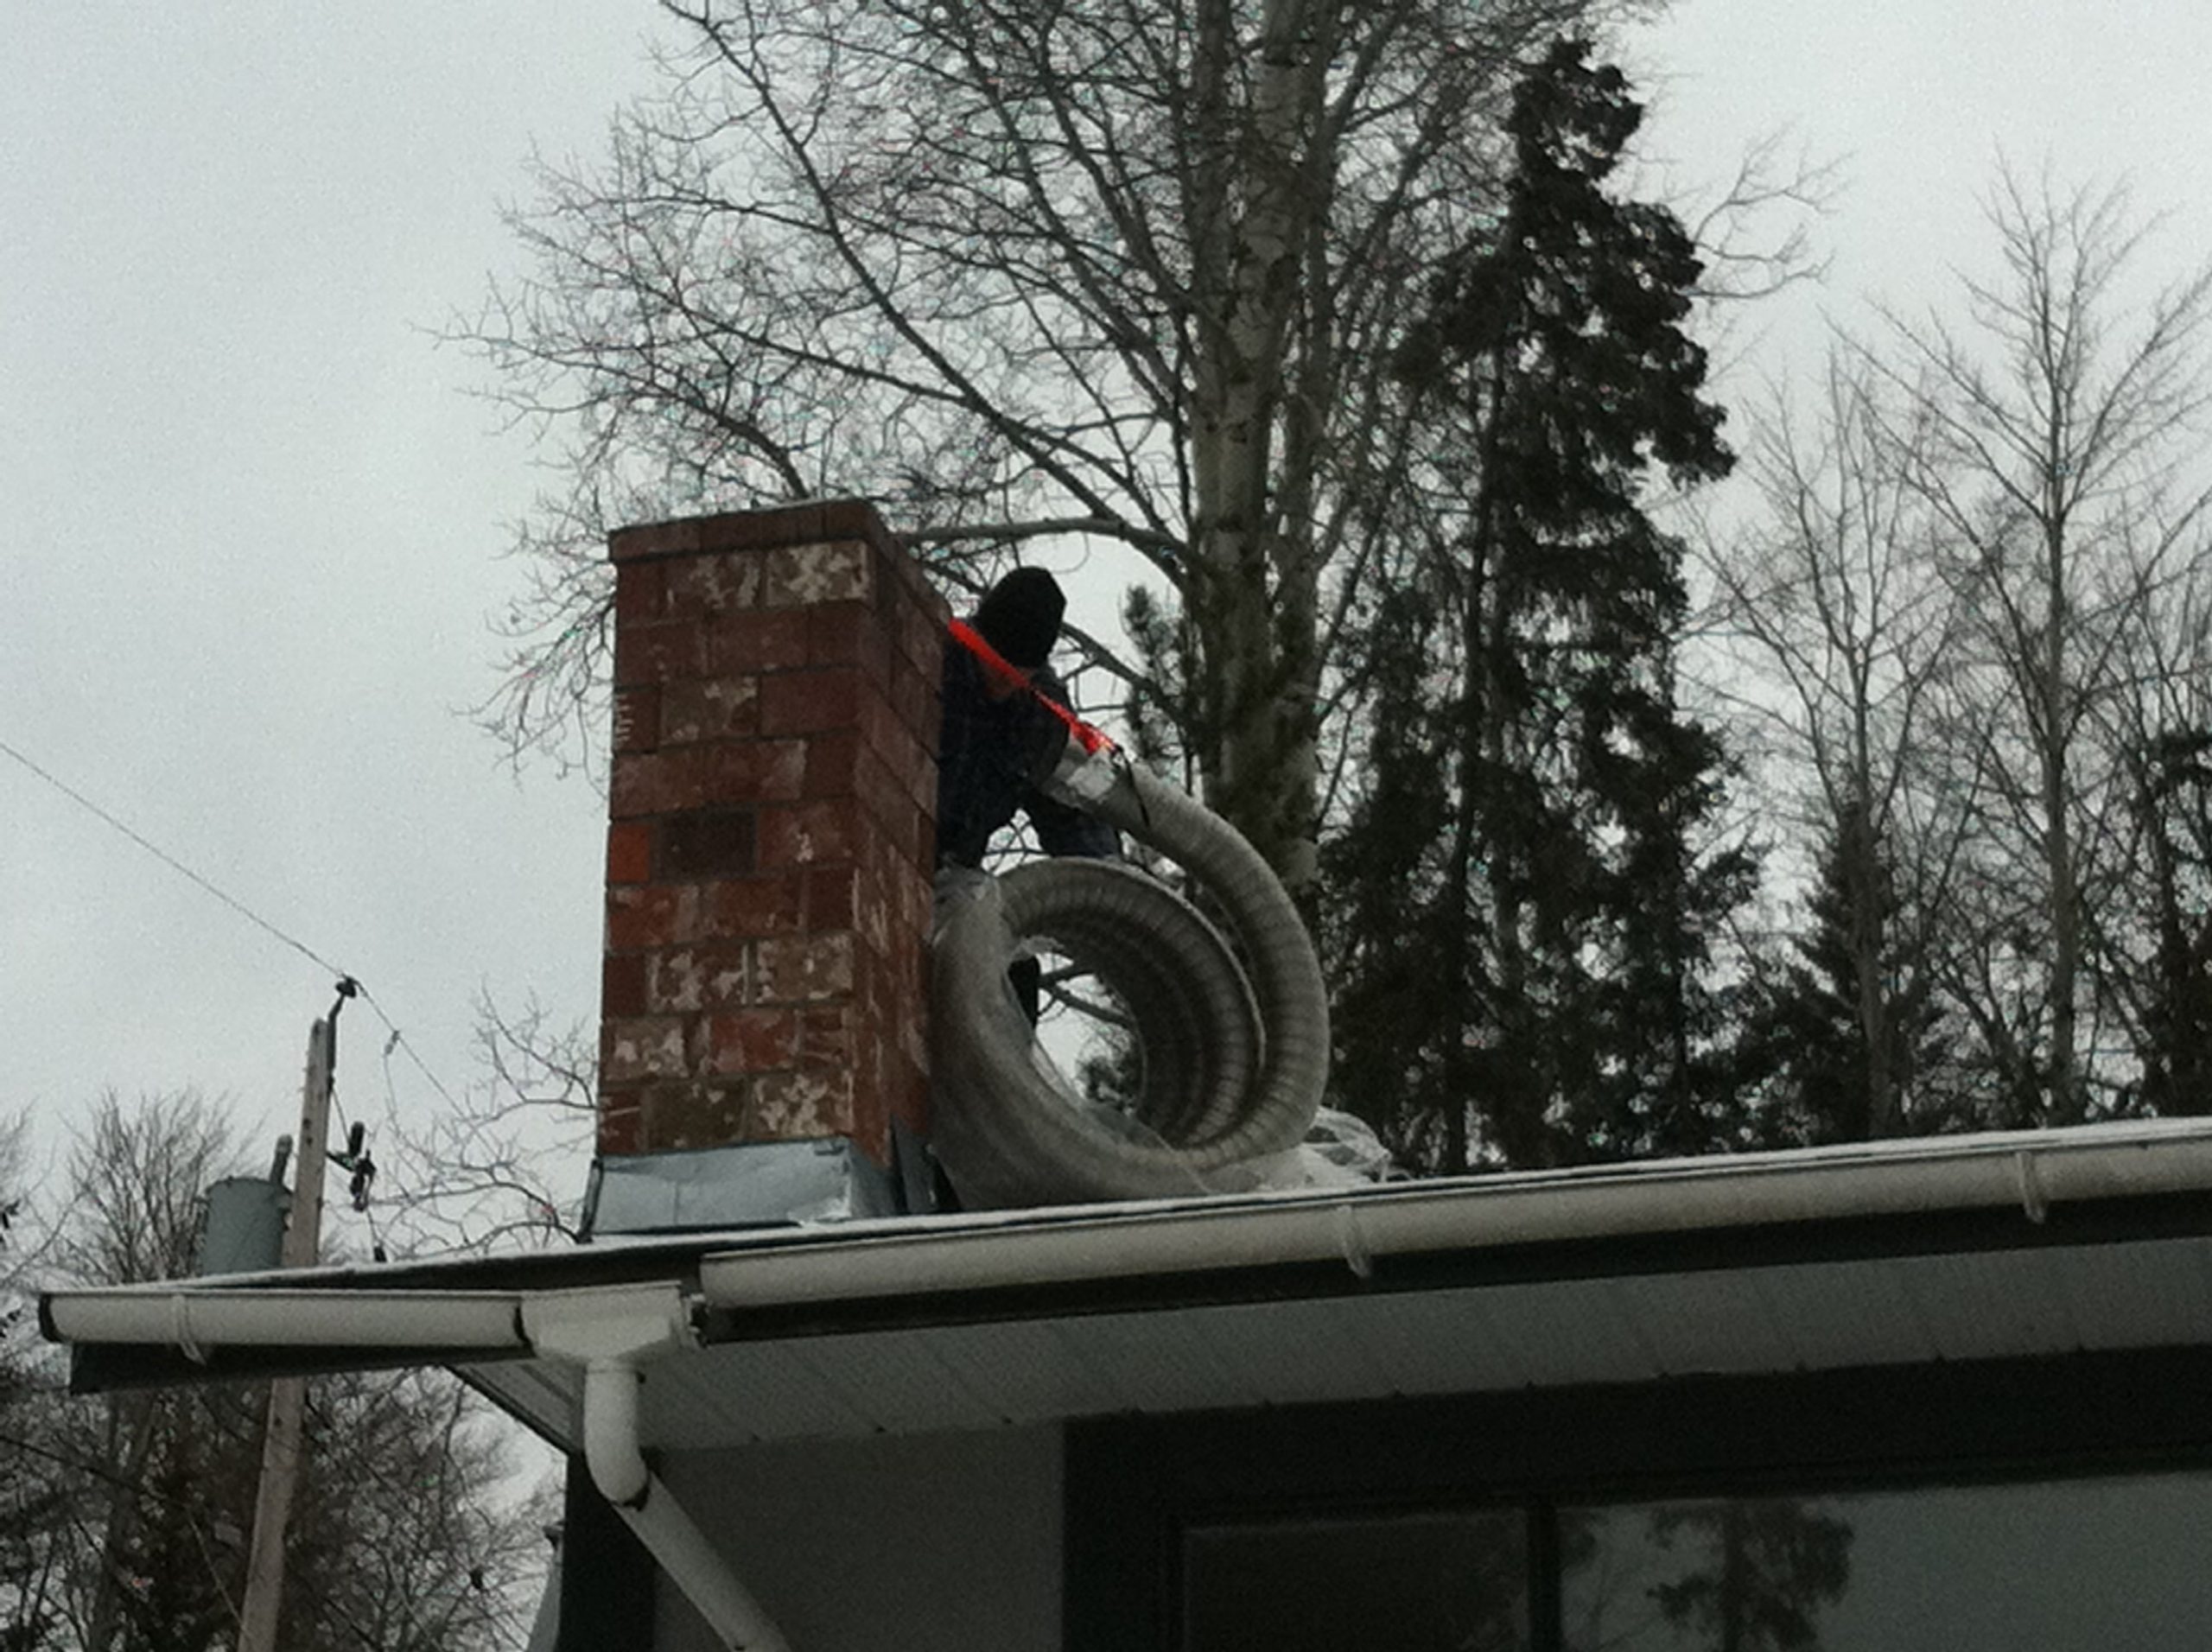
I shoved the stainless tube down the brick chimney, got back down from the roof, slid the fireplace back into the opening and then attached the stainless chimney tubing to the fireplace.
With that done, I went back up on the roof, installed the chimney chase cover cap, cut the stainless chimney tube to length and then installed the chimney cap.
Having done all the work, we had a celebratory test fire in the fireplace.
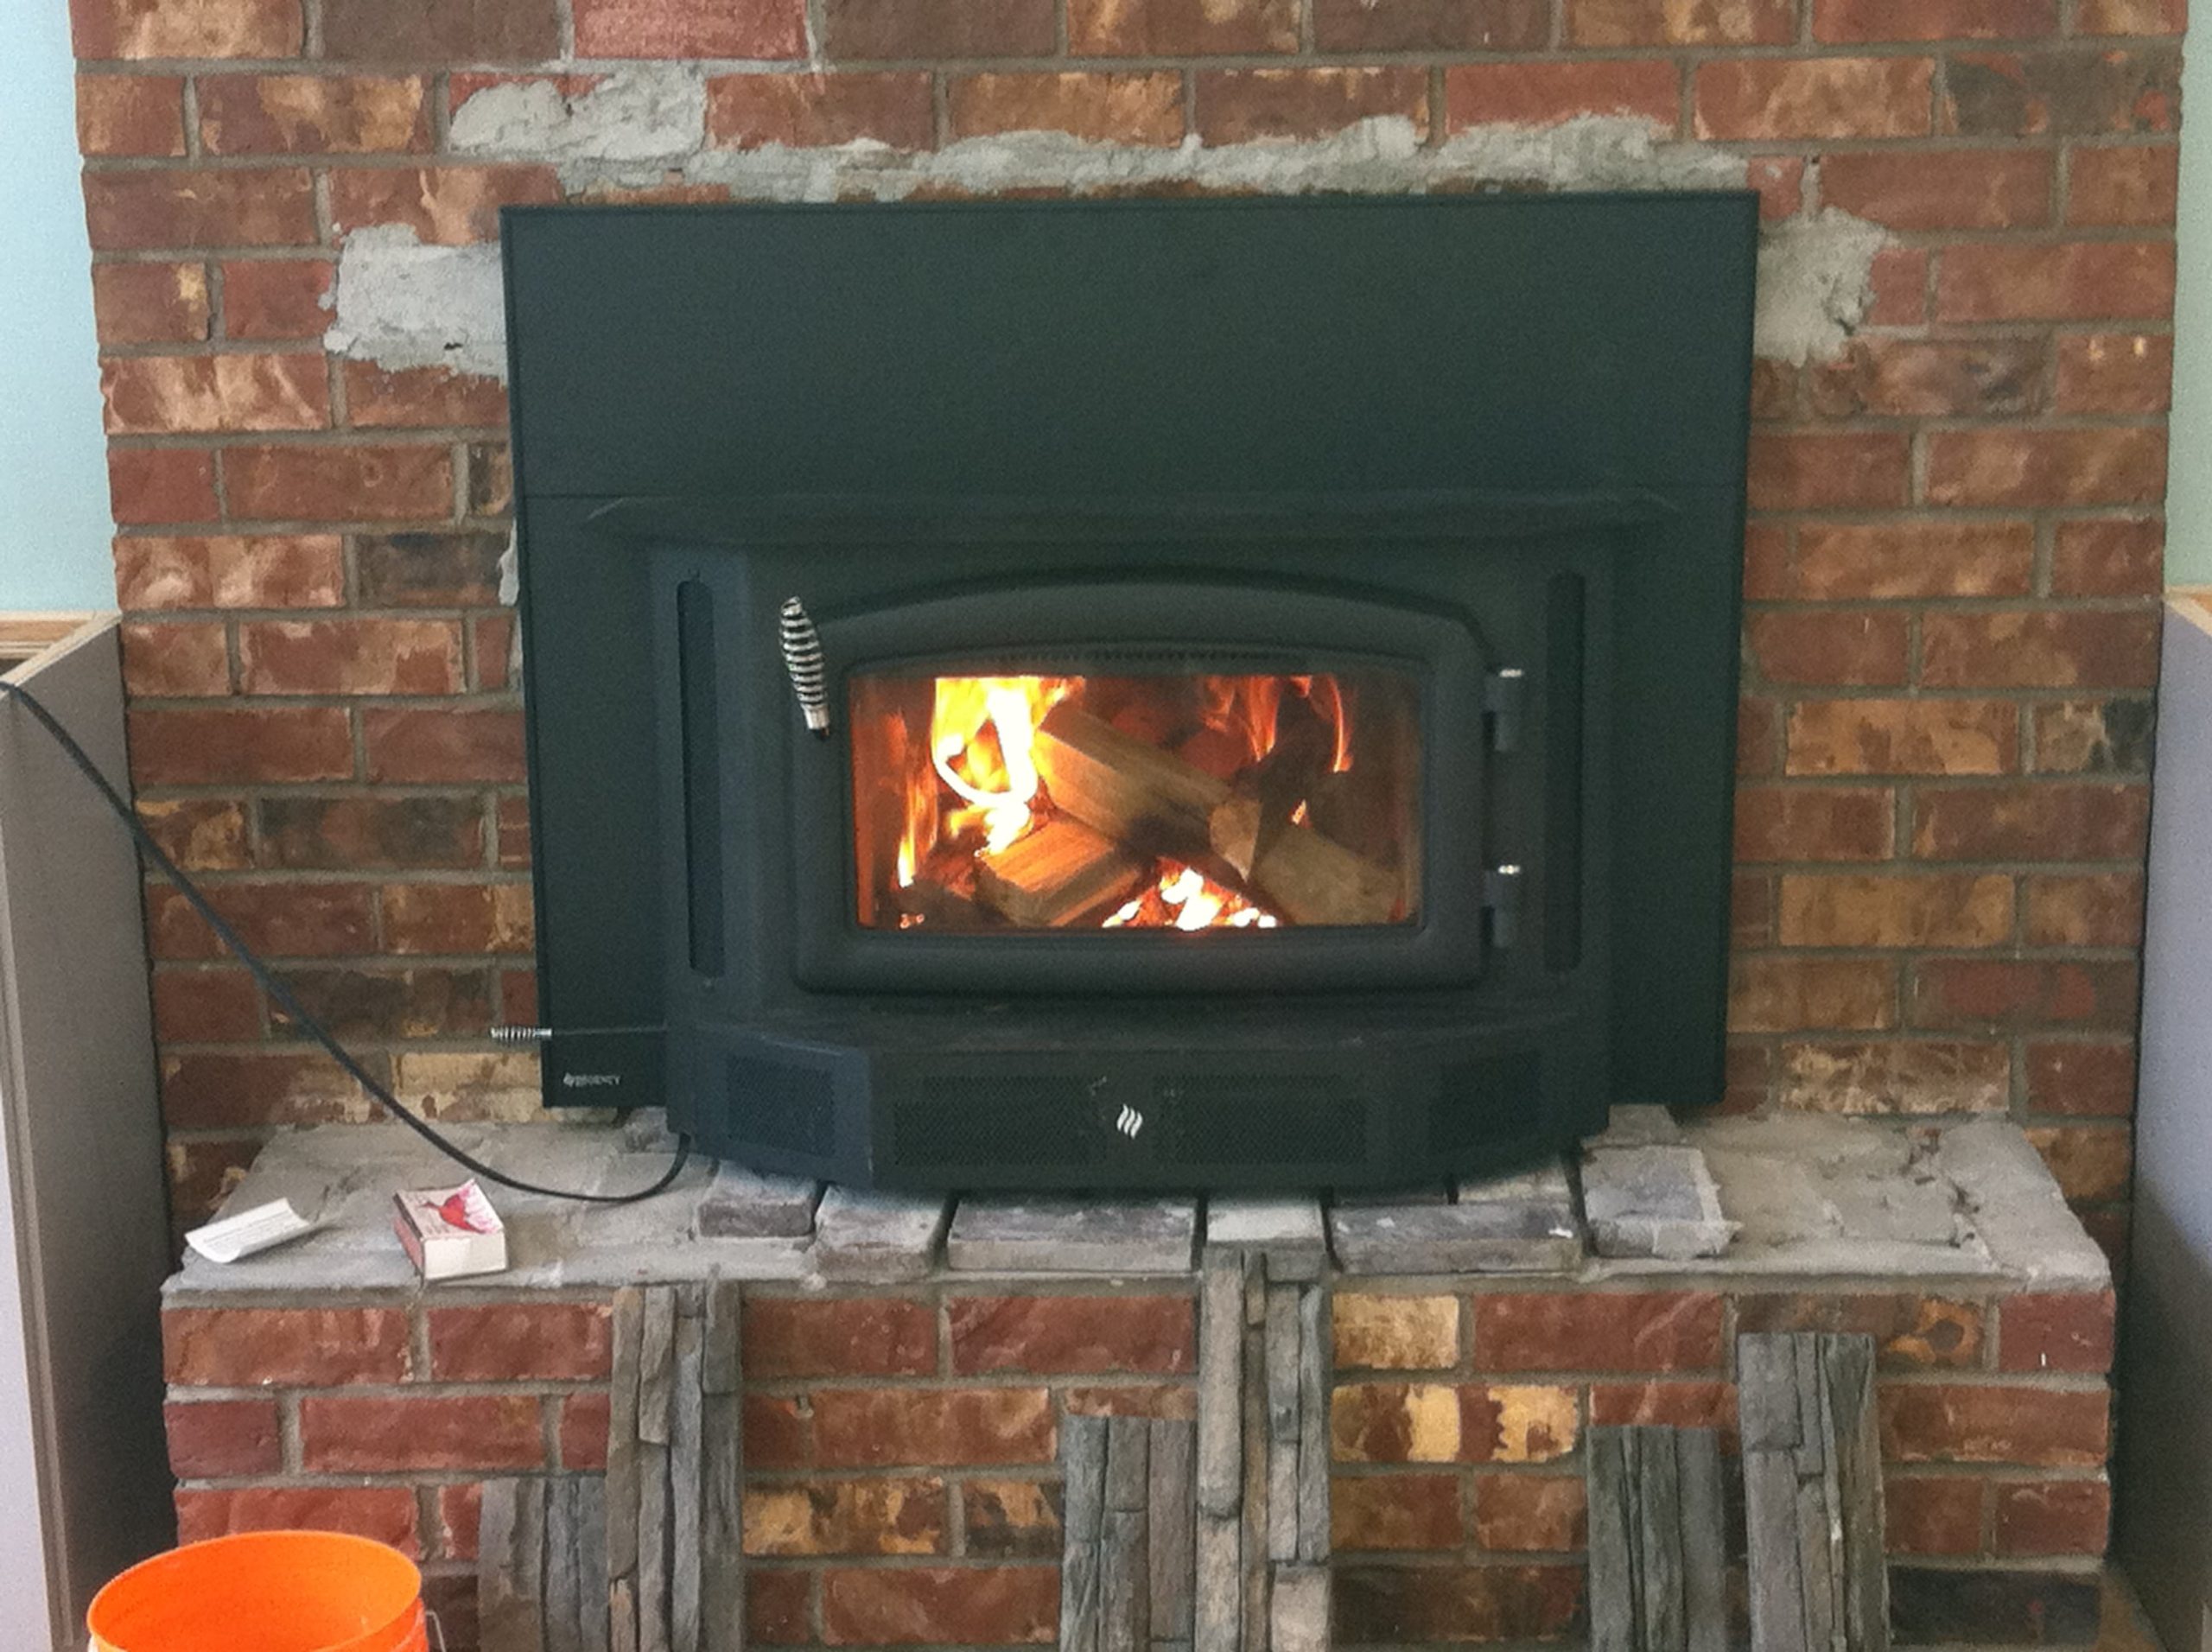
I know that the proper way of doing things would have been to do all of the stone work first and THEN install the fireplace – so you only had to move the stove once.
But we bought the stove in winter and wanted to enjoy having a few fires while we were at the house over Christmas break.
And that was fine, but it just meant that when it came time to do the stone, I had to take the fireplace out again.
Good thing I had a strong back.
So when the day came, and I detached the stainless chimney tube from the fireplace, and took the fireplace back out of the hole and onto the dolly.
And then we started installing the stone.
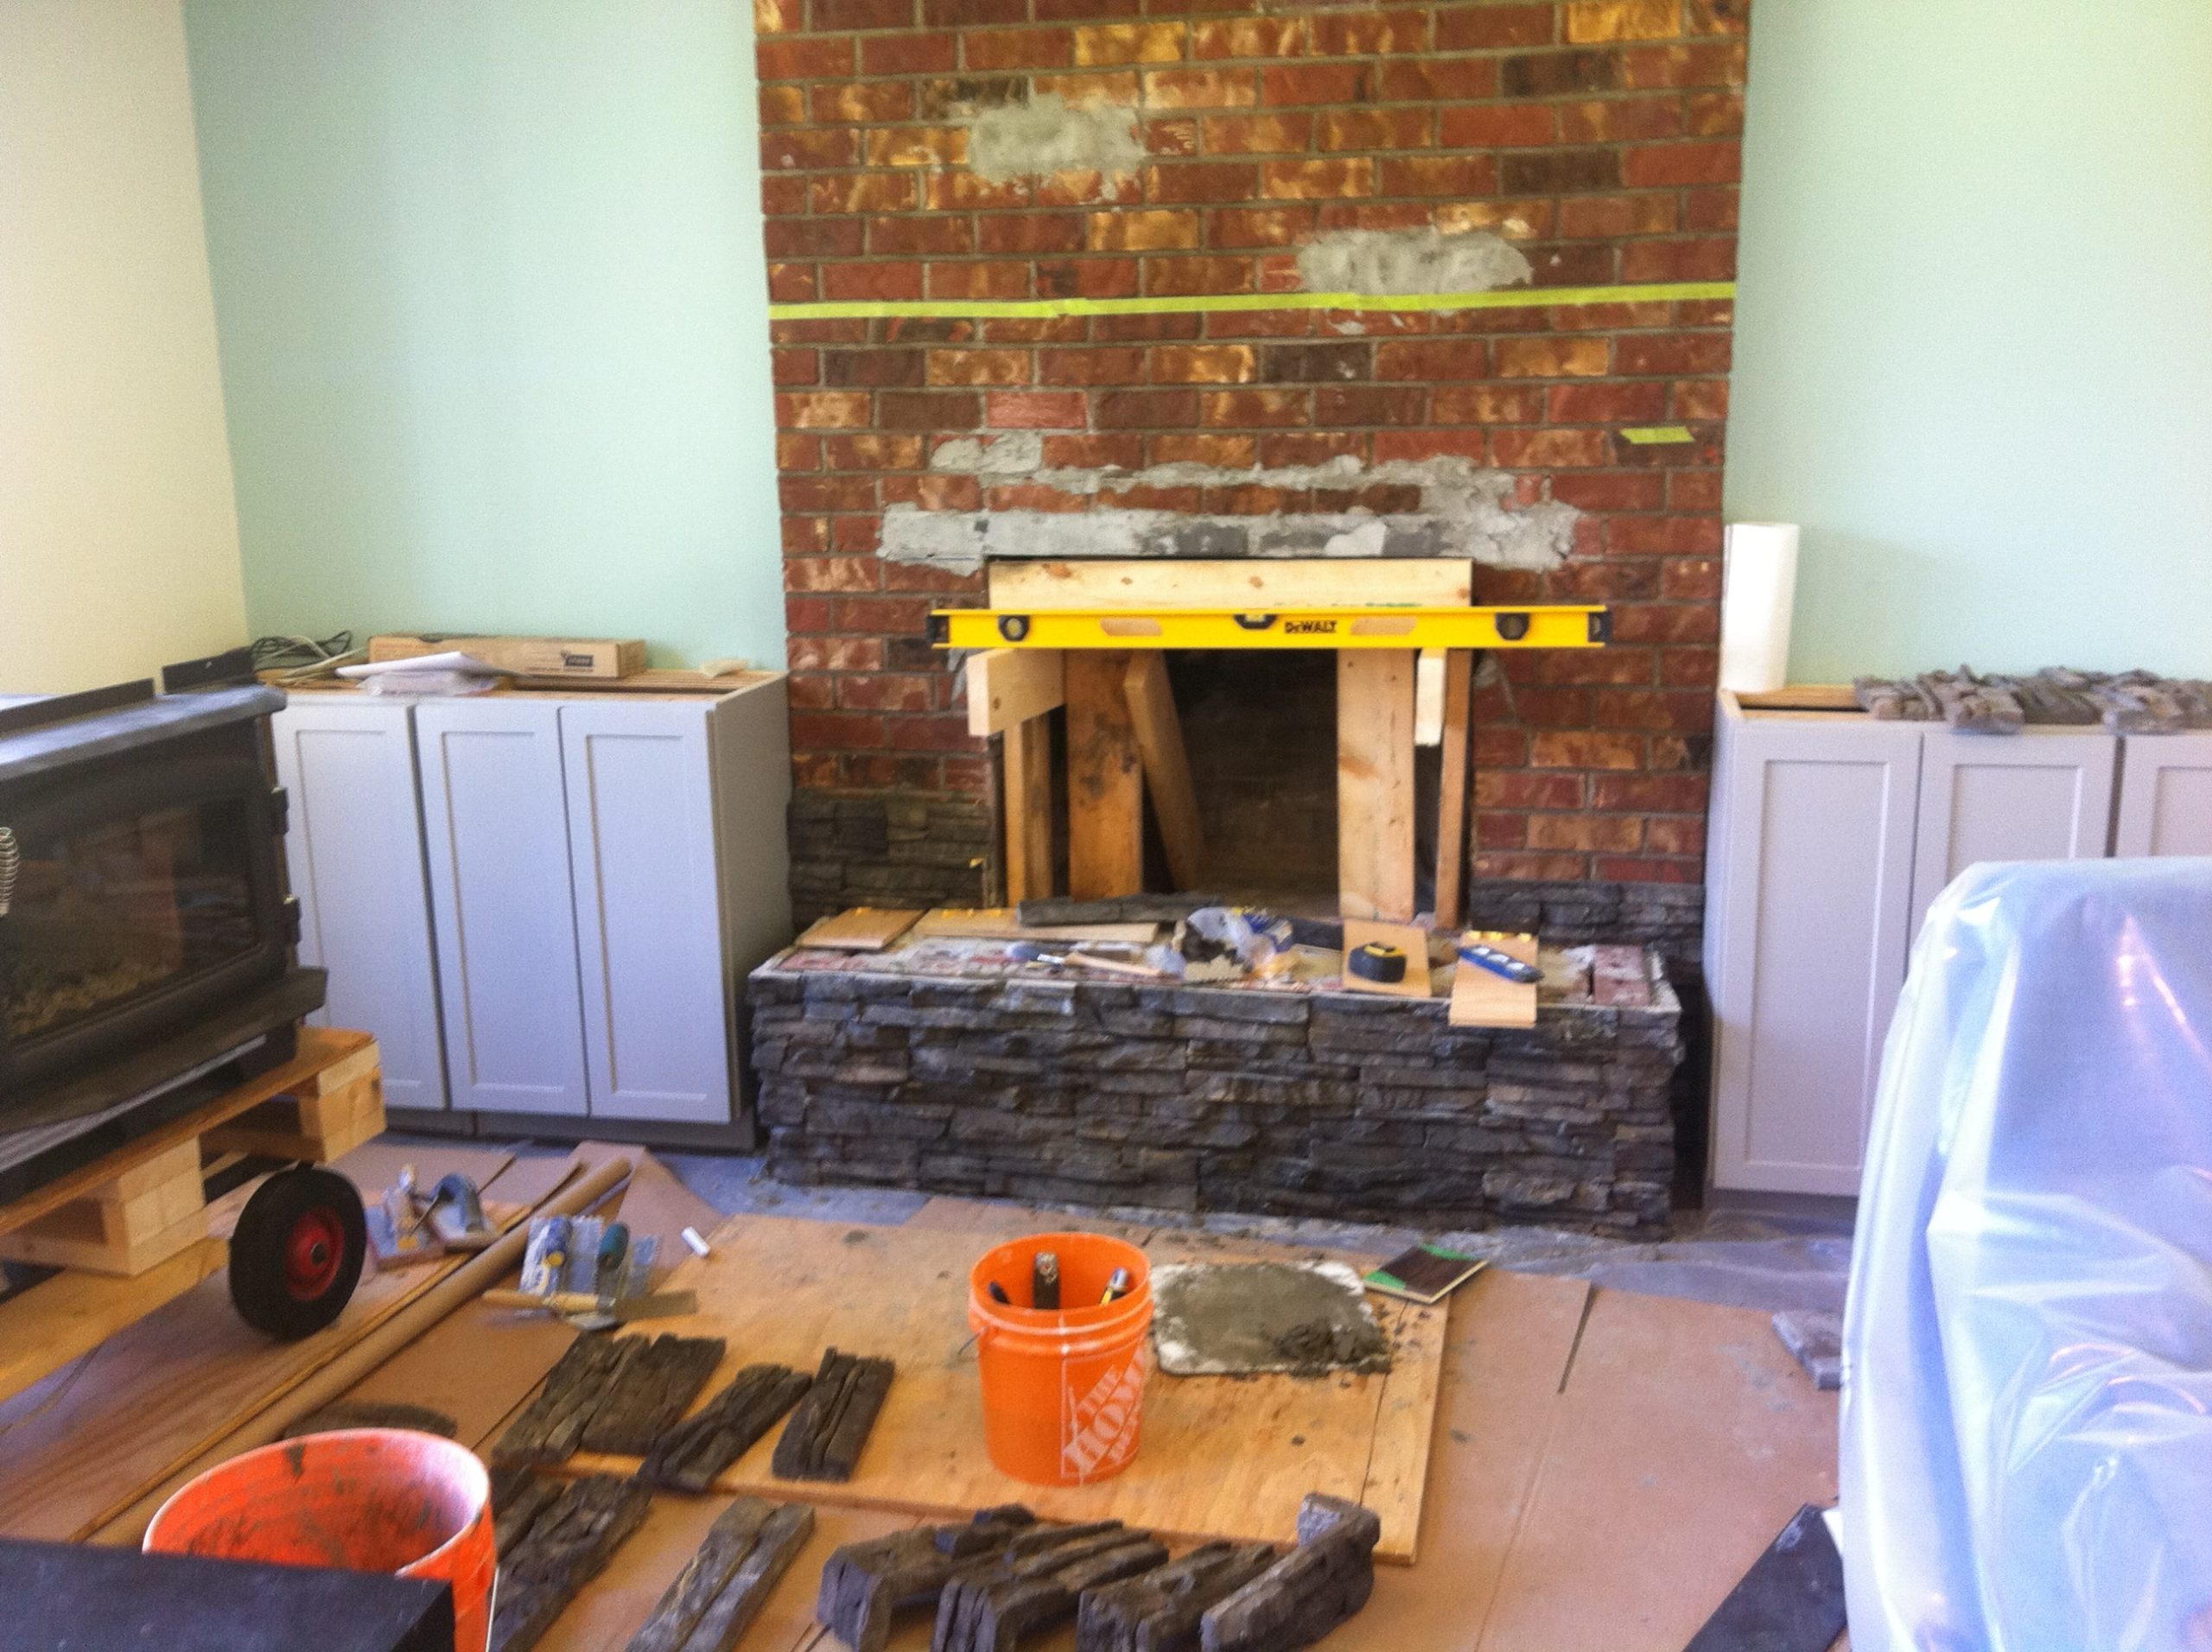
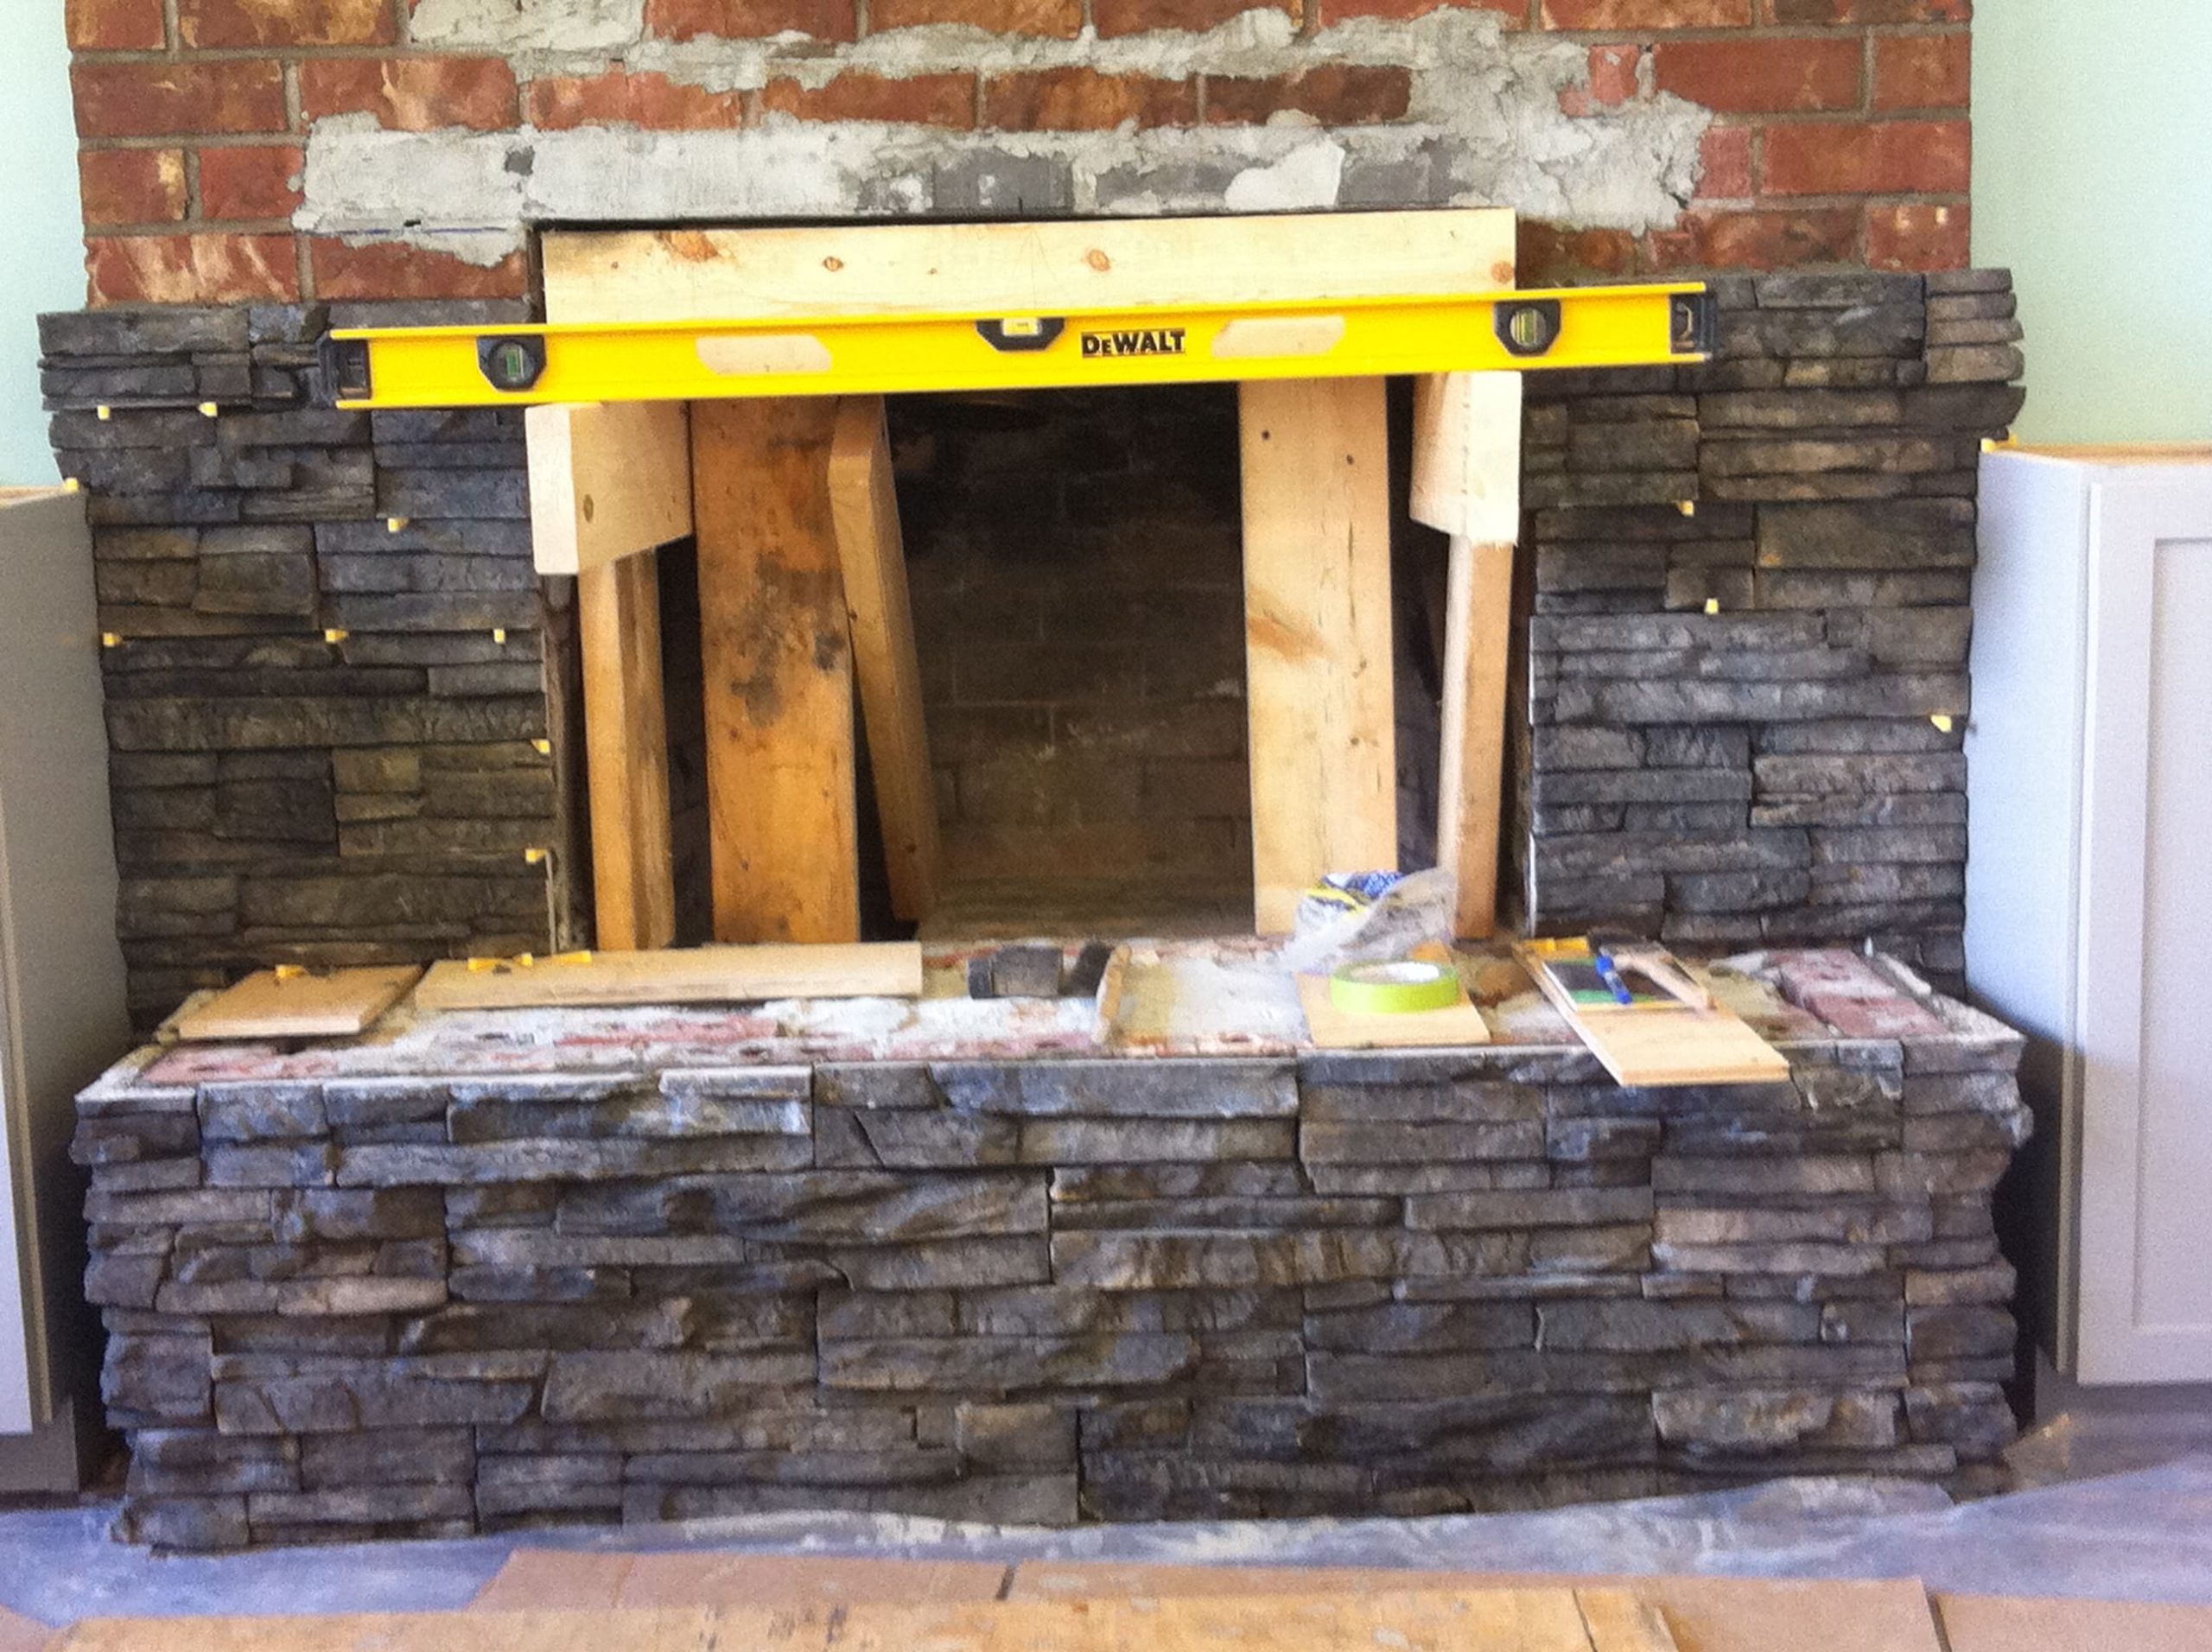
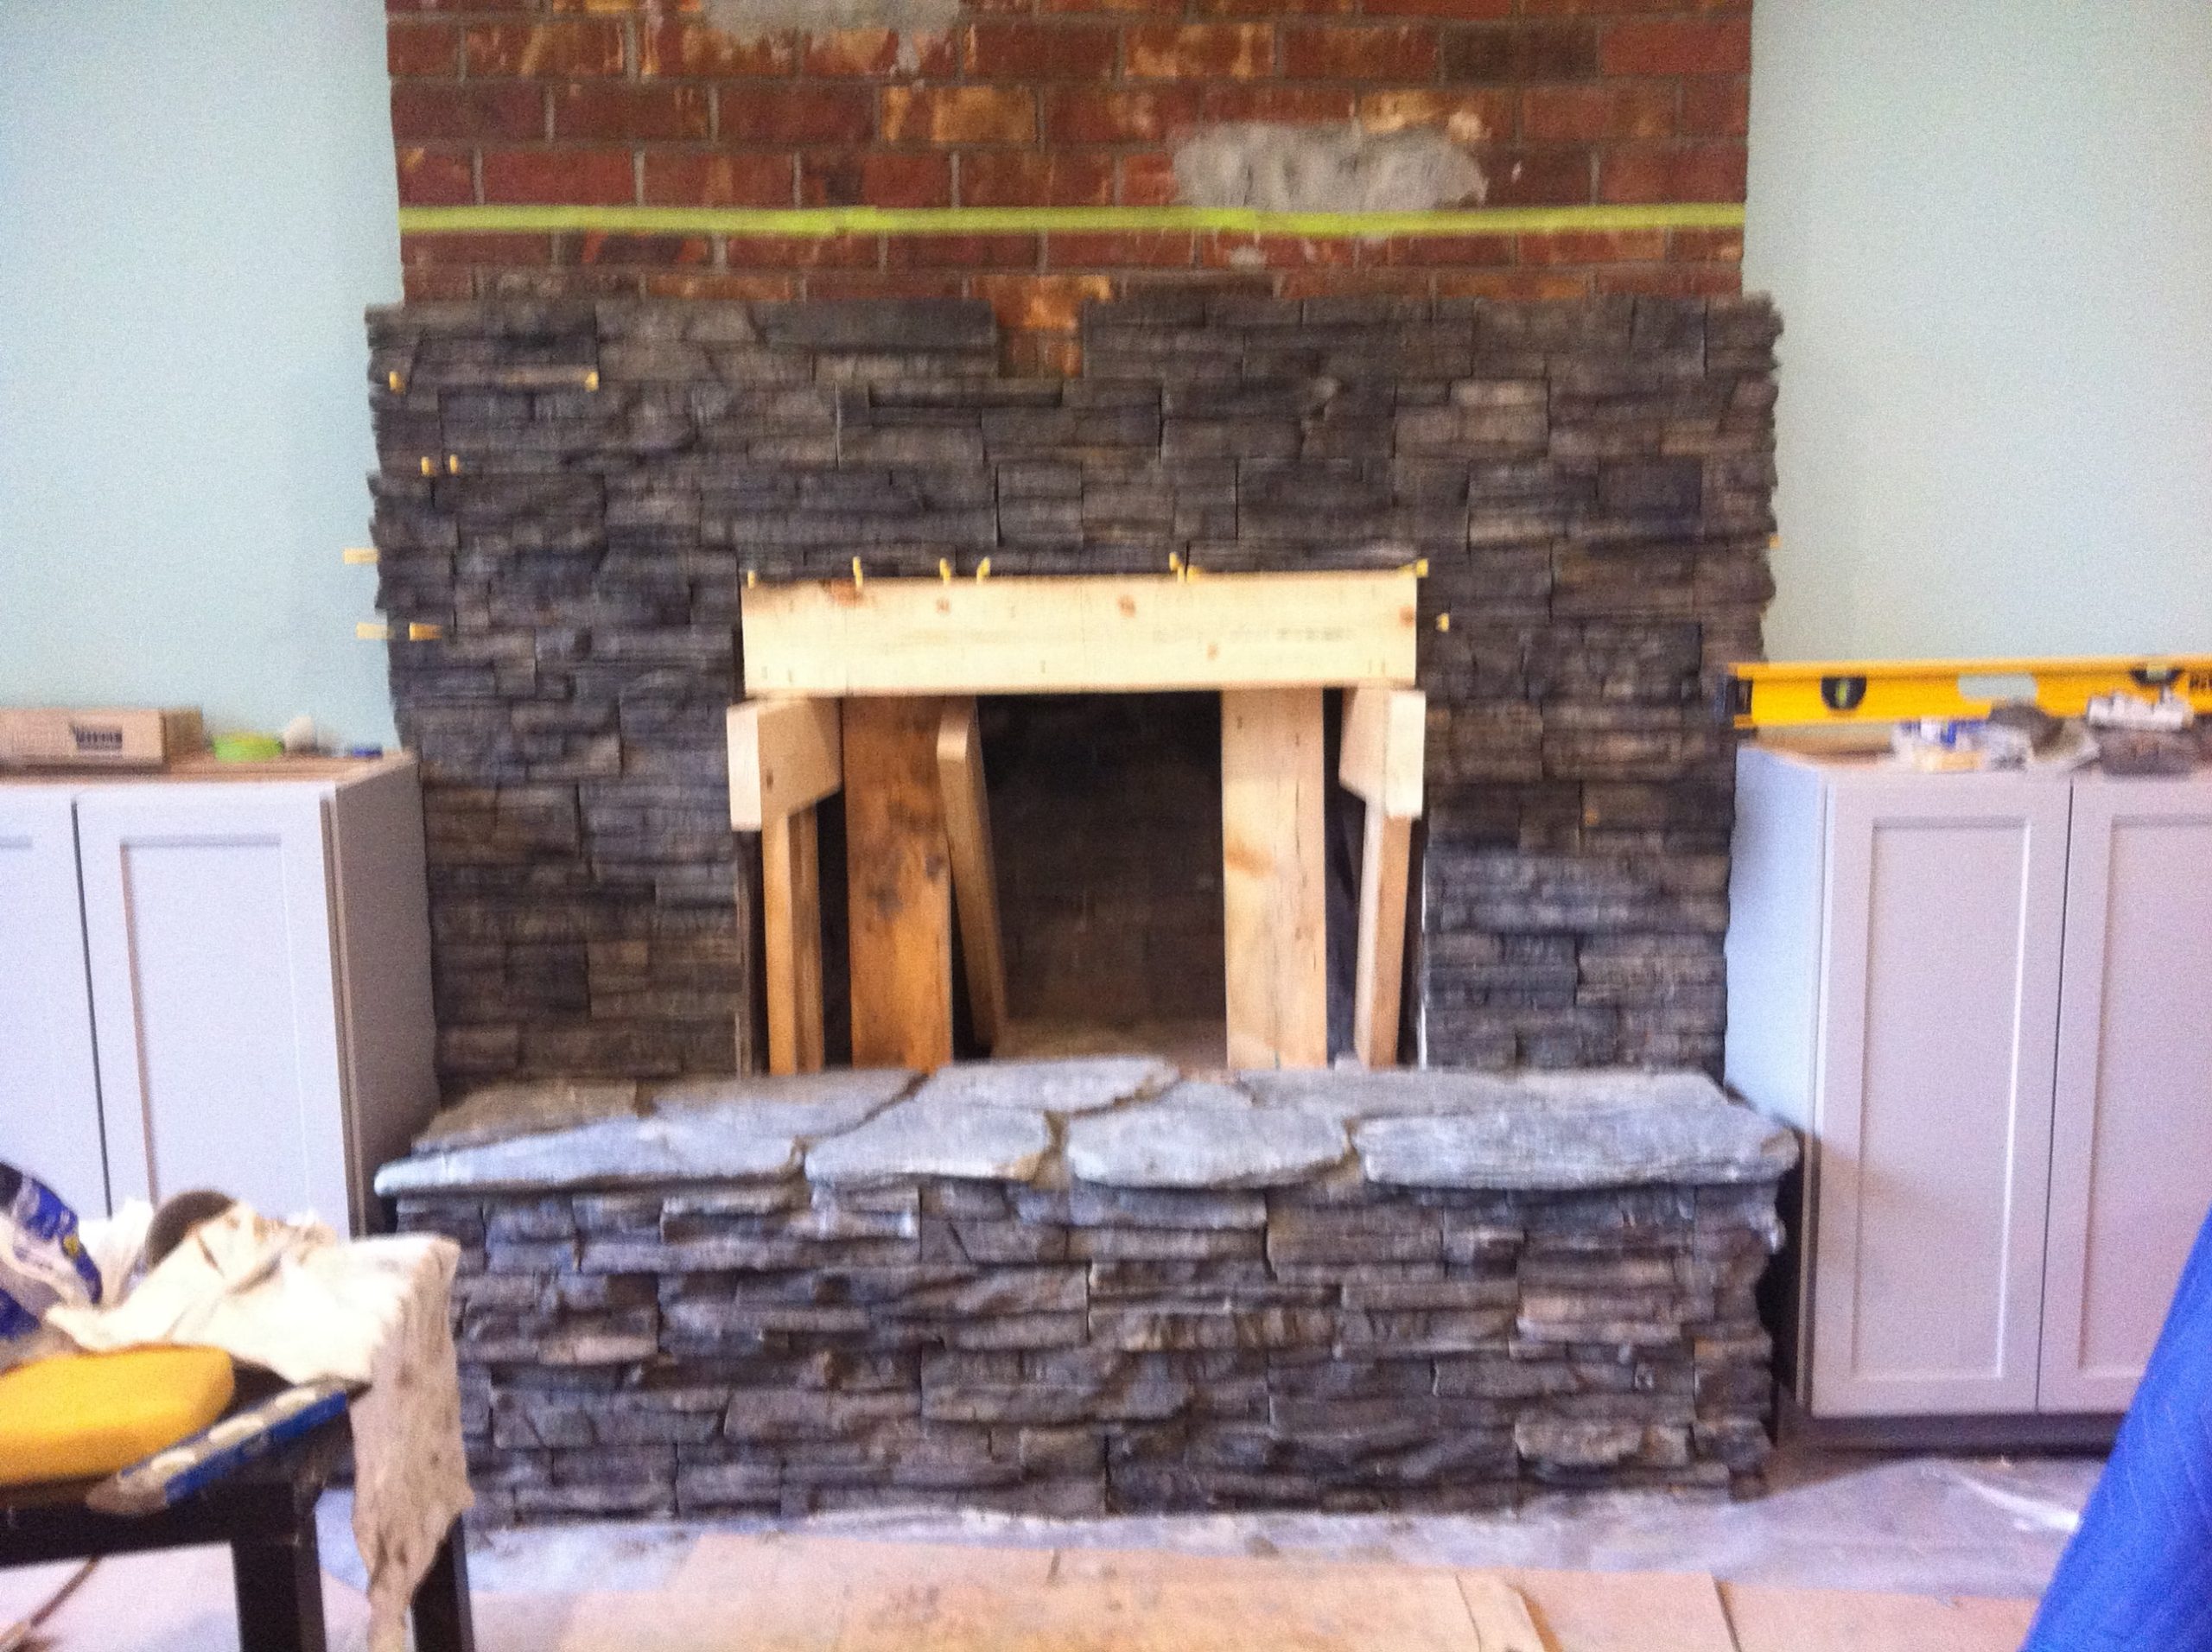
I did the stone roughly to where the mantle would be installed, and then once everything was dry I put the stove back in.
For the hearth I used natural pieces of slate.
To fit the pieces together nicely, I scored each piece of slate with a concrete grinding disc on an angle grinder and then broke the unwanted section off using a hammer.
By doing this, we could get pretty consistent grout lines.
Once the stone was in place, I drilled holes into the brick and installed concrete wedge anchors in the holes. Then I screwed long bolts into the wedge anchors to hold the mantle in place.
To finish the mantle installation, I measured and drilled holes into the back of the mantle and pushed the mantle into place.
It was a tight fit, and that mantle isn’t going anywhere.
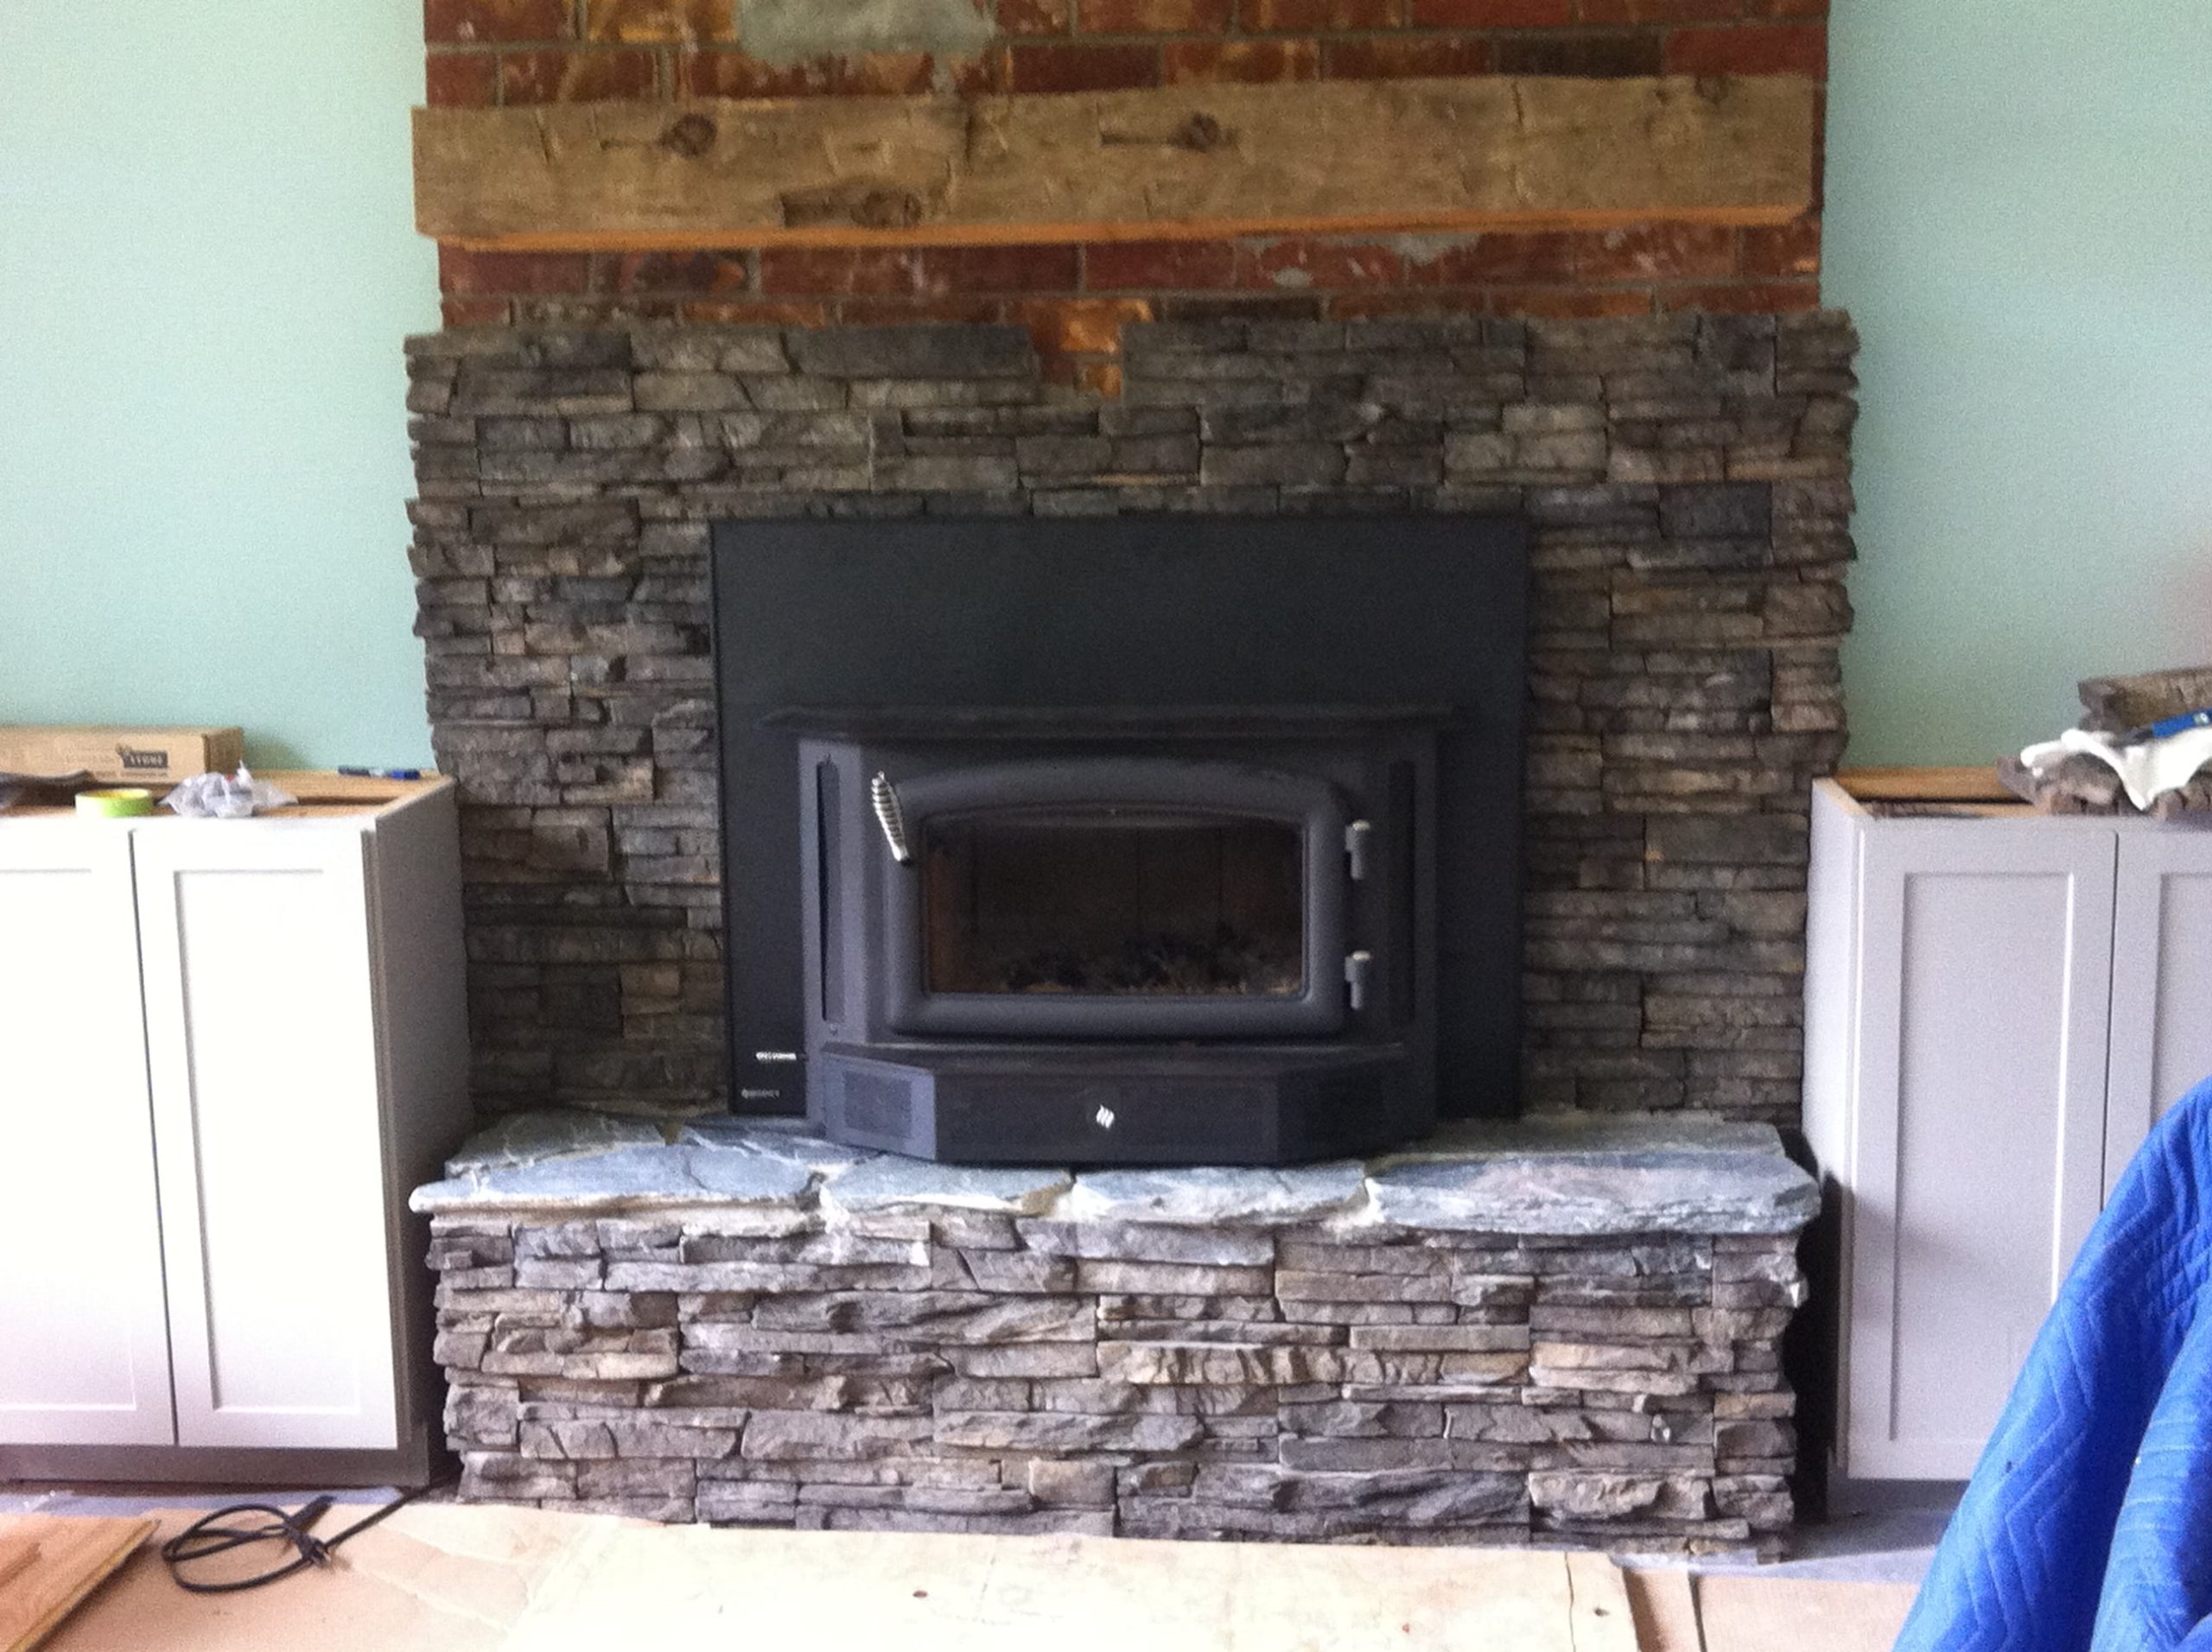
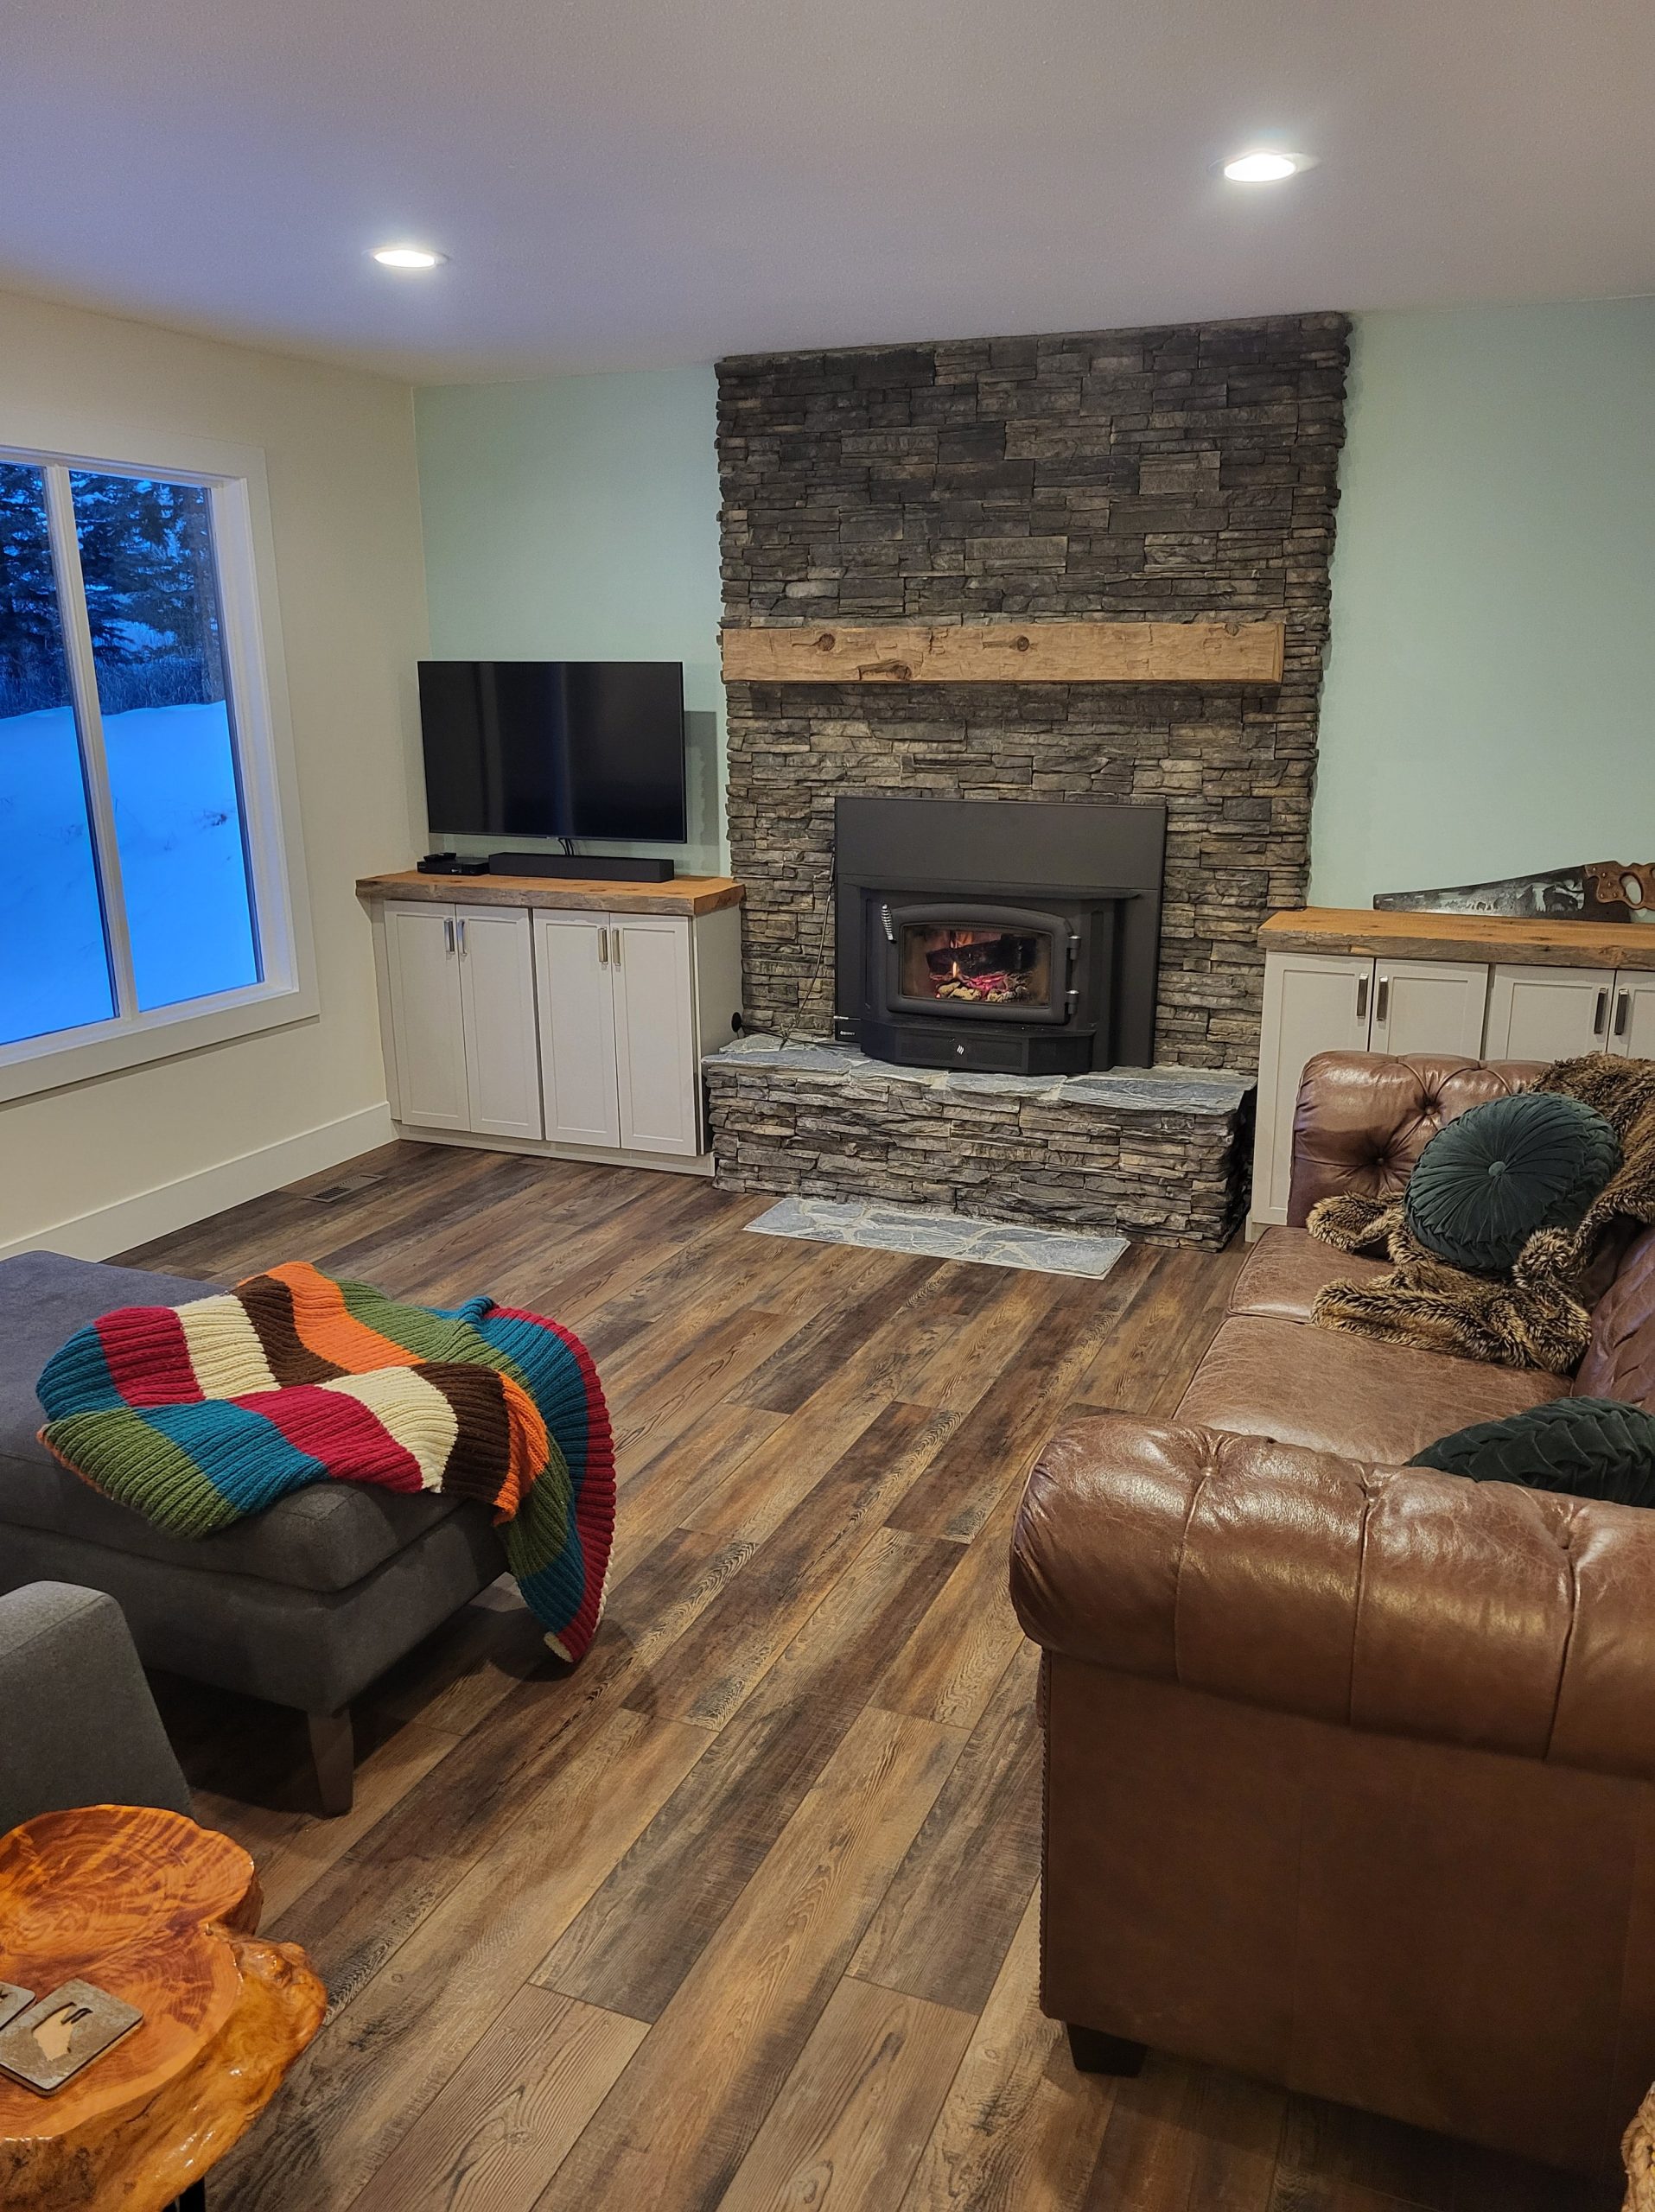
Then it was just a matter of finishing off the stone.
For the tops on the built ins, we had some live edge cedar ripped to size which I cut and scribed to fit against the stone wall.
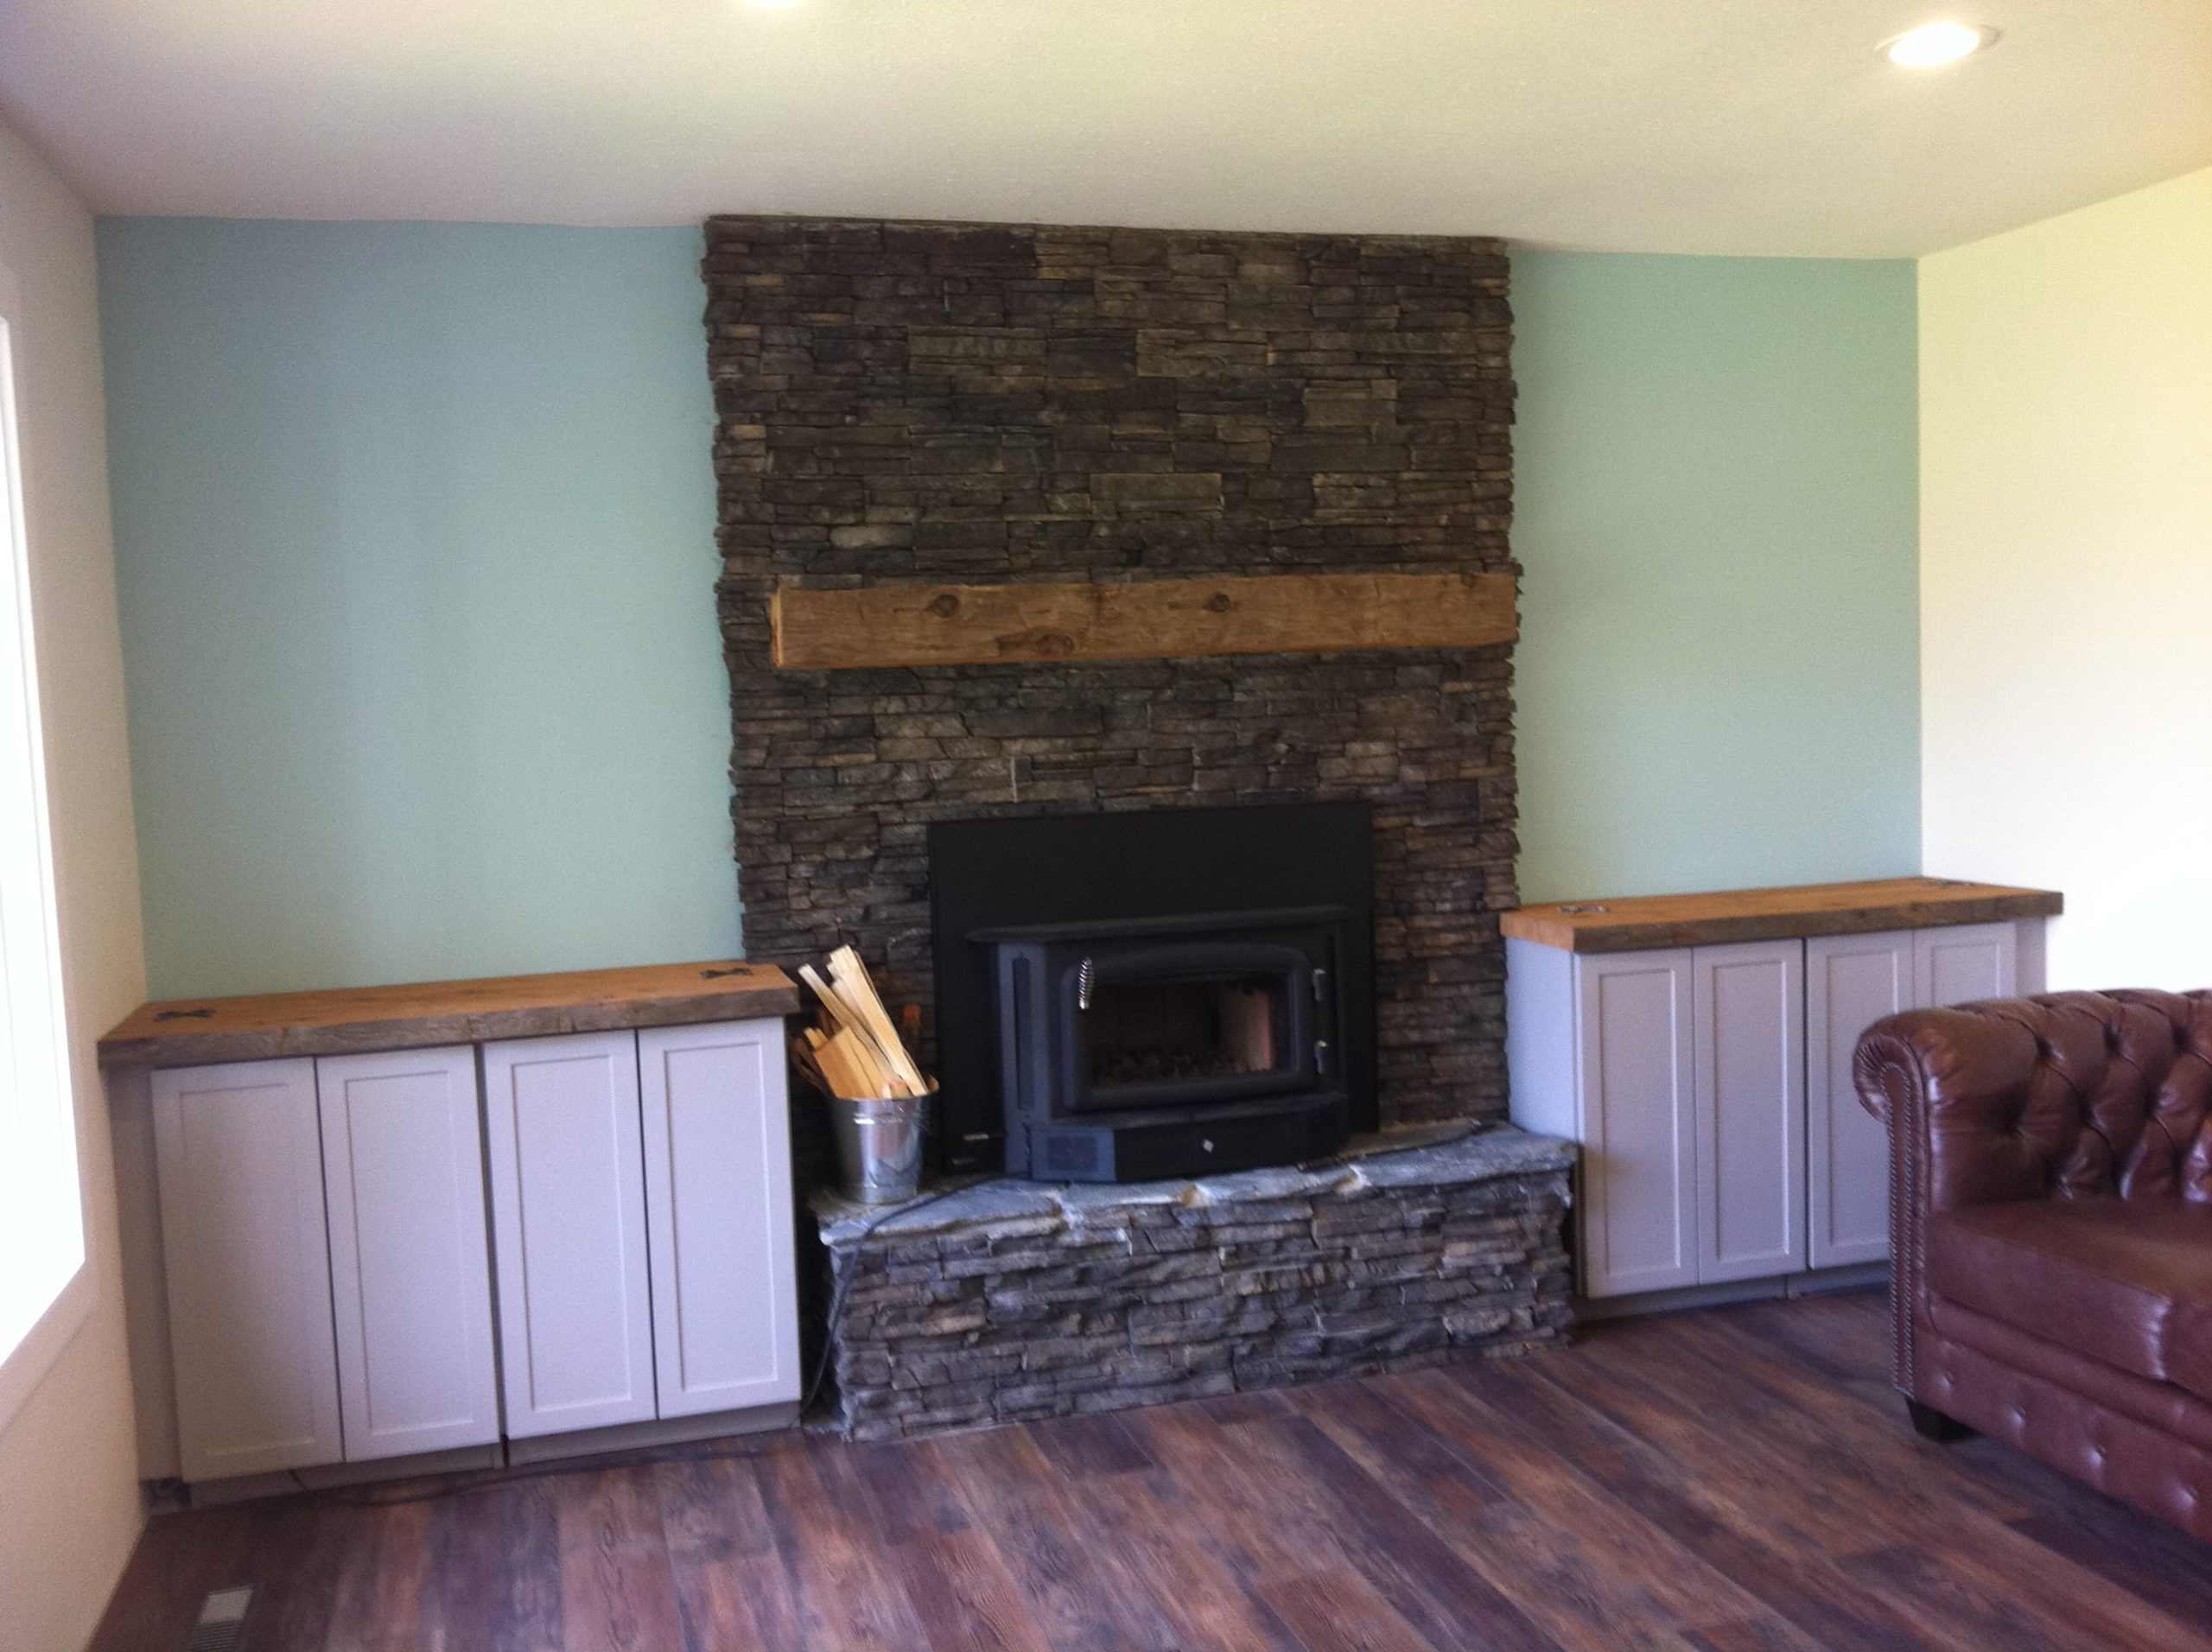
This was another project that was done in stages, depending on how pressing other projects were.
But I think it turned out really well.